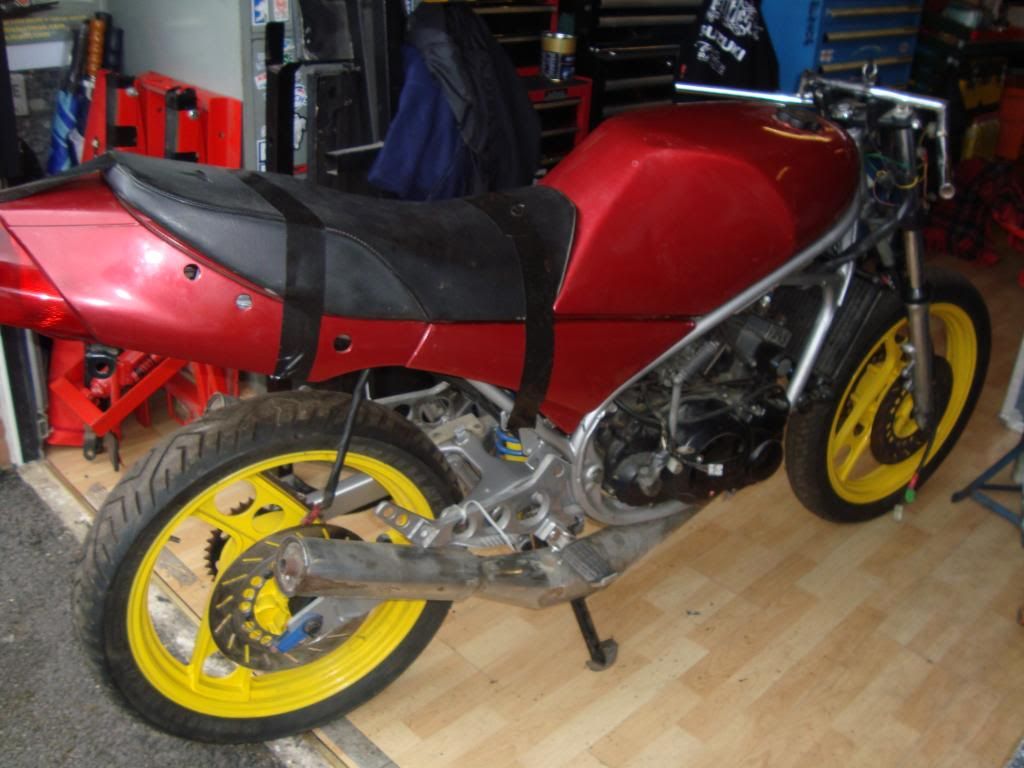
Introduction and the on going project

Show us that box of bits in your shed!
Seanrd
Newbie
Posts: 13
Joined: Tue Apr 03, 2012 6:39 pm
Location: Hitchin

Introduction and the on going project

Post by Seanrd »

Hello all, been browsing for a while but never signed up but i thought i'd introduce myself and my project. Im Sean, 20 years young and brainwashed from a young age with all these proper bikes. Parents to blame for that one. Anyway here we go :) Bit pic heavy so i do apologise


Comments and criticism welcome would love to know what you think

So this is where is all began. Bought a 31k LC2 complete but non runner for the engine, sold the rest on but i've kept the frame as i might have something in mind for that at a later date.
Image

Loosely bolted together

Image

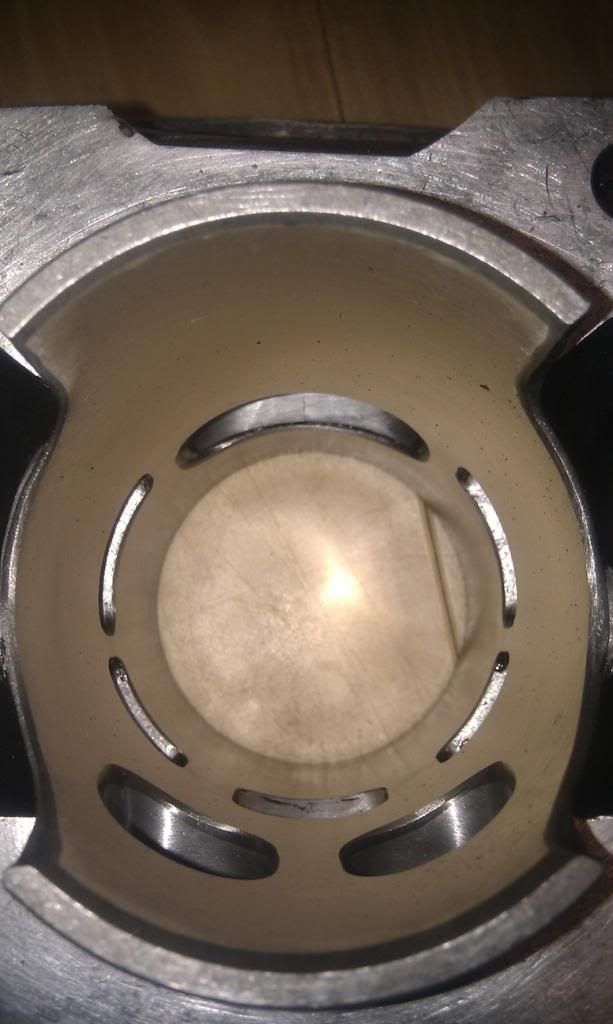
Result, only 0.5mm over size pistons and unmolested barrels
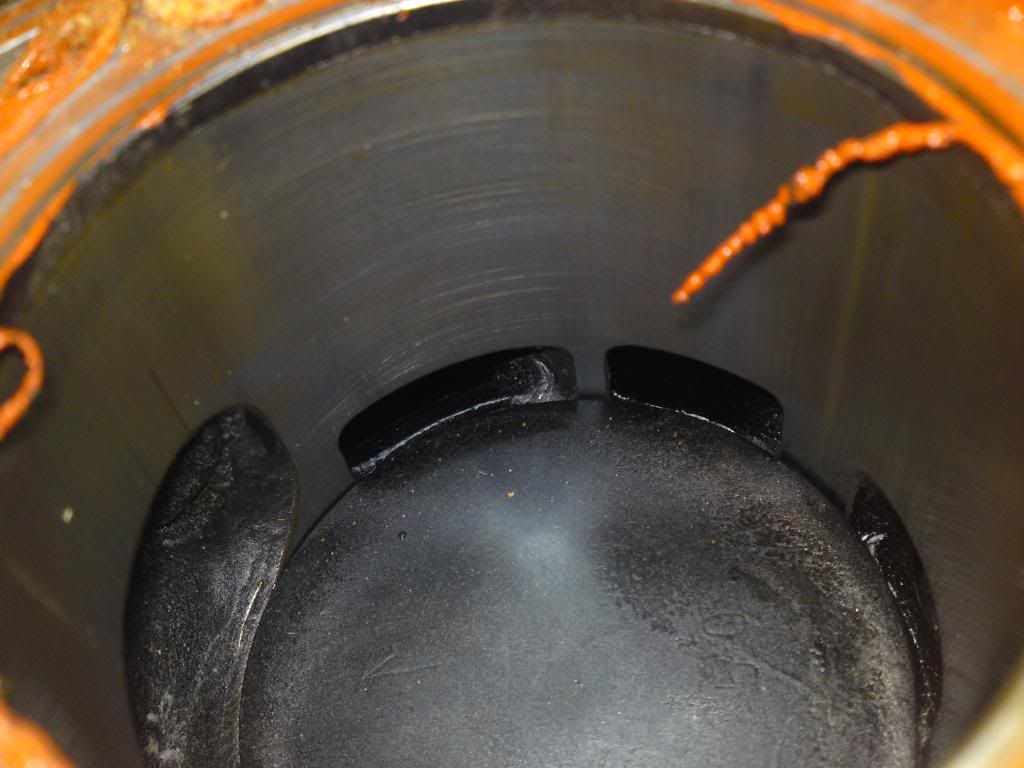
Image

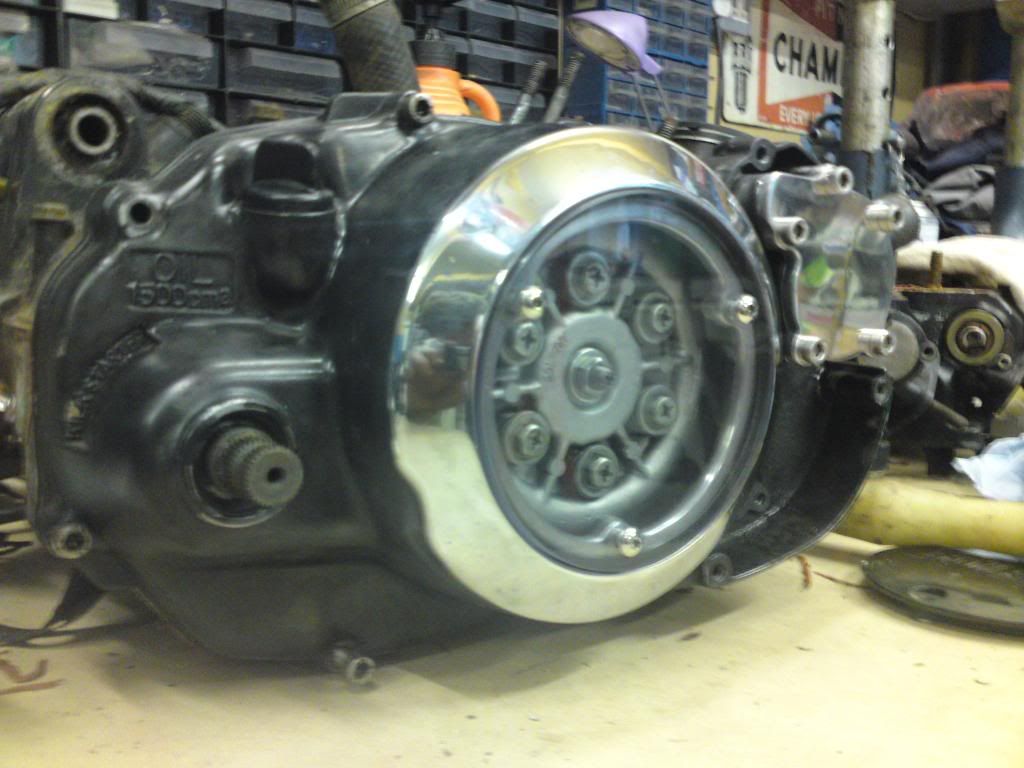
Straight on with my clear clutch cover conversion
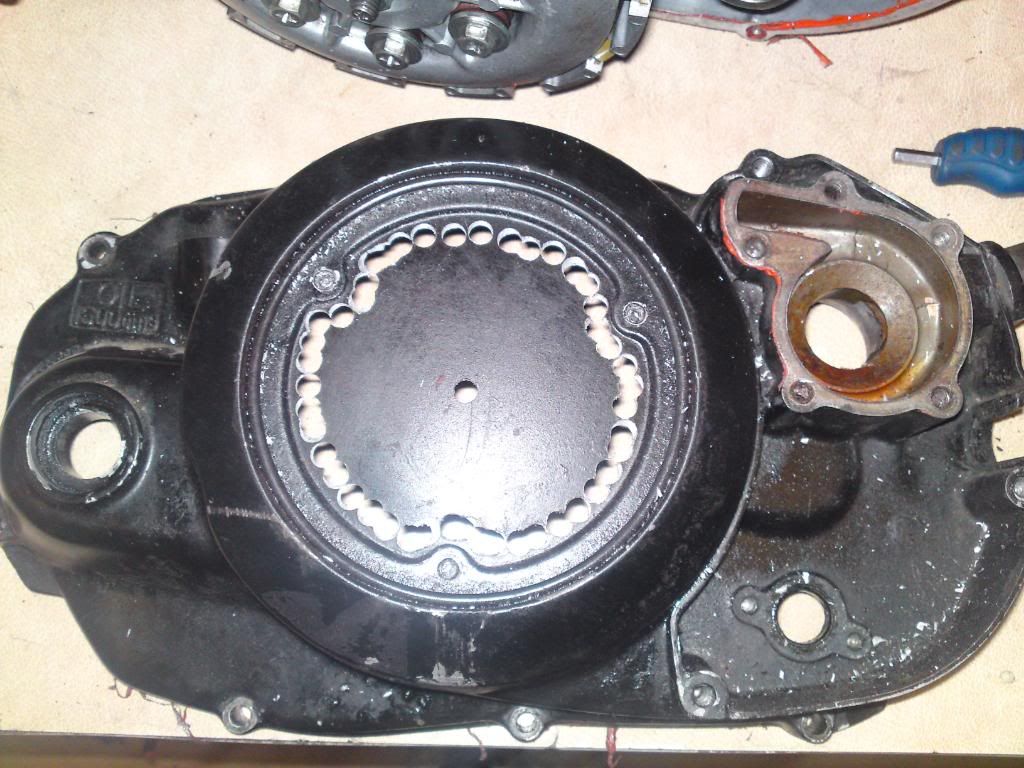
Image

Done
Image

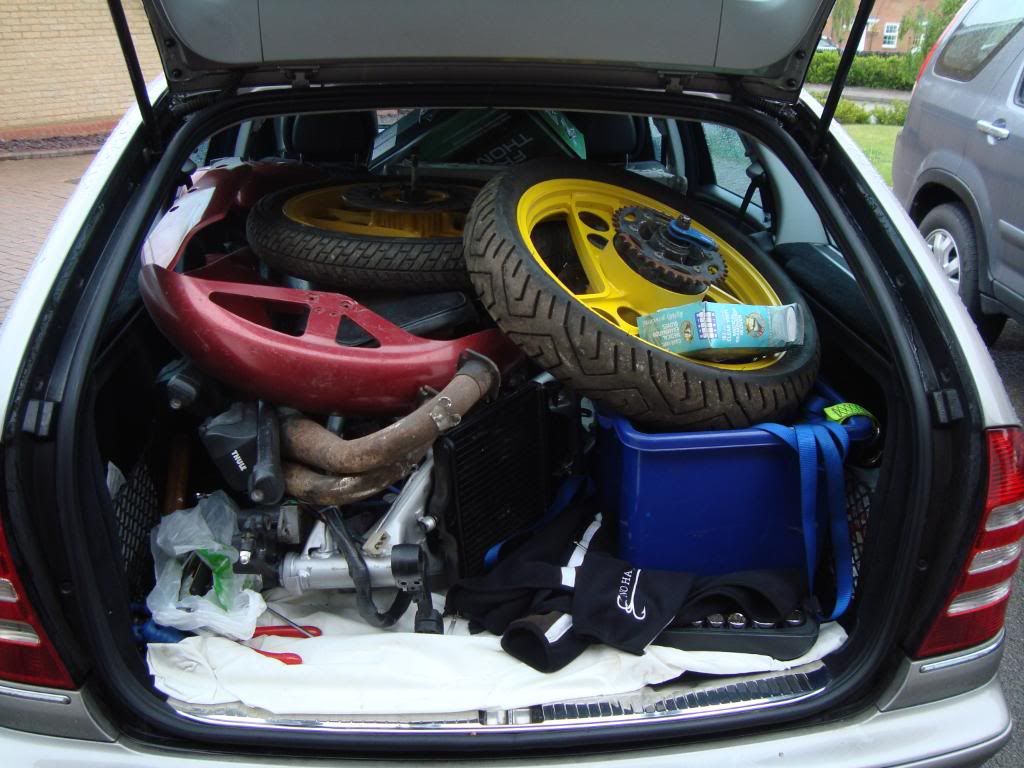
Once I sold the bits off, I was able to buy this….
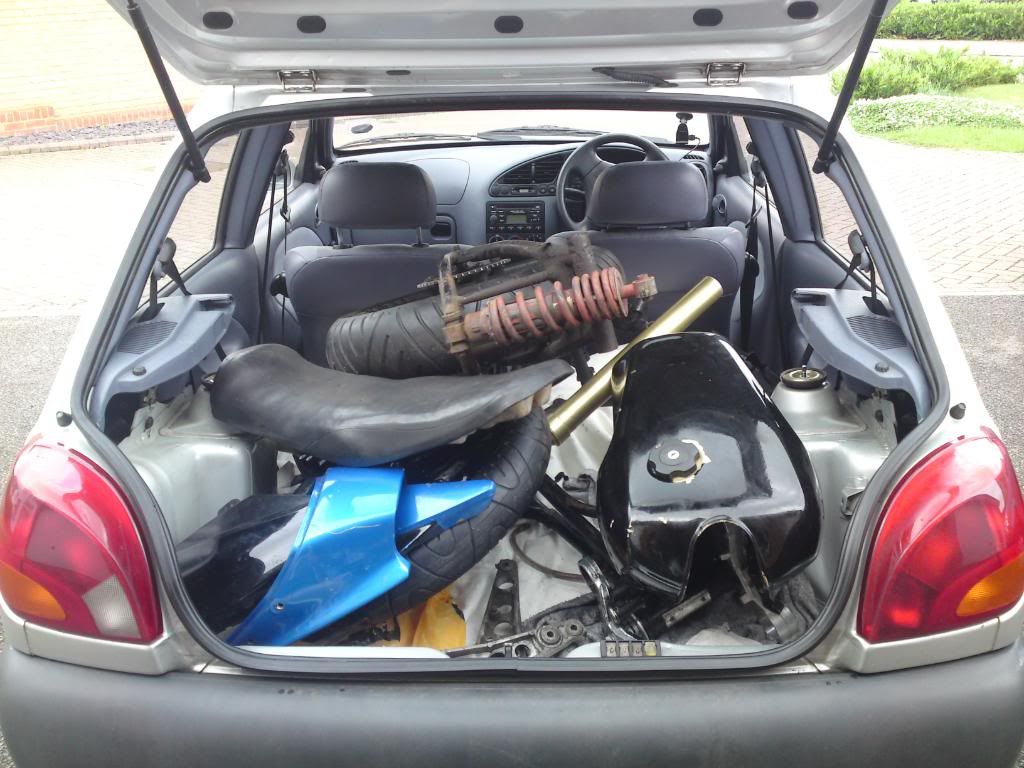
Image

Image

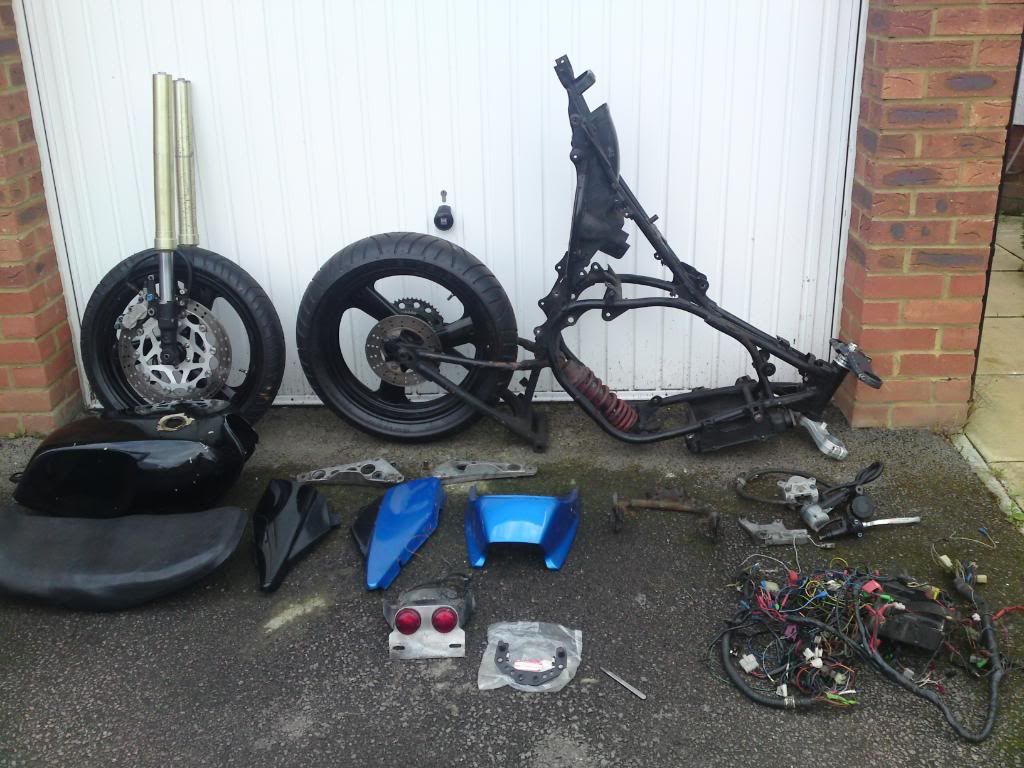
Bought mainly for the frame and VERY solid tank, forks were sold on as they were awful single side damped TZR125 ones.

After a quick haggle at Stafford I got these, KR1S forks with calipers, yokes and spindle for £50
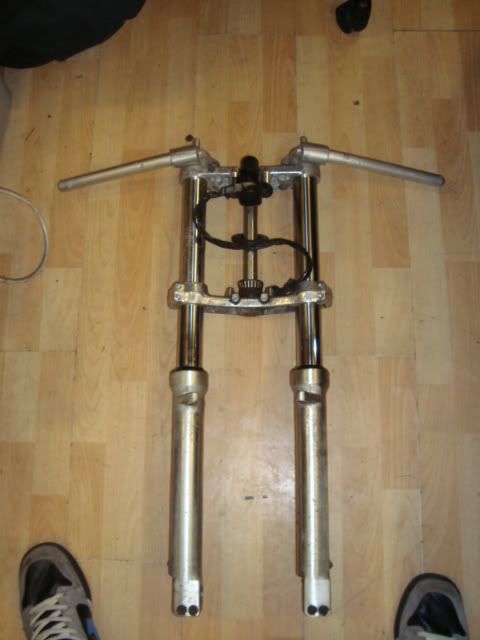
Image

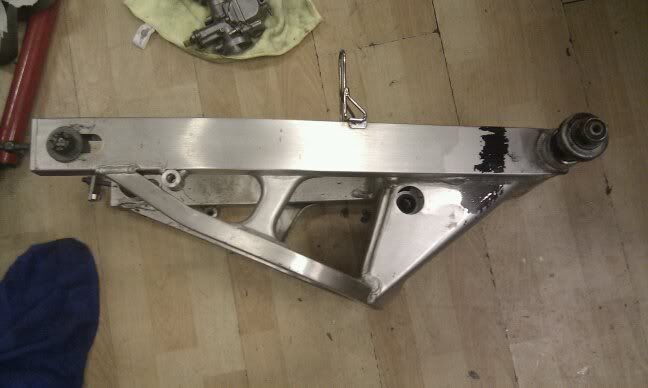
After a long search I found one. TZR250 reverse cylinder swingarm. Off the pb forum if I remember correctly. The gent was an absolute diamond and included all the linkages.
Image

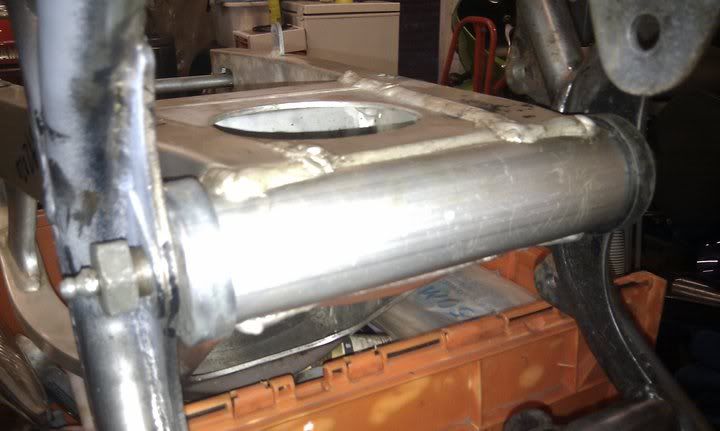
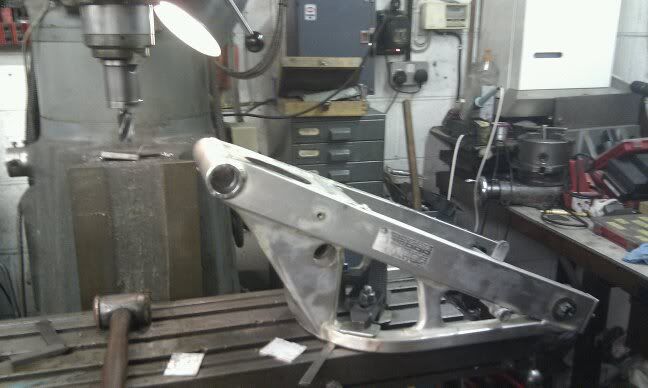
Only issue was it was far to wide to fit in the LC frame (200mm) and the swingarm was around 230 with the dust covers. So into a friends milling machine it went.
Image


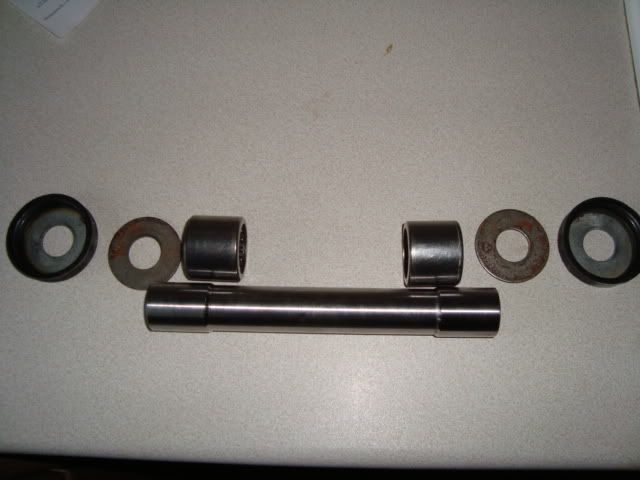
I turned up a new center spacer to reduce the spindle size from 20mm to 16mm
Image

It fits, happy days
Image

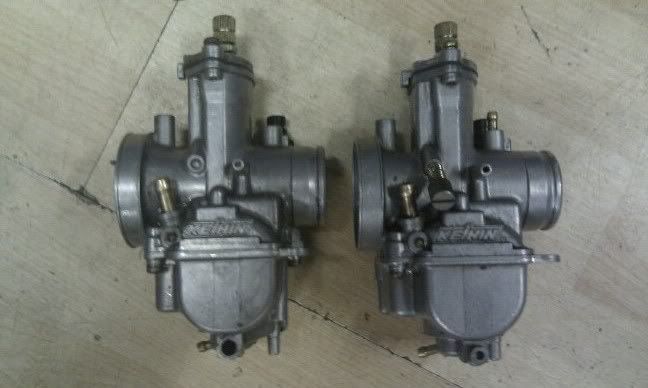
Picked up a set of PWK28’s off the RD forum, these will come in handy later
Image

Had a friend beadblast the arm to remove the hard anodising ready to be polished, sourced an MV F4 caliper for the rear aswell
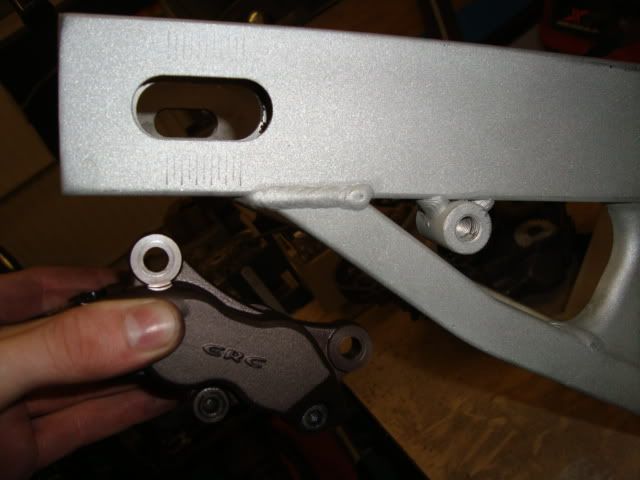
Image

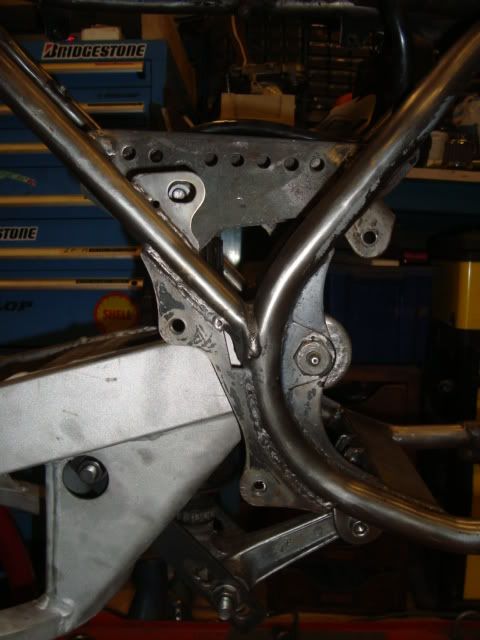
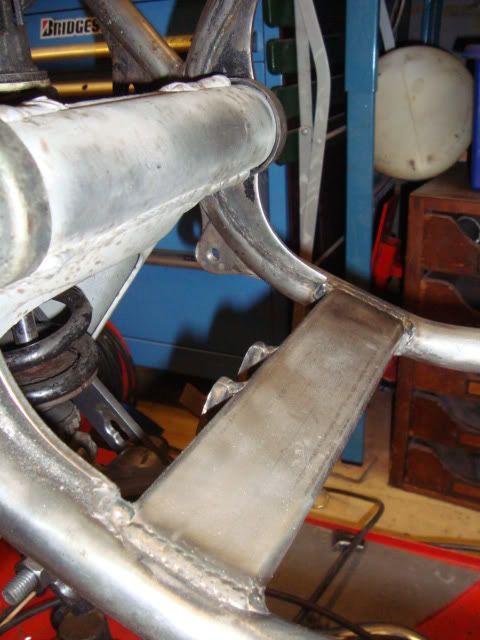
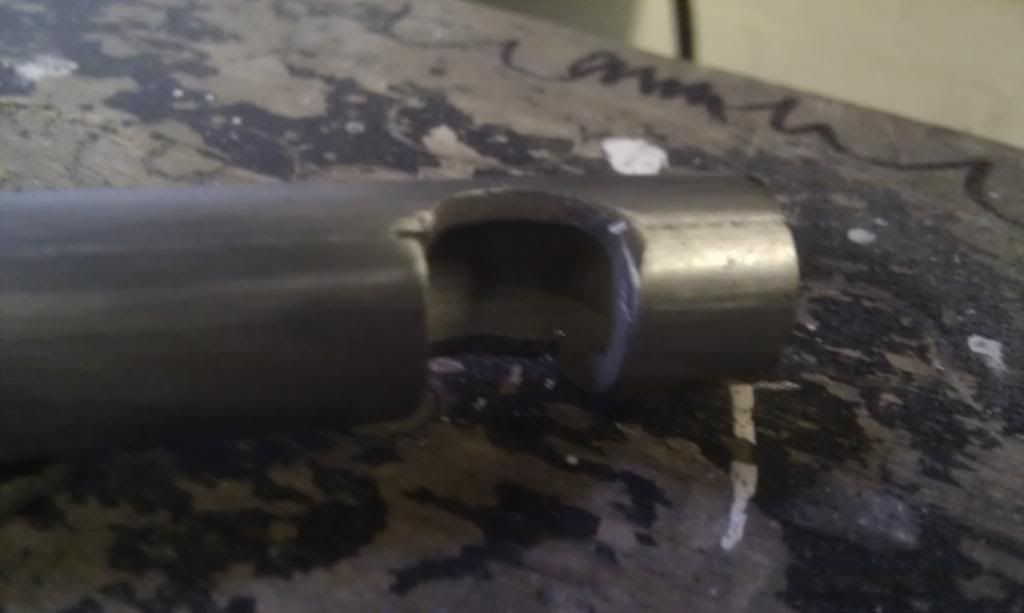
As I was converting the frame to use the TZR rising rate suspension I had to replace the thin tubing where the center stand brackets were replaced with box section.
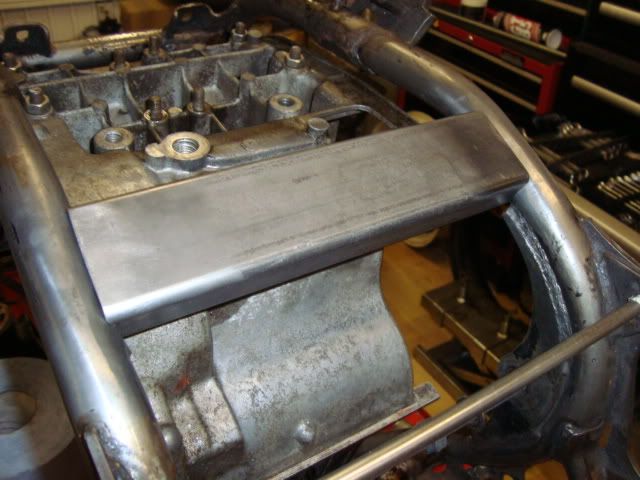
Image

Templates for the mounts were made from MDF then replicated in 6mm steel plate.
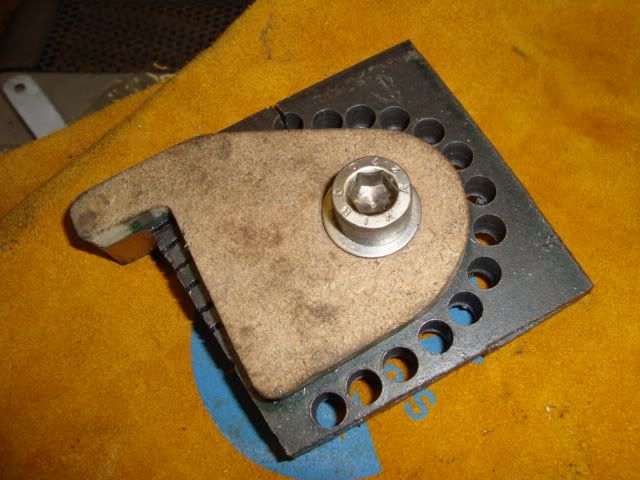
Image

All in
Image

Image

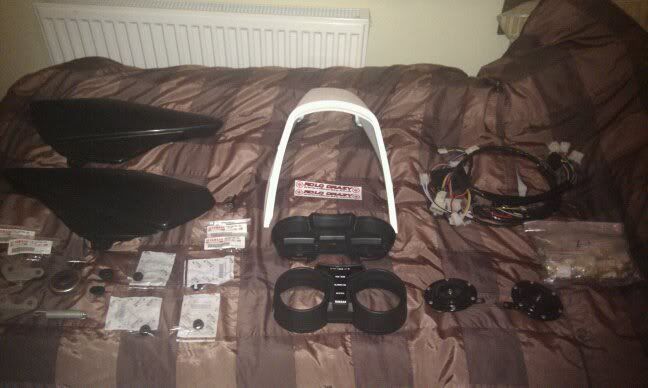
Some nice new NOS parts
Image

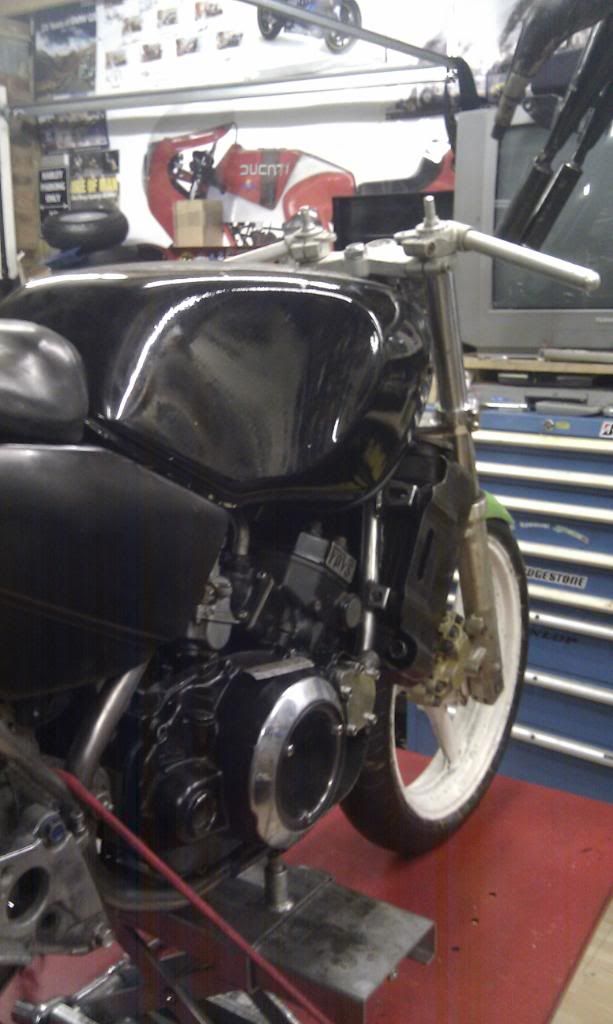
KR1S front end now in
Image

As was the rear
Image

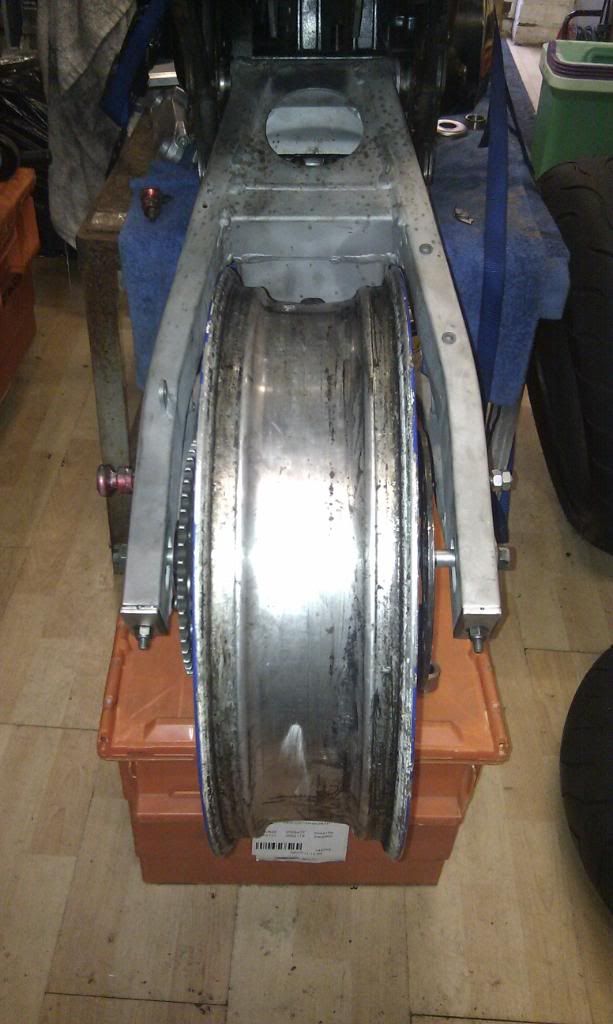
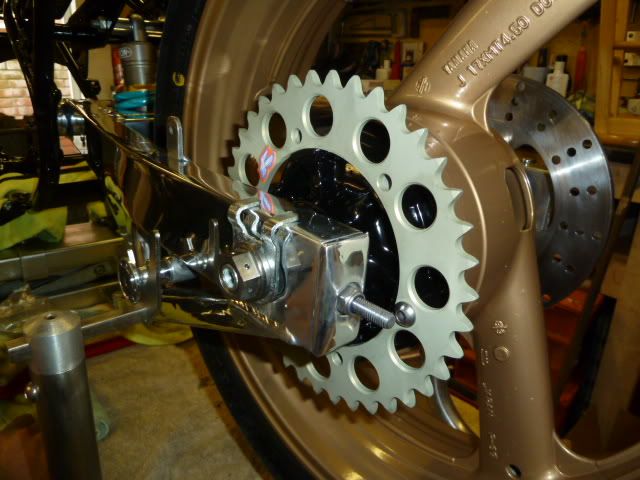
Picked up a 17x4.5 inch FZR400 rear wheel, turned up some new spacers and it fits, but it will require some more machining to the sprocket carrier to get the chain run right.
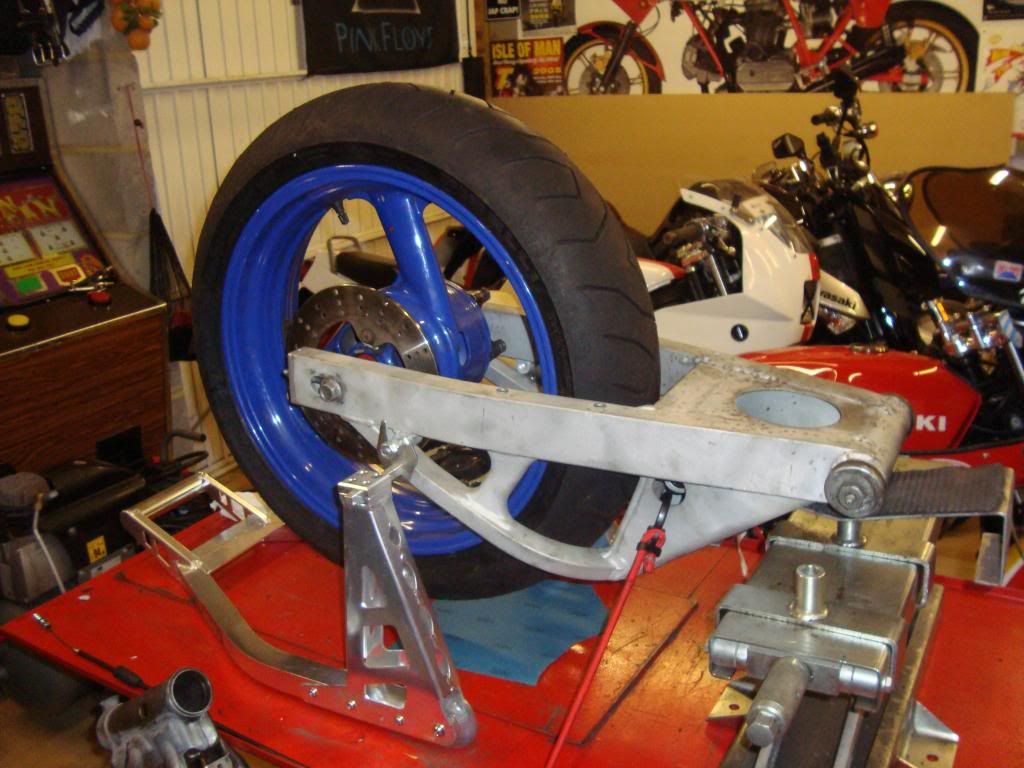
Image

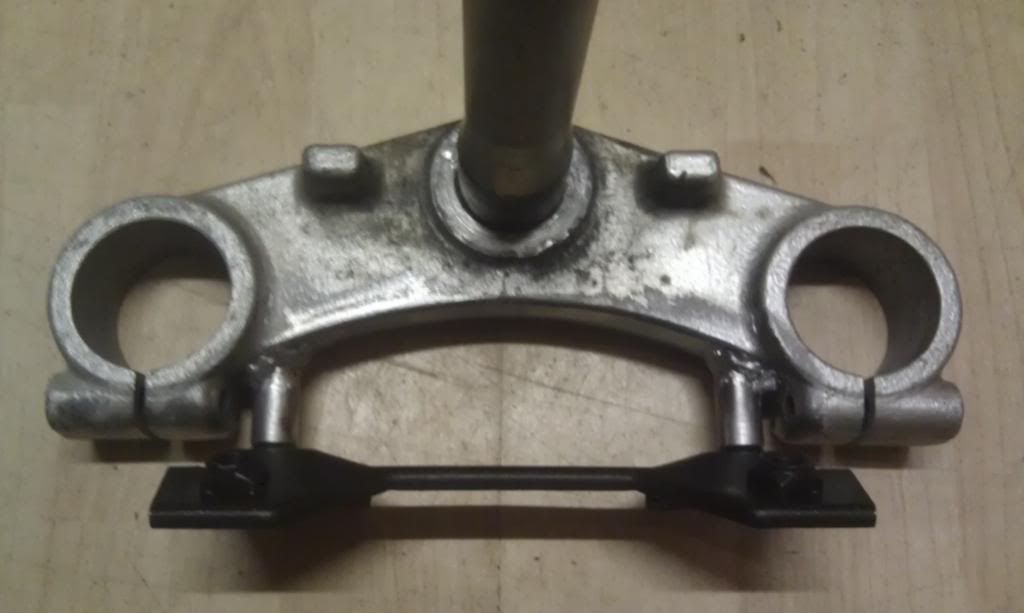
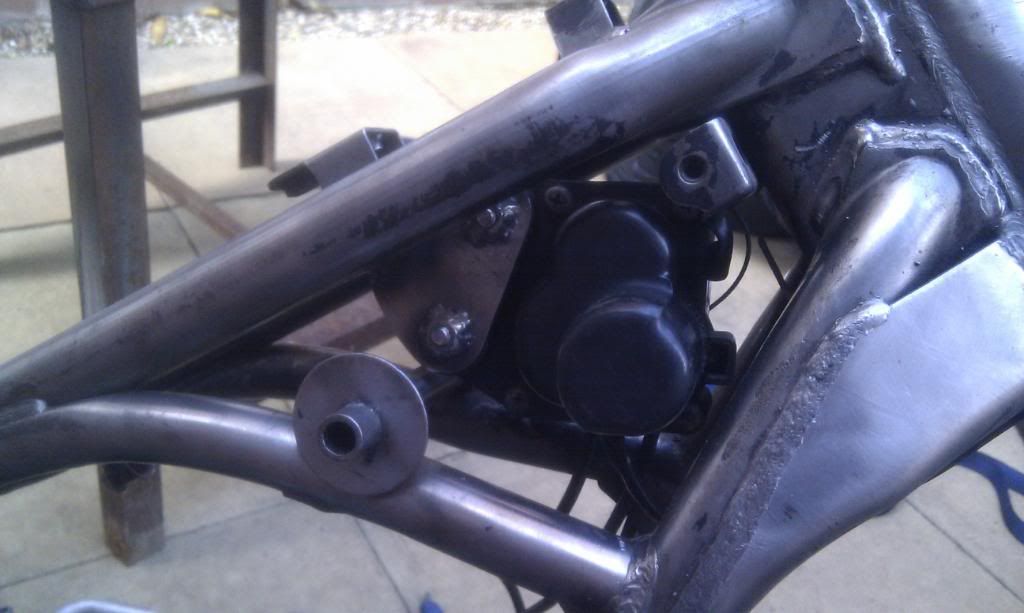
Had to make a mount for the YPVS servo, hidden behind the headstock
Image

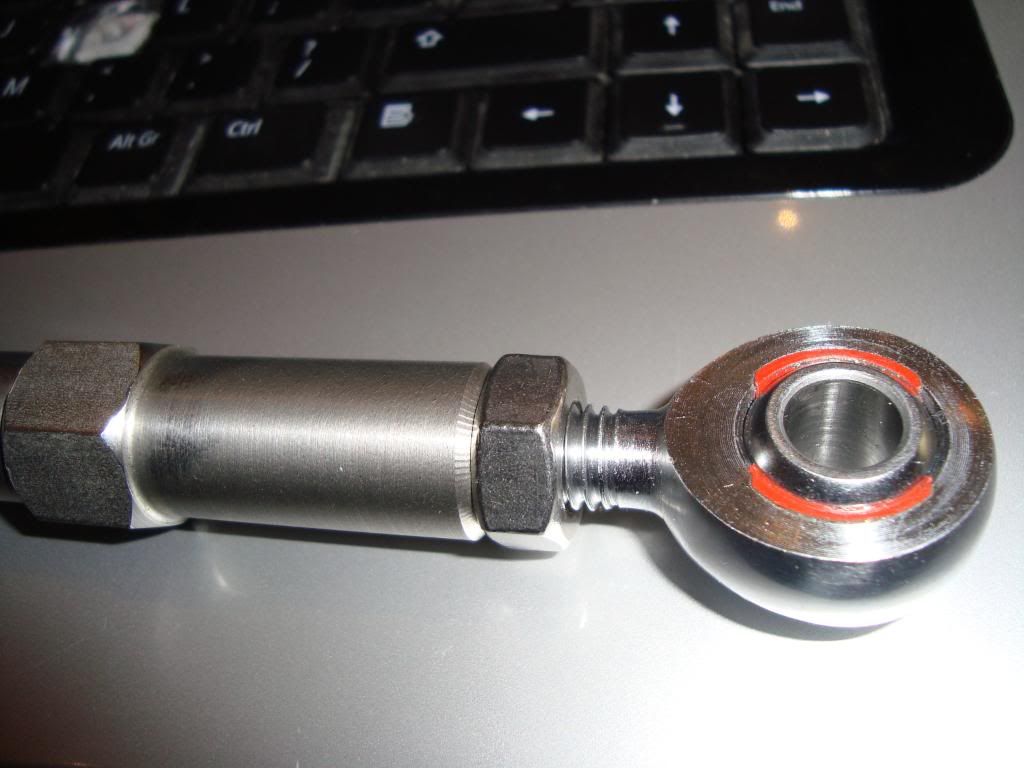
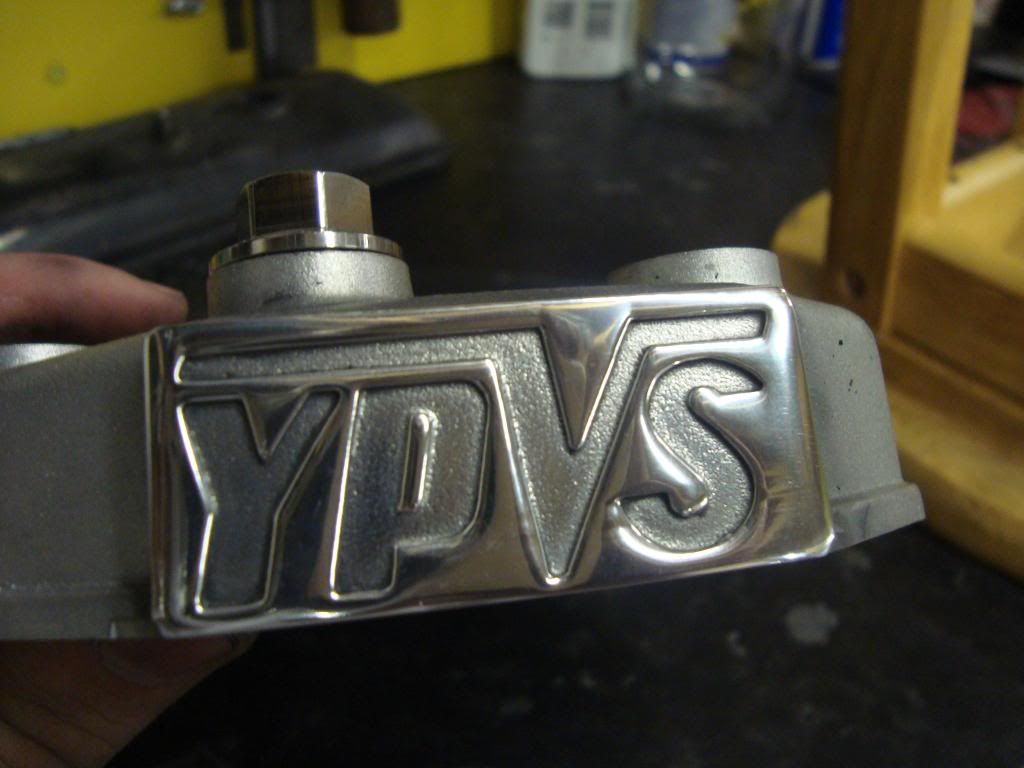
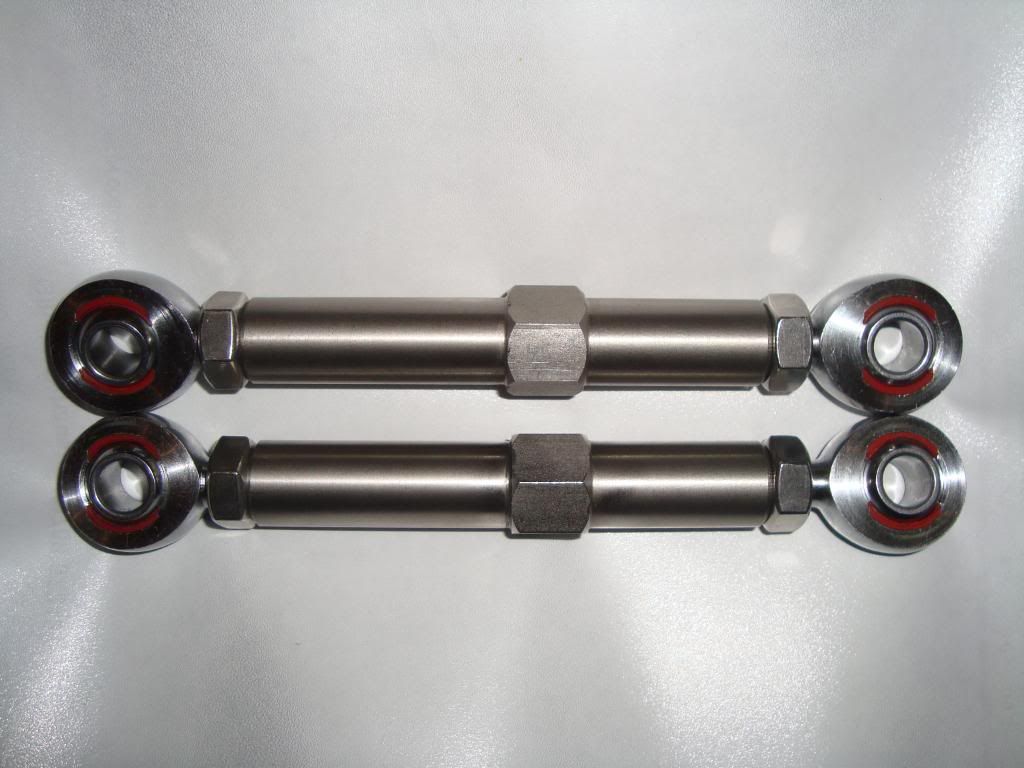
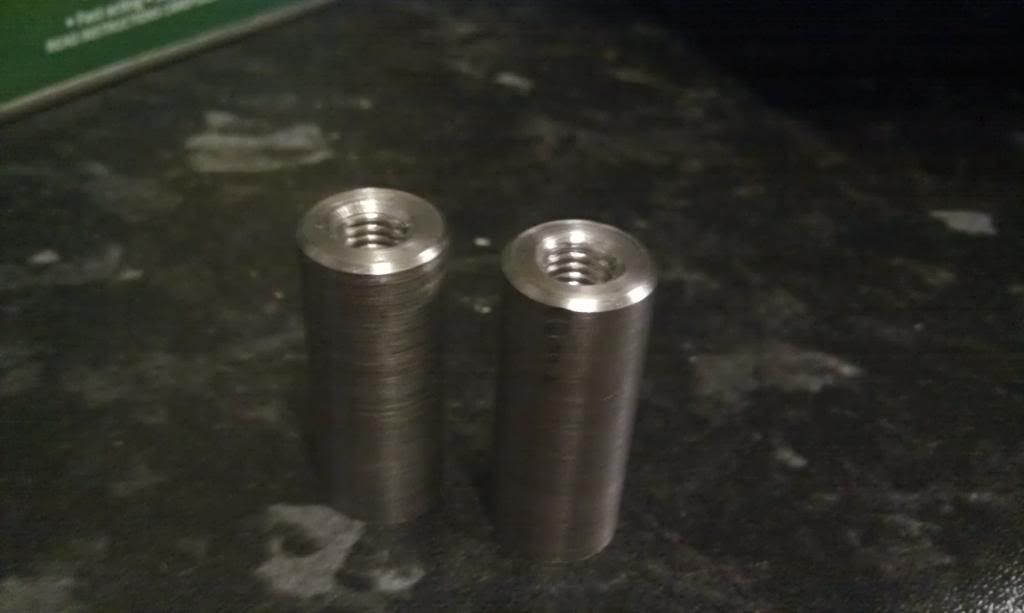
Made these out of 19mm stainless hex, will help me get the ride height set up and look the biz ;)
Image

Image

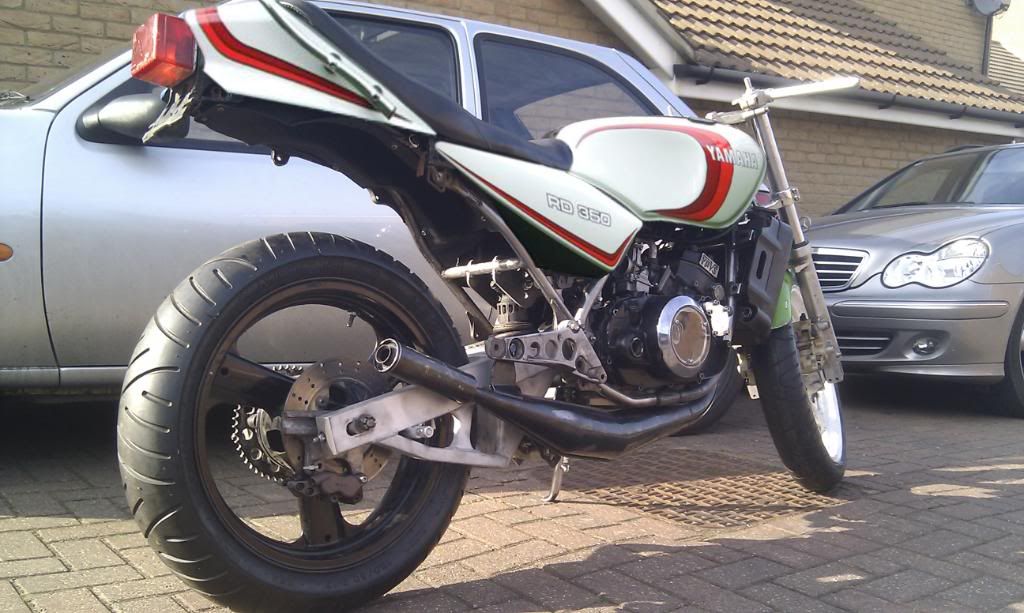
Photoshop mock up of the paint scheme. Maybe, tempted to go candy blue
Image

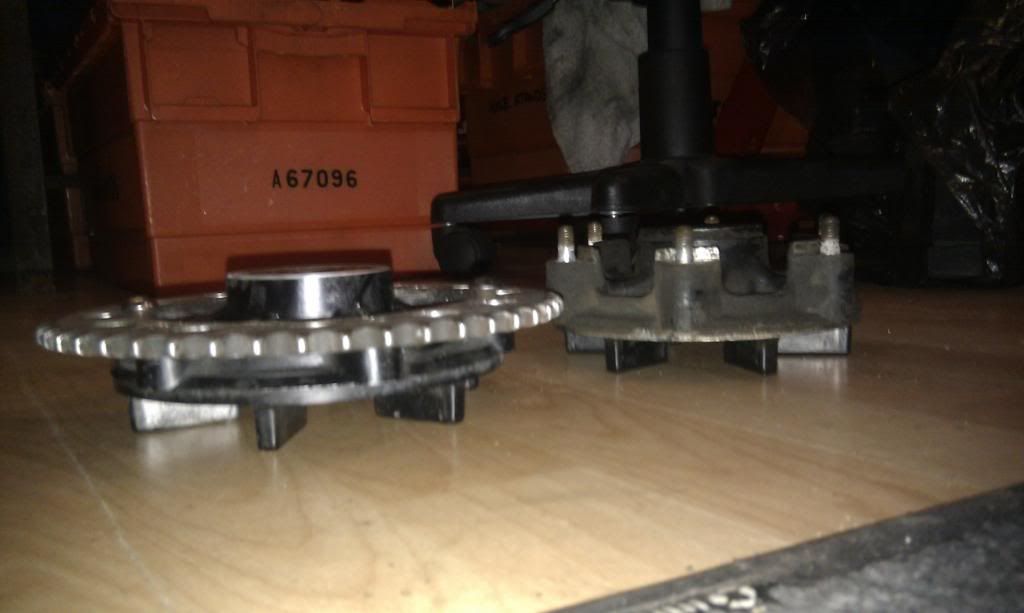
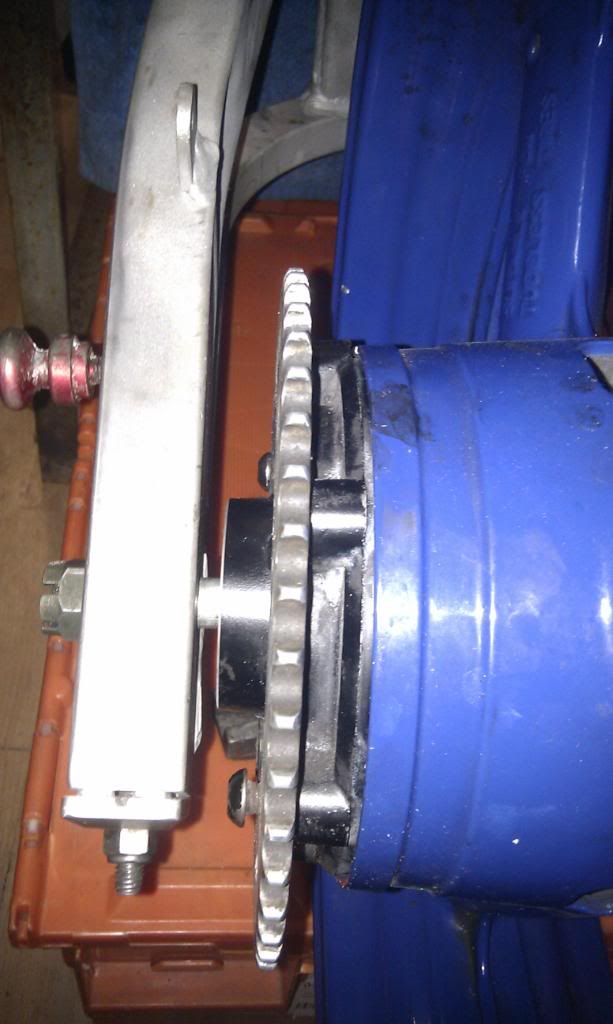
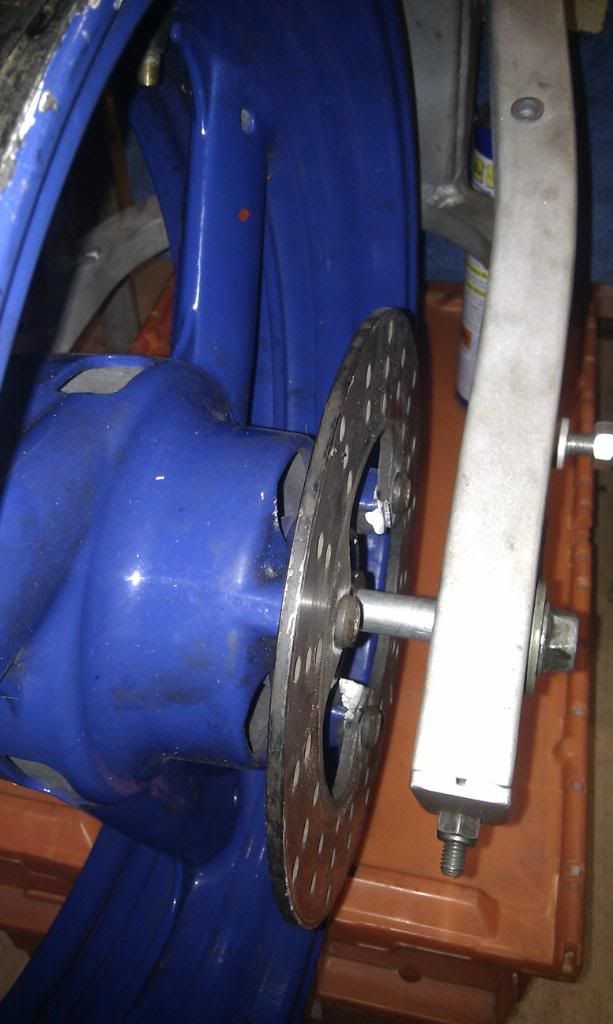
Finished my sprocket carrier off this afternoon, snuck back into college to use there lathe. Took 7mm off the bearing face, so will change to a sealed 52x25x15 SKF bearing instead of a separate seal. Also took 10mm off the sprocket mating face. Im going to change from studs and nuts to simply bolting the sprocket in place. Looks cleaner and saves a bit of space plus can play with my new lock wiring pliars :oops: Got a good chain run now to the front so i think i can get away without an offset sprocket on the front with enough clearance for a 150 tyre on the 17X4.5 FZR400 wheel. TZR125 4DL carrier, FZR400 wheel, 3MA Arm, MV Agusta F4 caliper..... :lol:

Old vs new shots
Image

Bit tight
Image

Now
Image

Plenty of space now
Image

Image

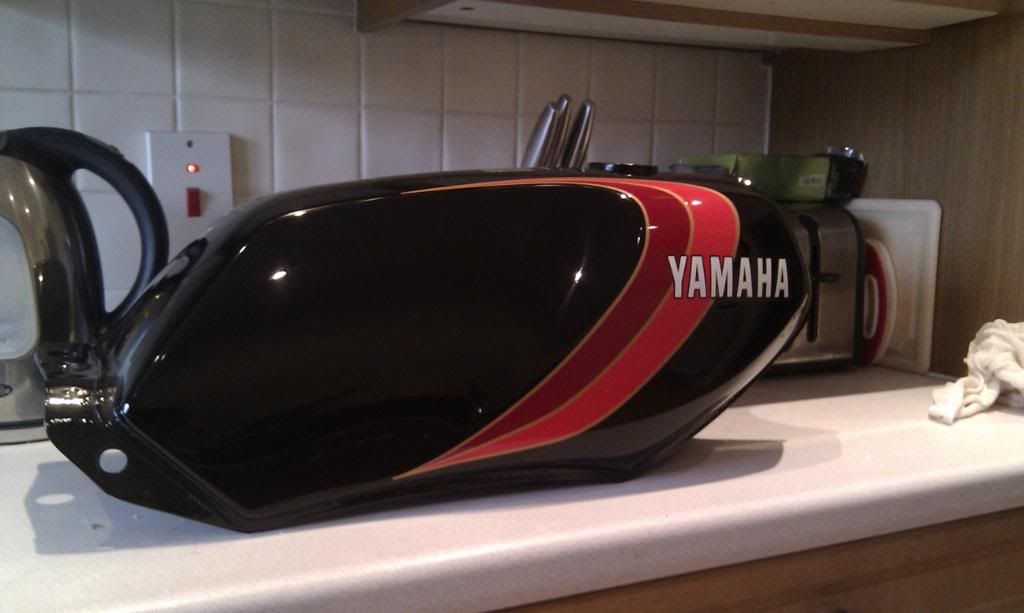
Also bought this, NOS tank for my RD50mxII, wrong colour but i bought it for the shape and obviously its solid
Image

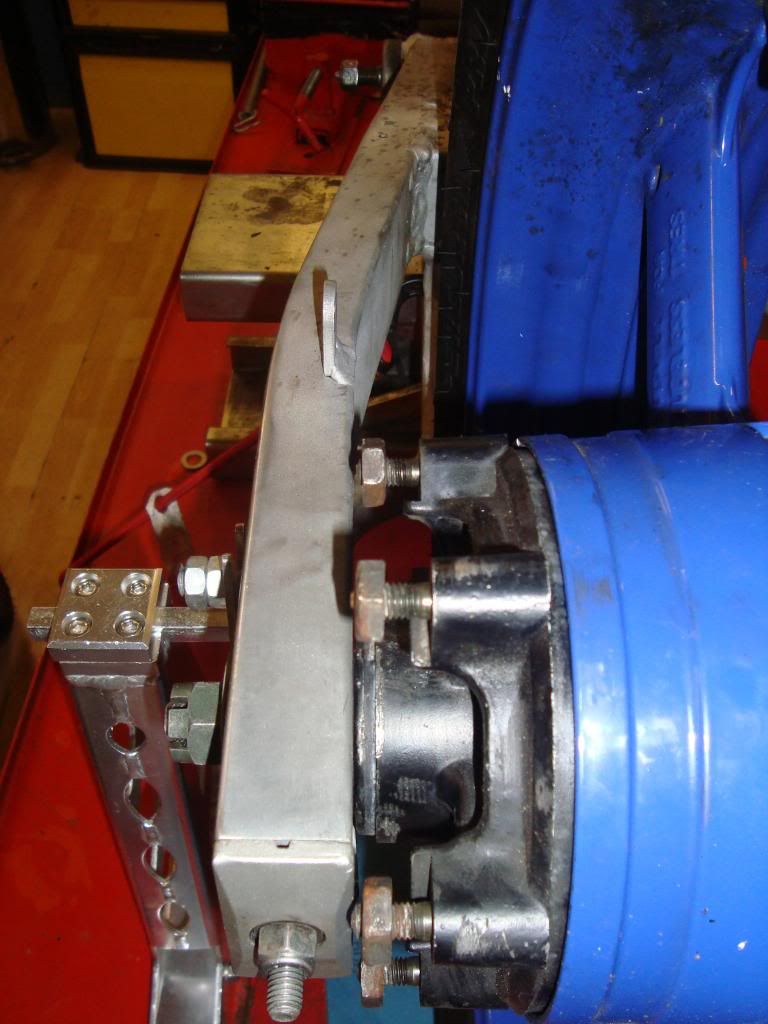
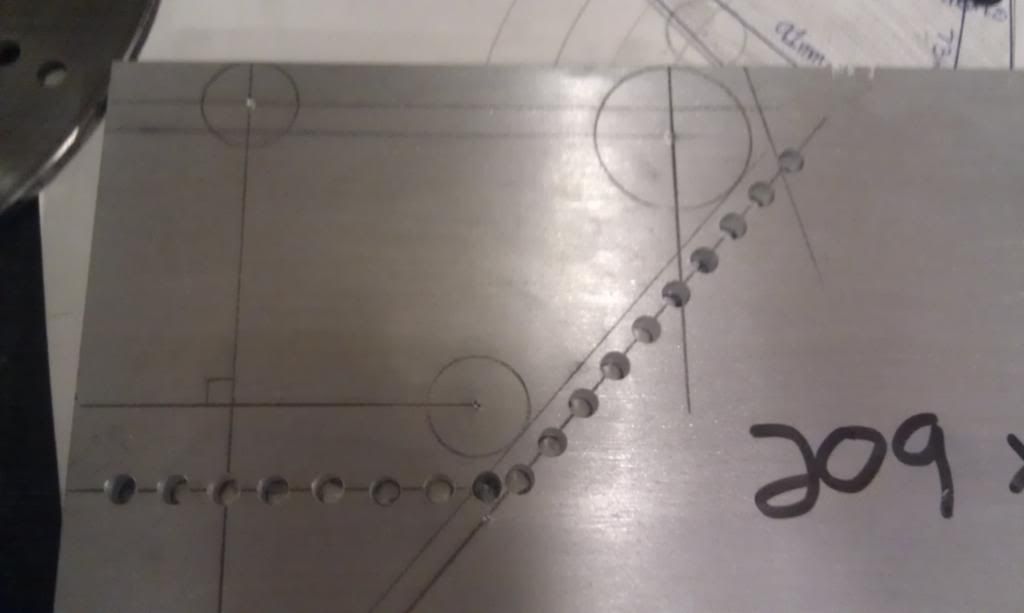
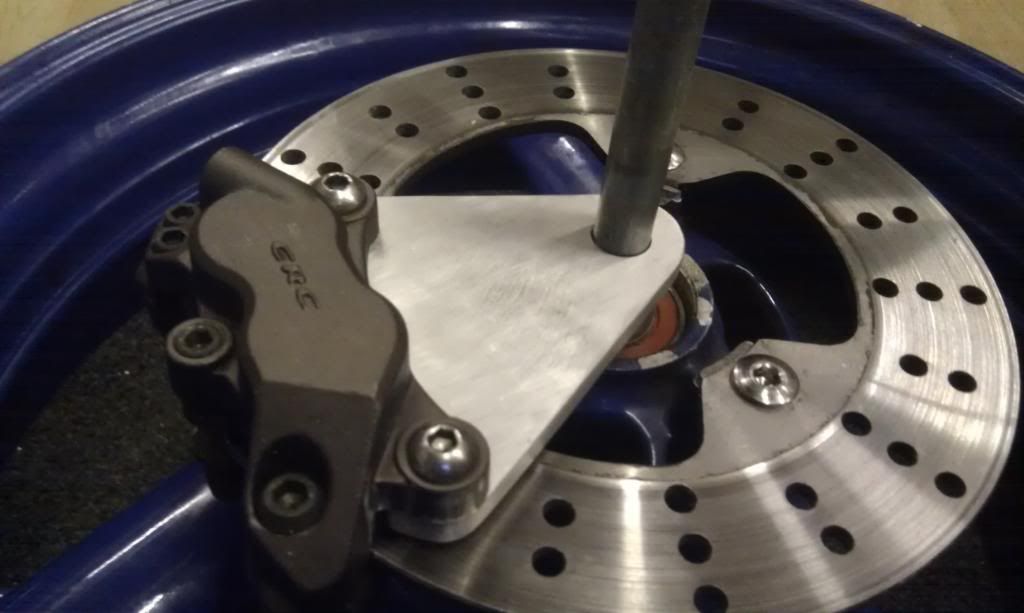
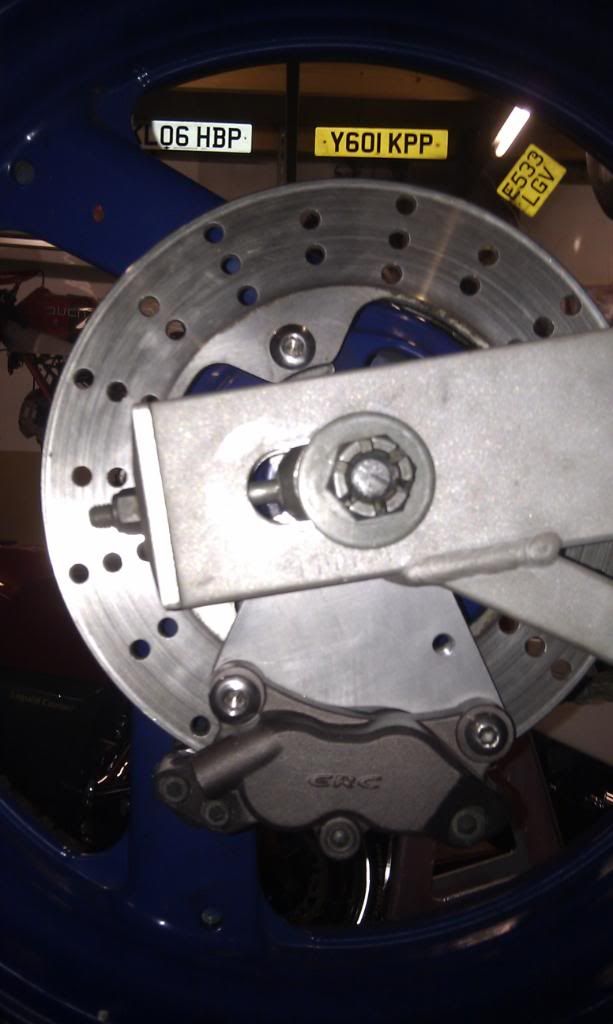
Little update, made a caliper hanger for the rear today. Not much space using the MV caliper so i bought some ultra low profile titanium disc bolts. Had to increase the disc holes to 10mm for the shoulder to sit correctly.
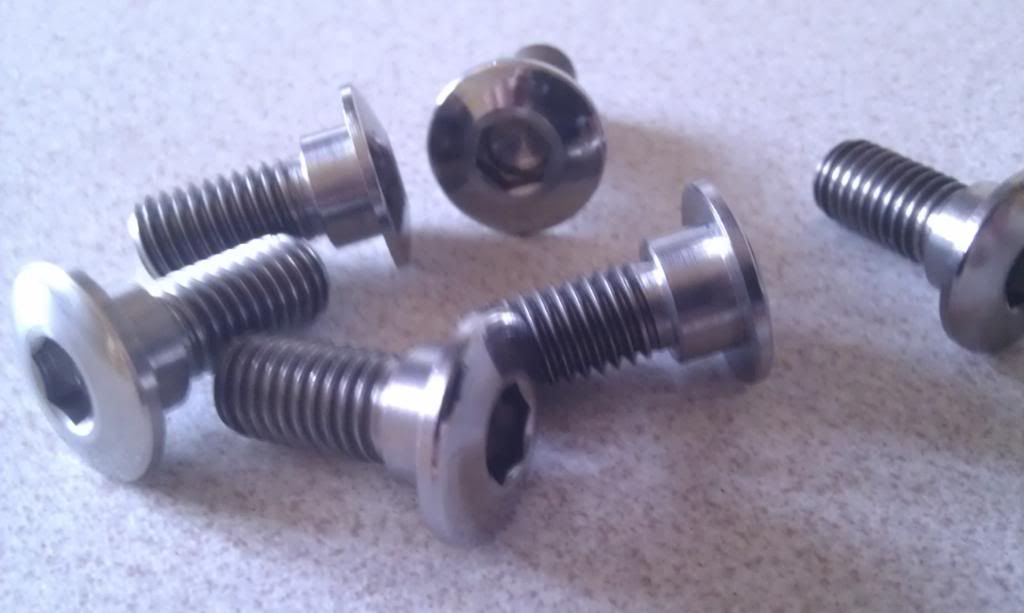
Image

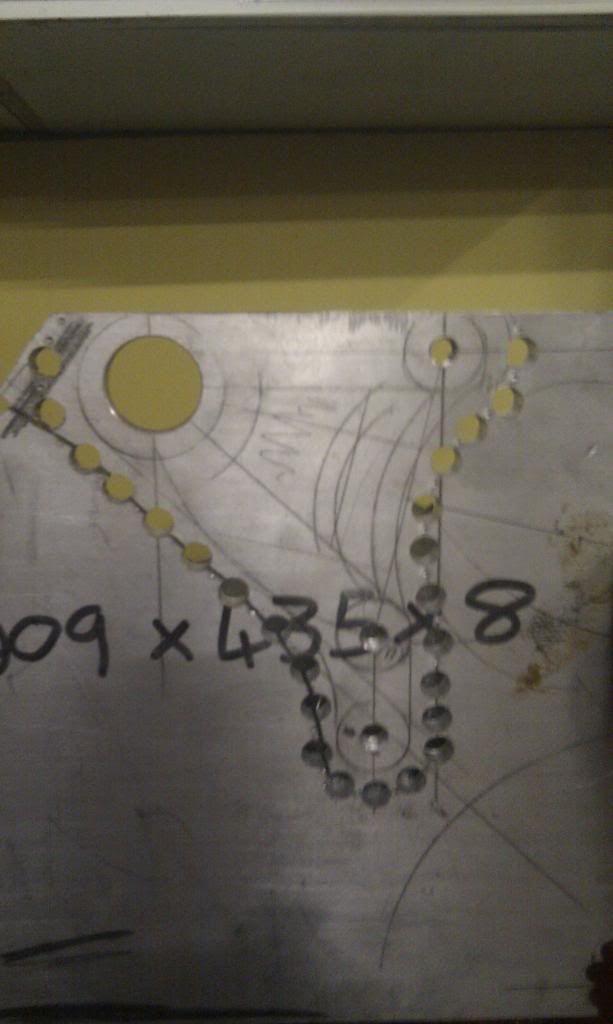
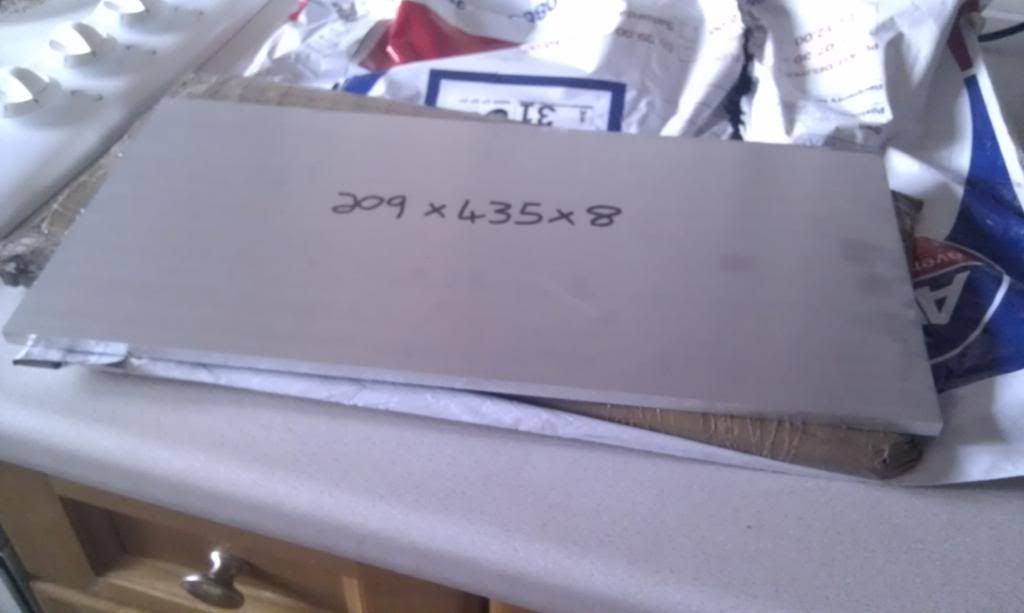
Also got this 8mm ally plate for a tenner. Result
Image

All marked out ready
Image

Test fit
Image

Just need to finish my torx arm now
Image

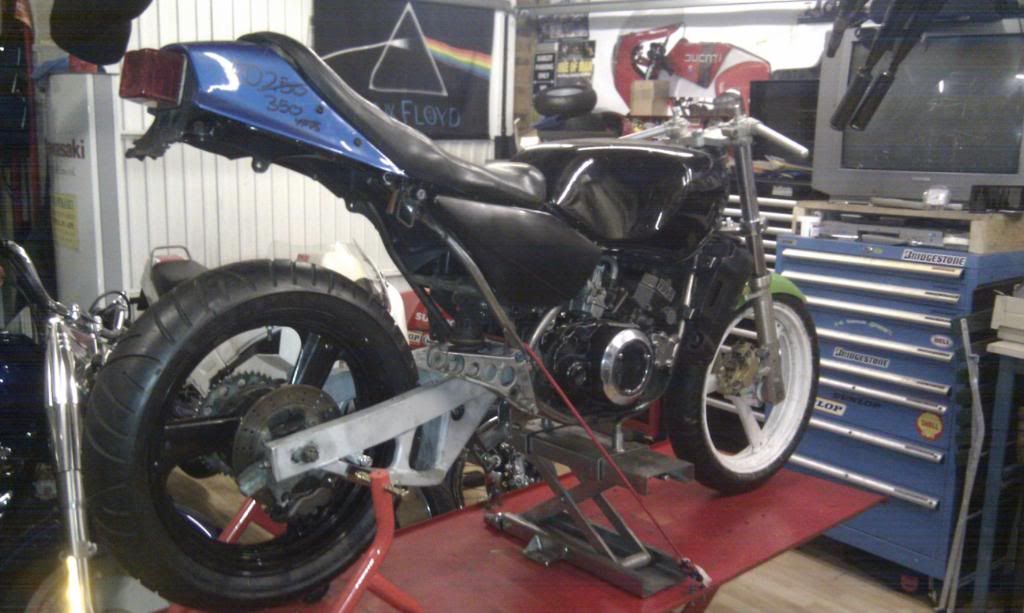
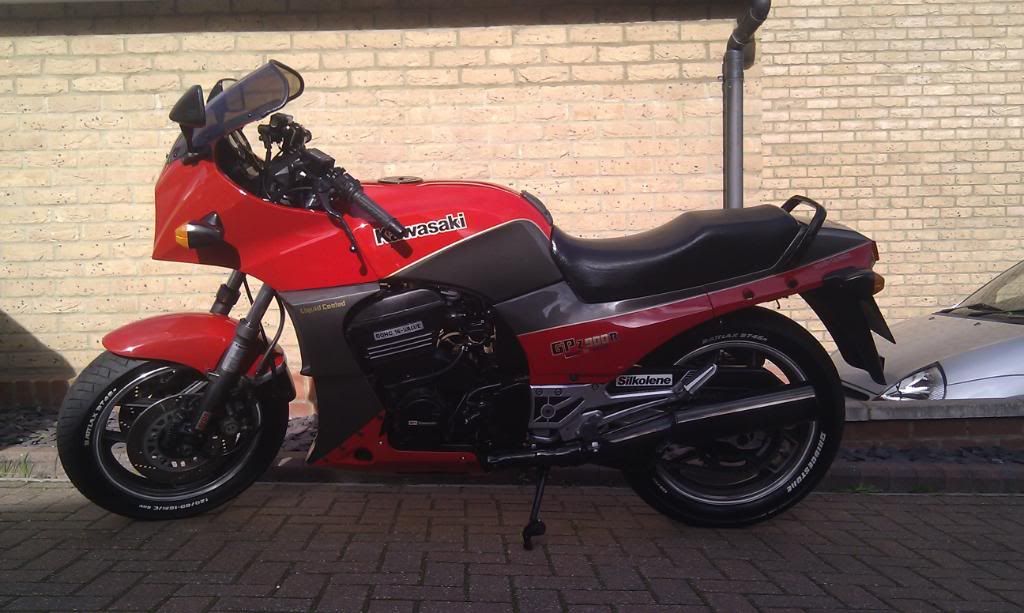
Went and MOT'd this aswell. Sailed through 8-)
Image

:D

So after an awful start to the day after watching the GP (simoncelli) I was put off going out for a spin so headed for the garage instead to have a play with the bits and pieces I bought at the Stafford show last weekend.

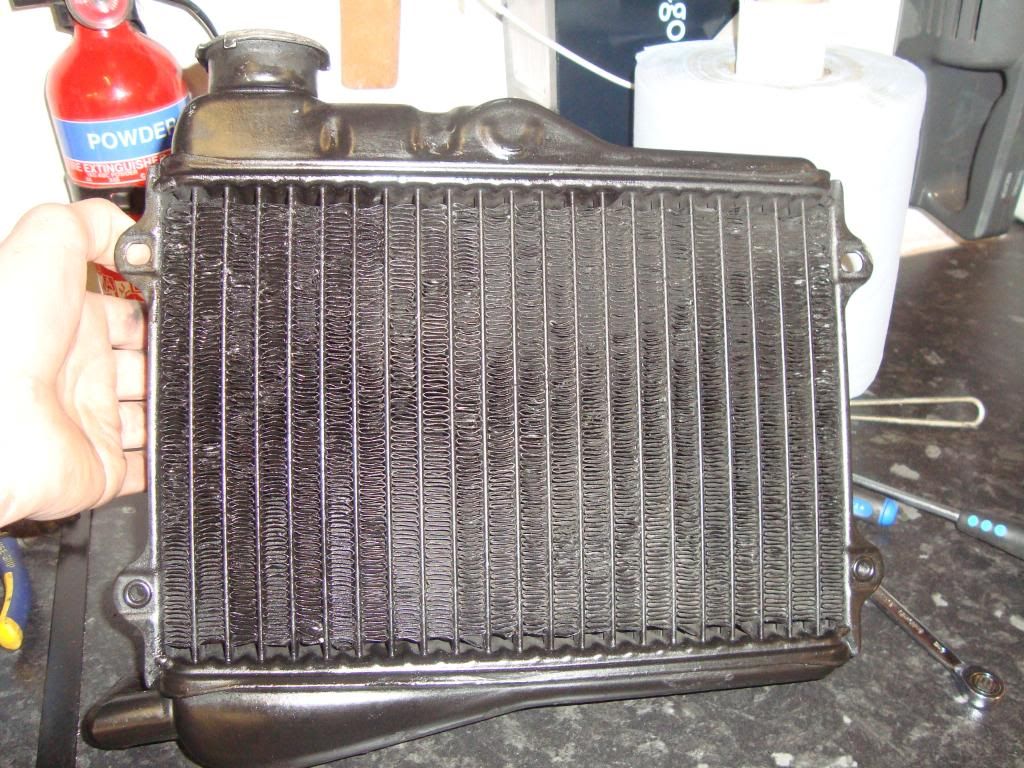
Found a nice tidy radiator with minmum damage to the cooling fins, still a few I needed to straighten but its looking like this now. Need to get it dipped to remove the paint then its going gloss black.
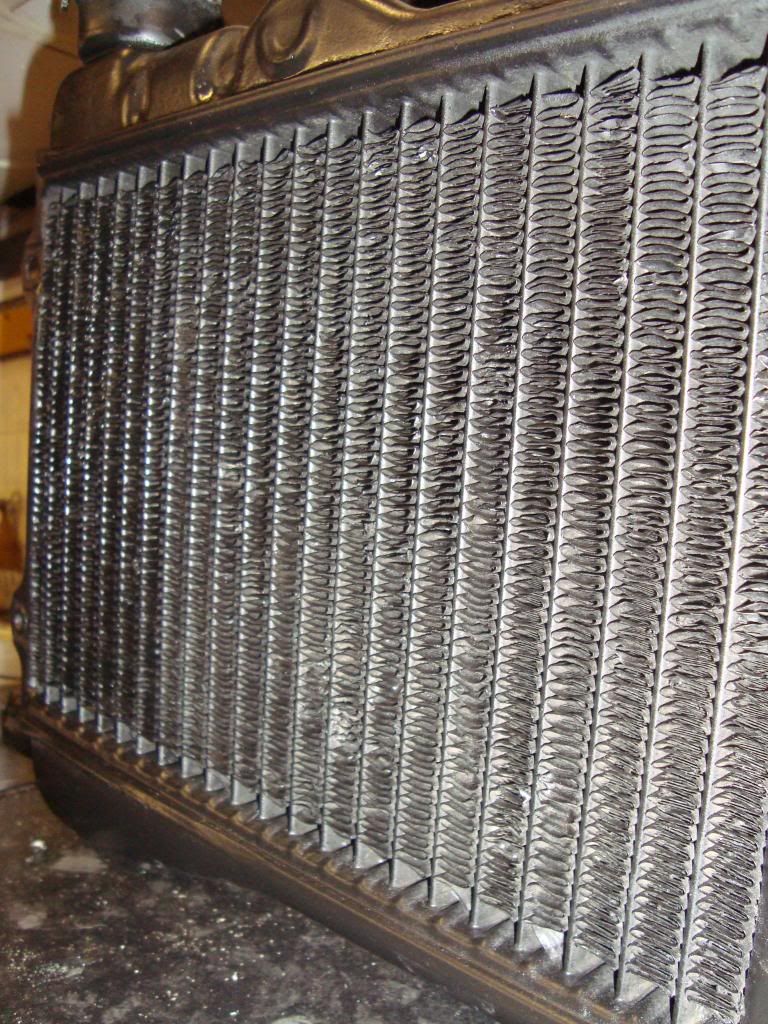
Image

Image

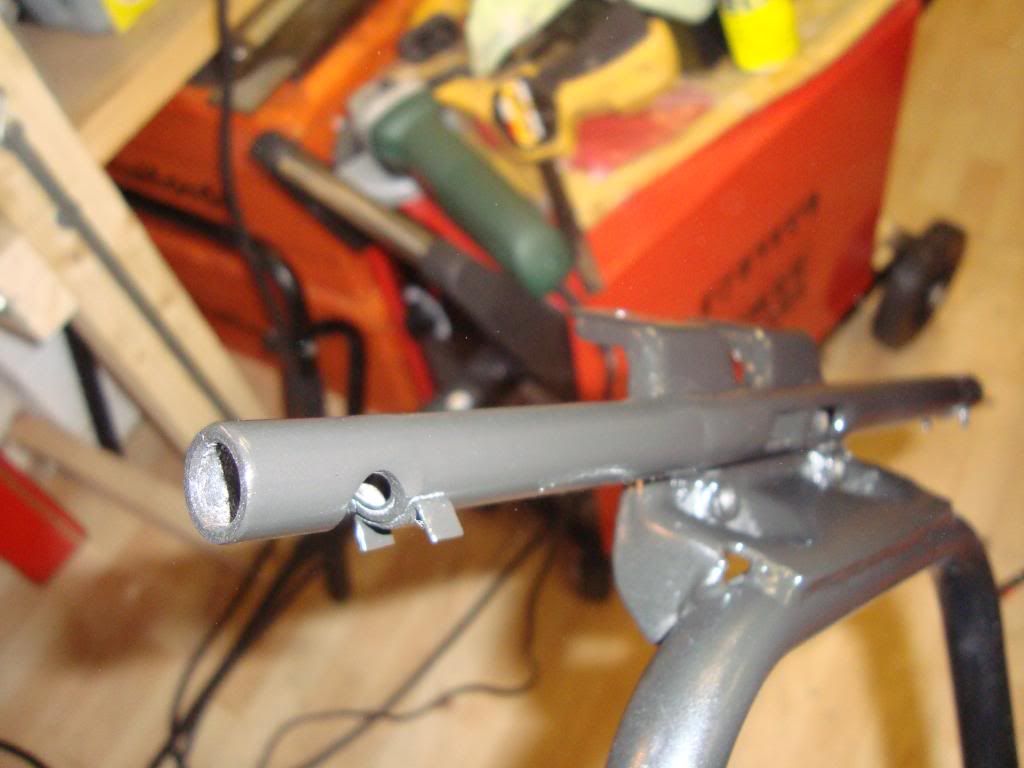
One job done, next was onto the uncut subframe I managed to find for a tenner it was a good buy but someone had obviously thought about it the backed out of the idea of cutting it down.
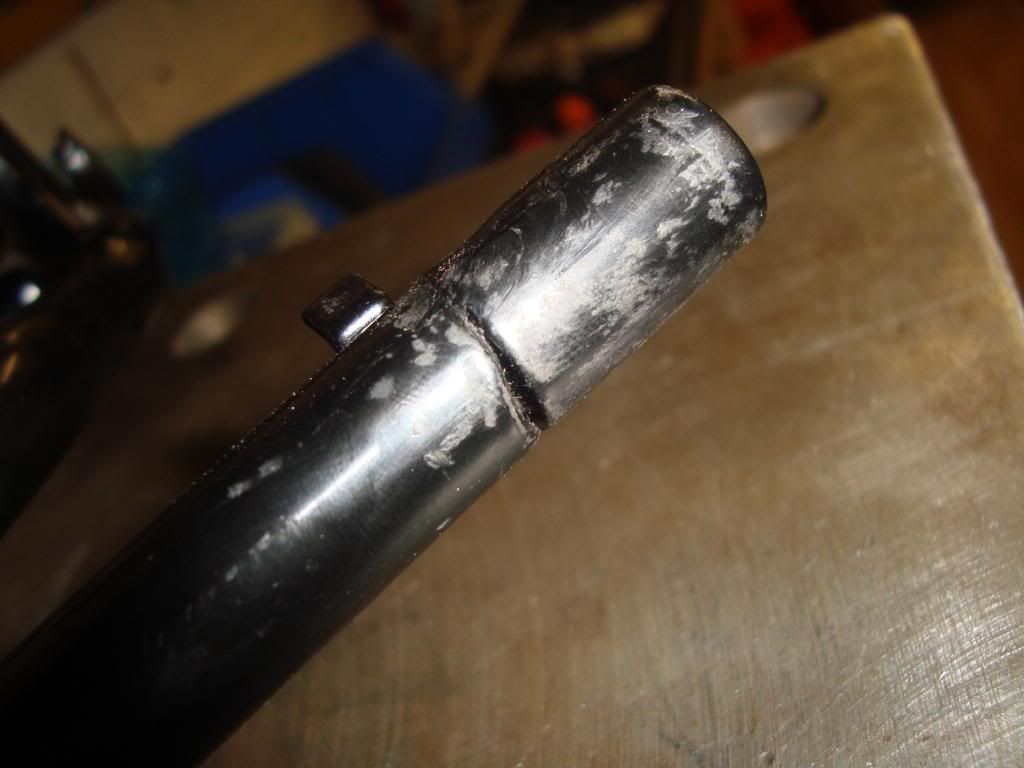
Image

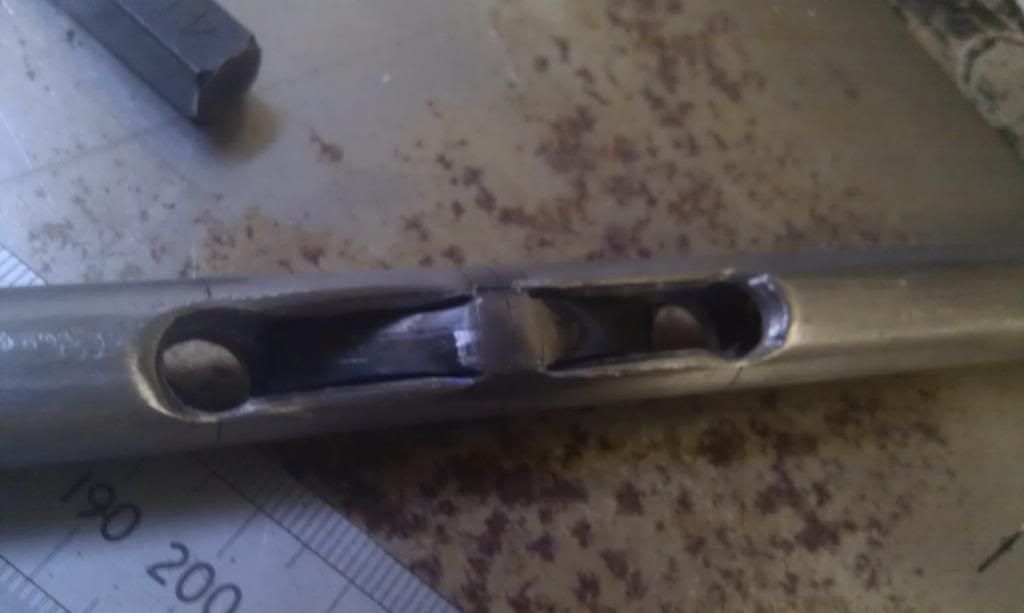
I made a slug to sit across the 2 pieces which hadn’t been fully cut but would of obviously been week, cleaned up the remaining powder coating and set to work welding it up.
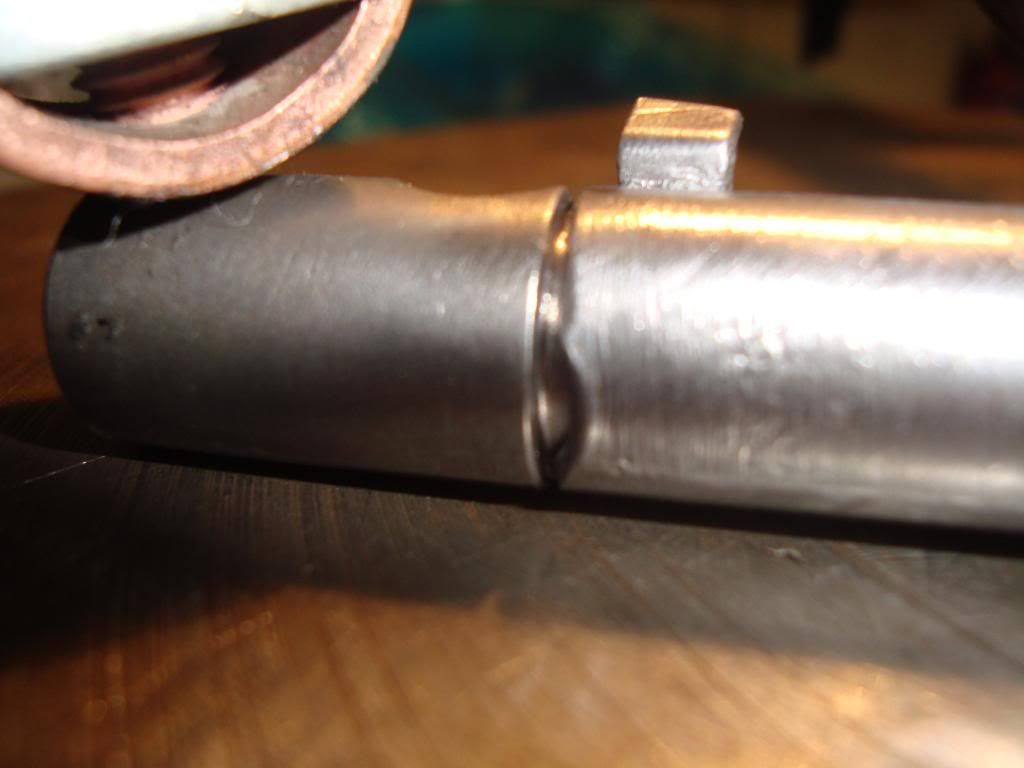
Image

All welded up, you can see the wall thickness is a little more with the insert in place.
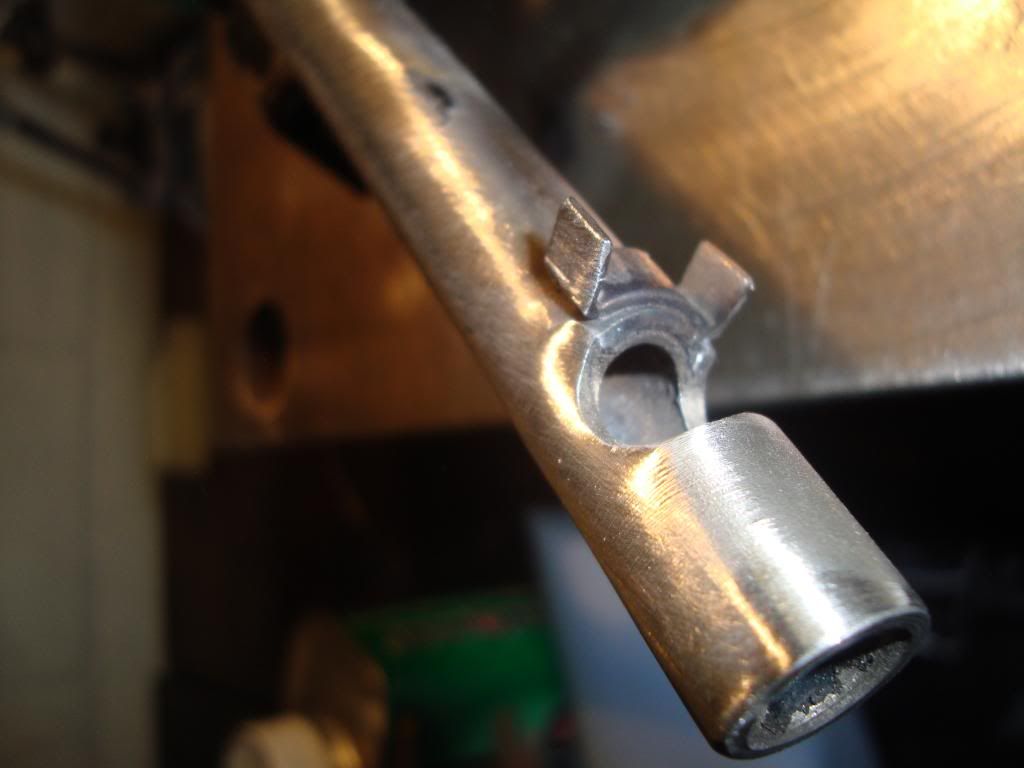
Image


A lick of paint for now, then it’ll be off for coating with the rest of the stuff
Image

Finally managed to get hold of one.
Image

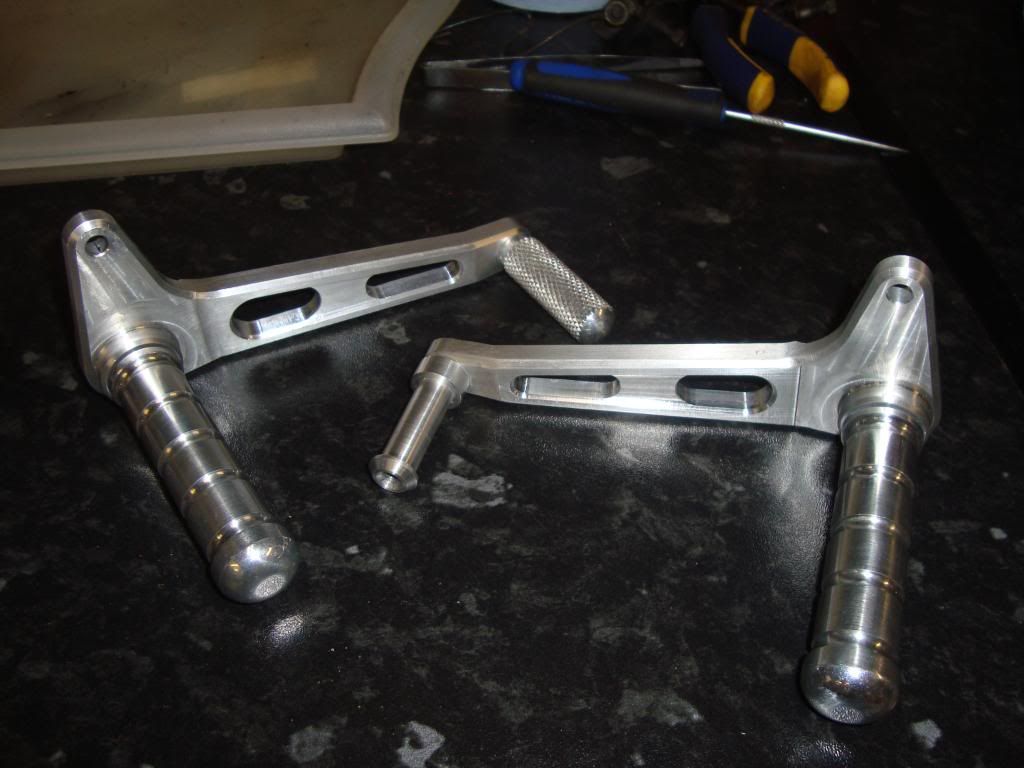
Next on the list is making these work
Image


Had a couple of hours spare this afternoon so i started working on some new back plates for the rear sets.

Turned up the mounts on my lathe allows the bolts so sit flush, they weren't done up in the picks

Mild steel for mock ups, need to mod the rear brake lever to work how i want it but you'll get the idea. A really quick mock up i must point out as you can see by the state of them.

I will make them in stainless, tig them then mirror polish them once im happy with it :D

Image
Image
Image
Image
Image

Image

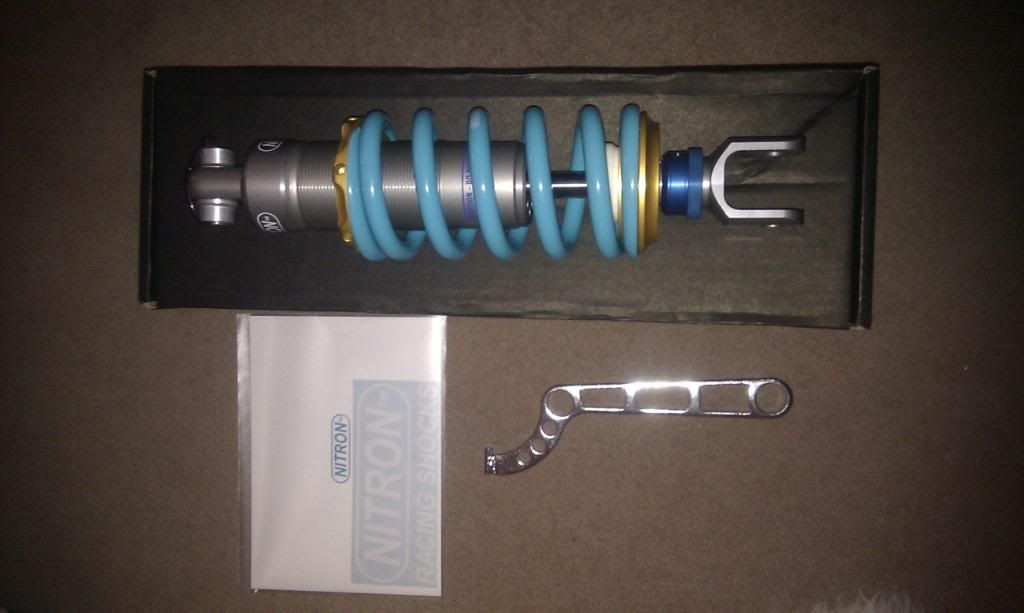
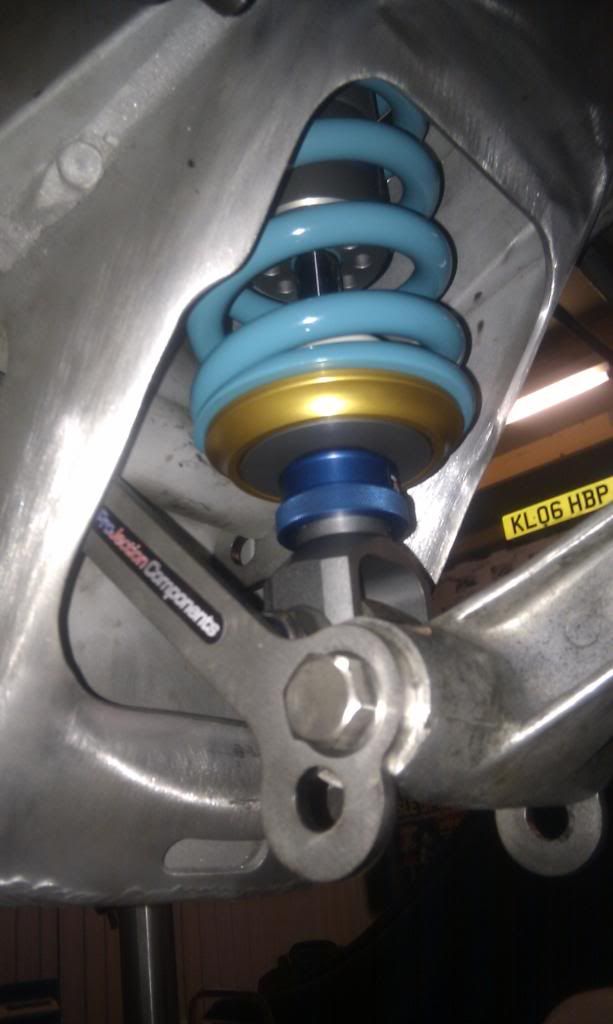
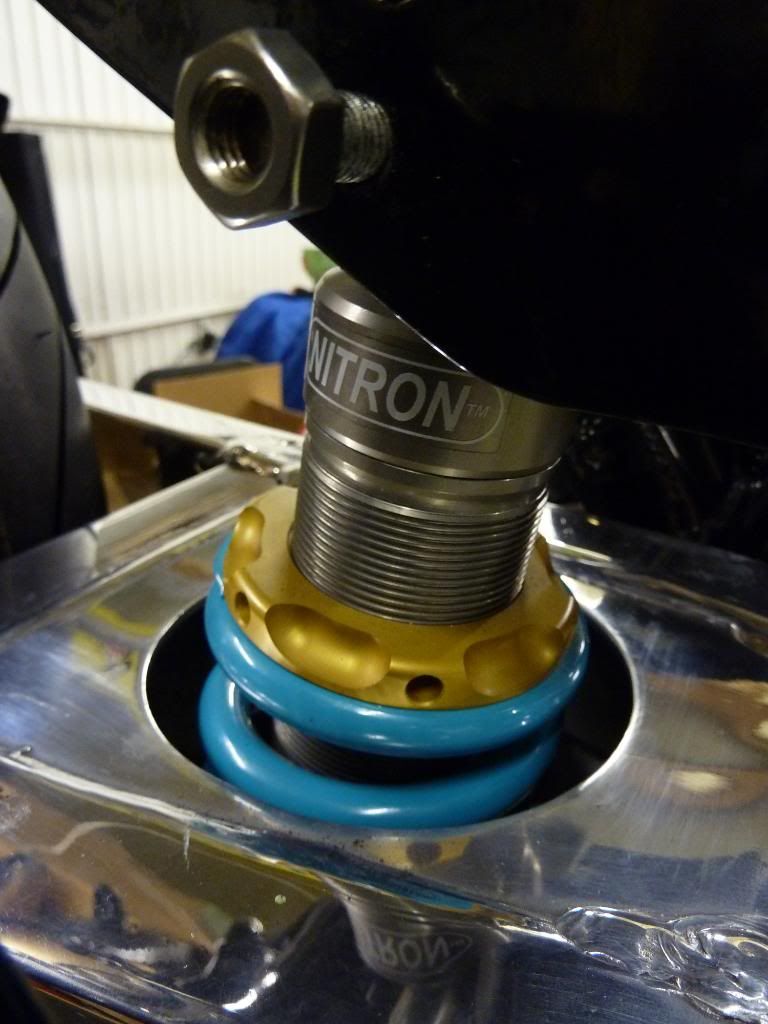
New rear shock
Image
Image

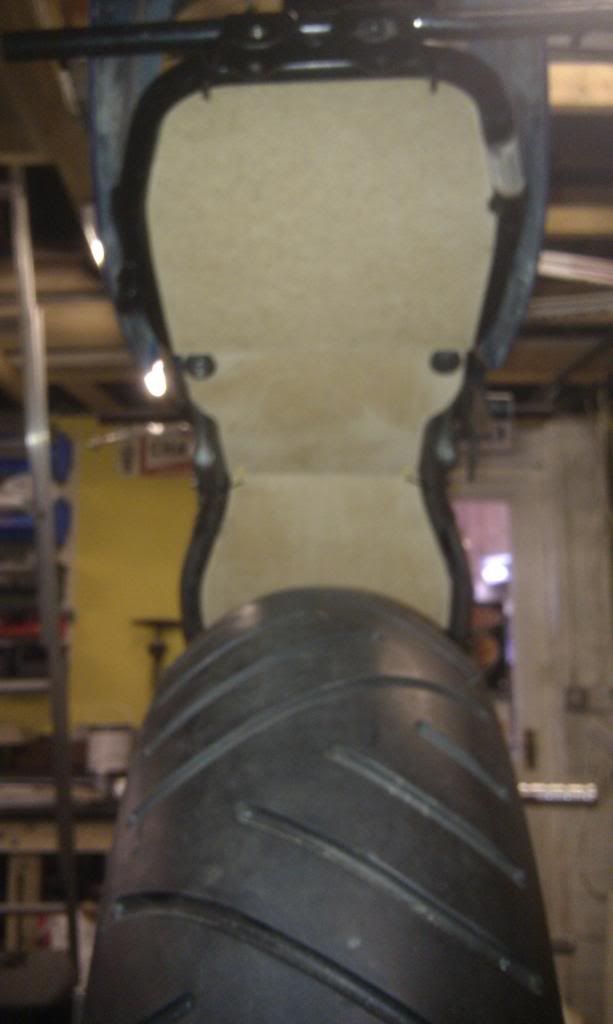
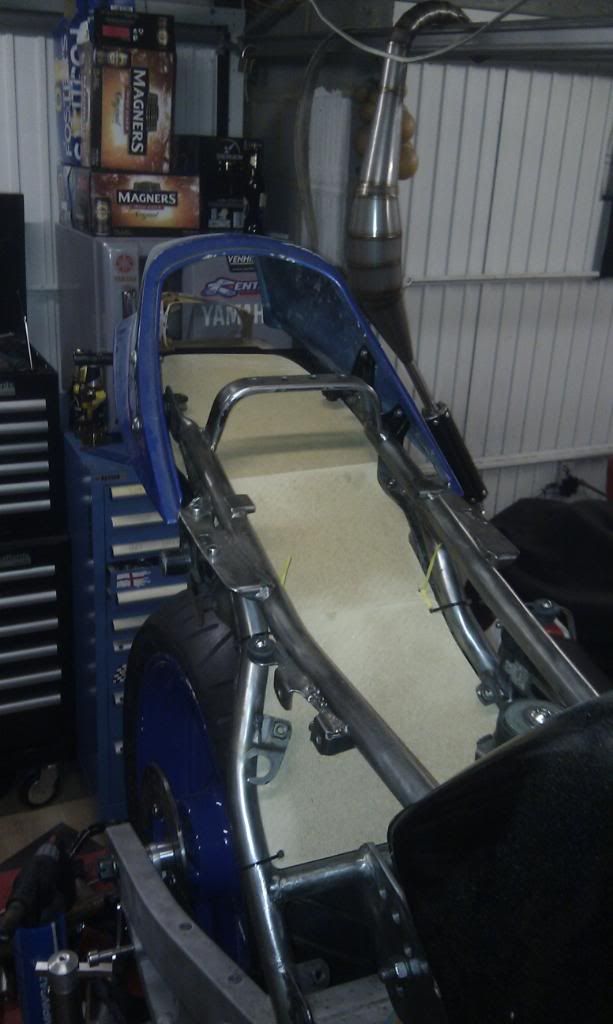
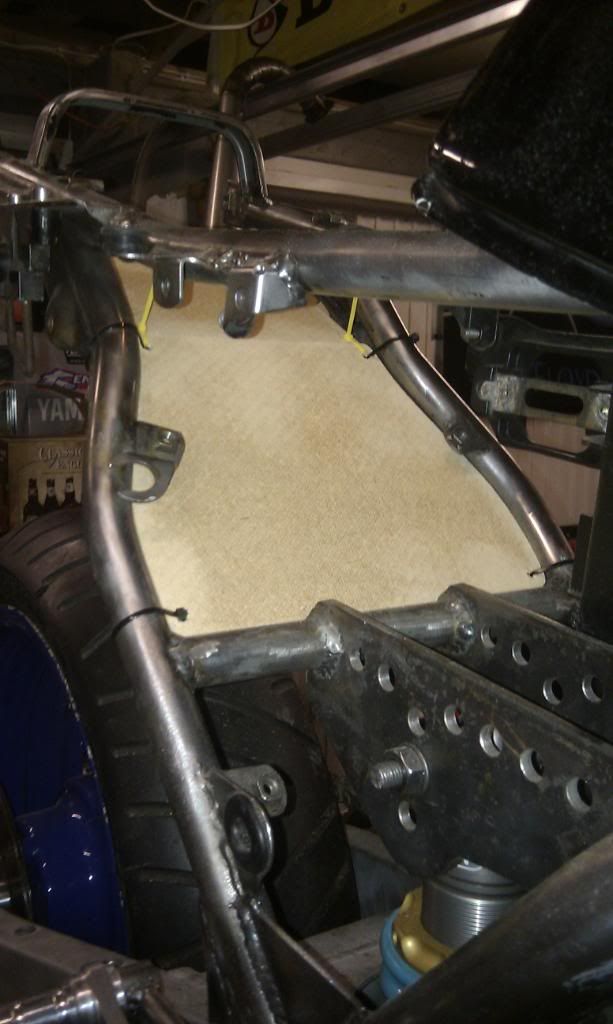
Started to make the templates for the new undertray
Image
Image
Image


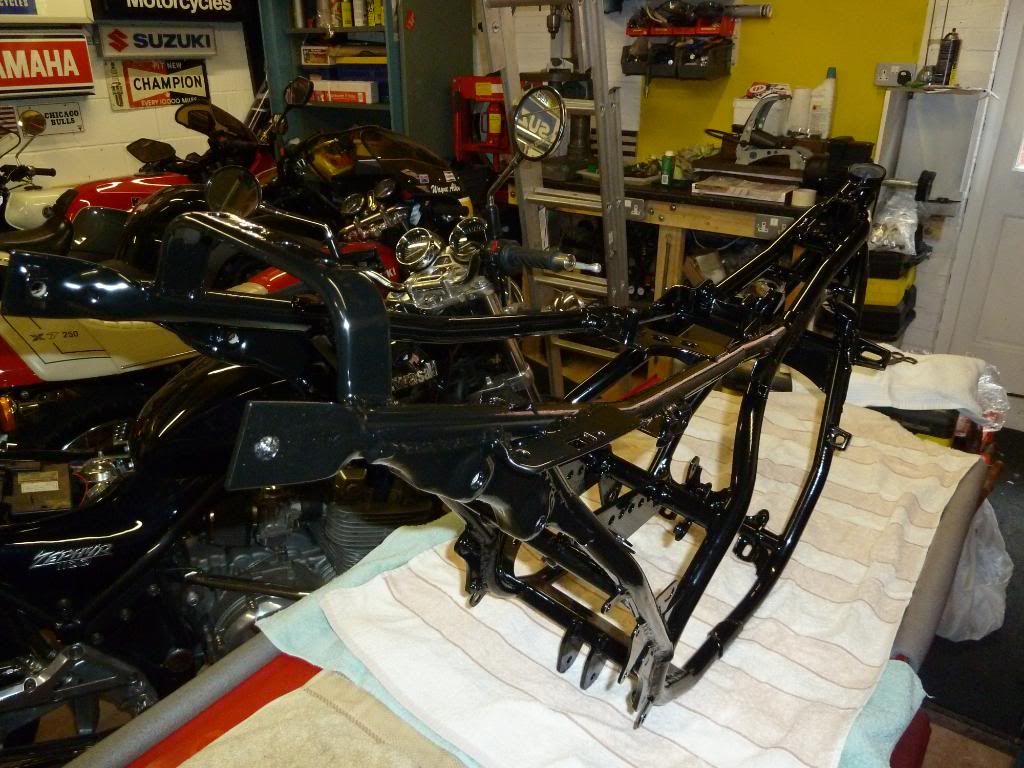
Right then, well im still here and its update time, things have moved on quickly in the last few days. My entry with the bike was confirmed for the festival of 1000 bikes this year at Mallory park so I need to get my arse in gear and get going. I’ve finished off the frame now and that off to powder coating along with the wheels and my subframe. So here we go.
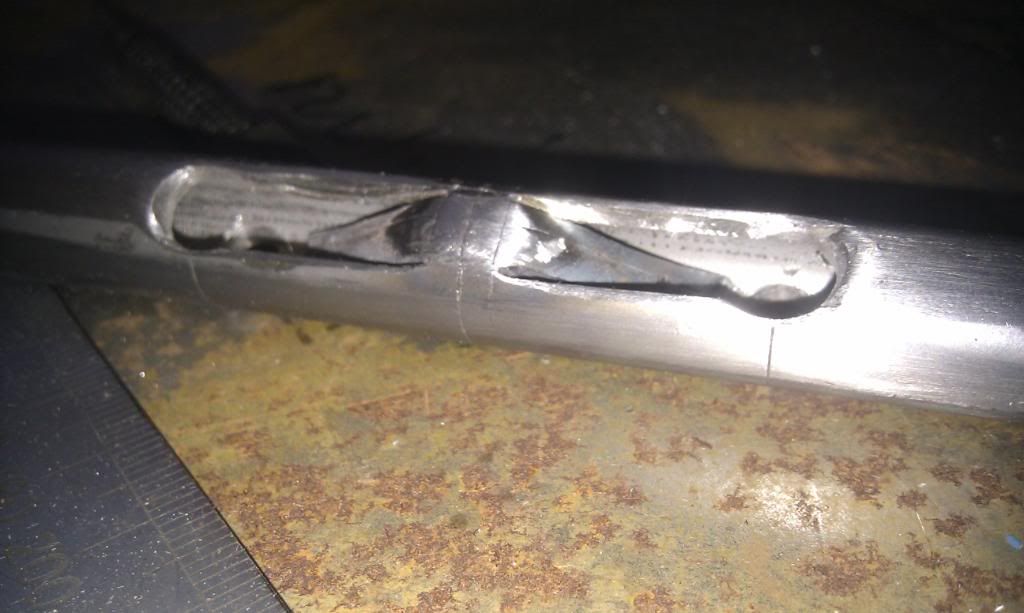
3 sub frames later I found a straight one but was cut down to I set to work one evening to remake it myself. Out with the dremel.
Image
Image
Image

The following even I sorted out the bottom yoke/horn bracket problem
Image
Image

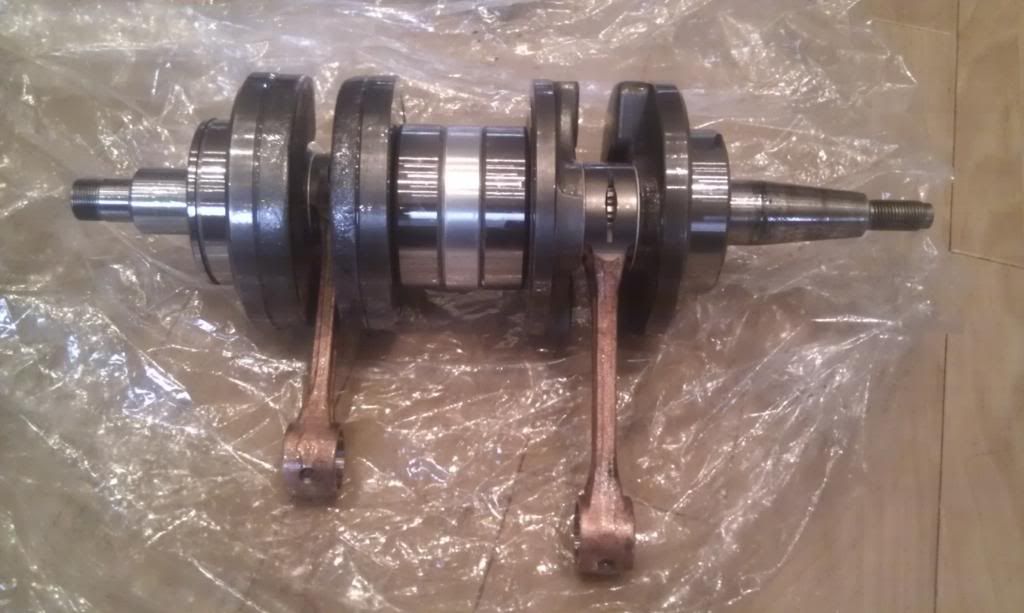
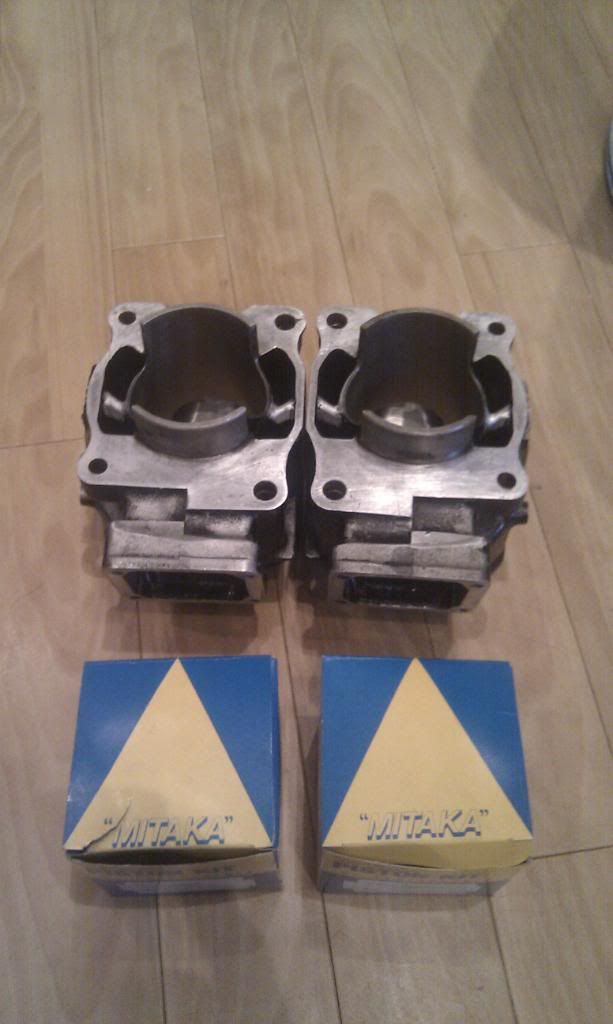
This morning I drove back down to kent to pick up some goodies from the top fella that is Mr Bob Farnham. 4 days it took him to turn this lot round. Crank fully rebuilt, rebore, fast road tune and head work. FANTASTIC!!!
Image
Image
Image
Image

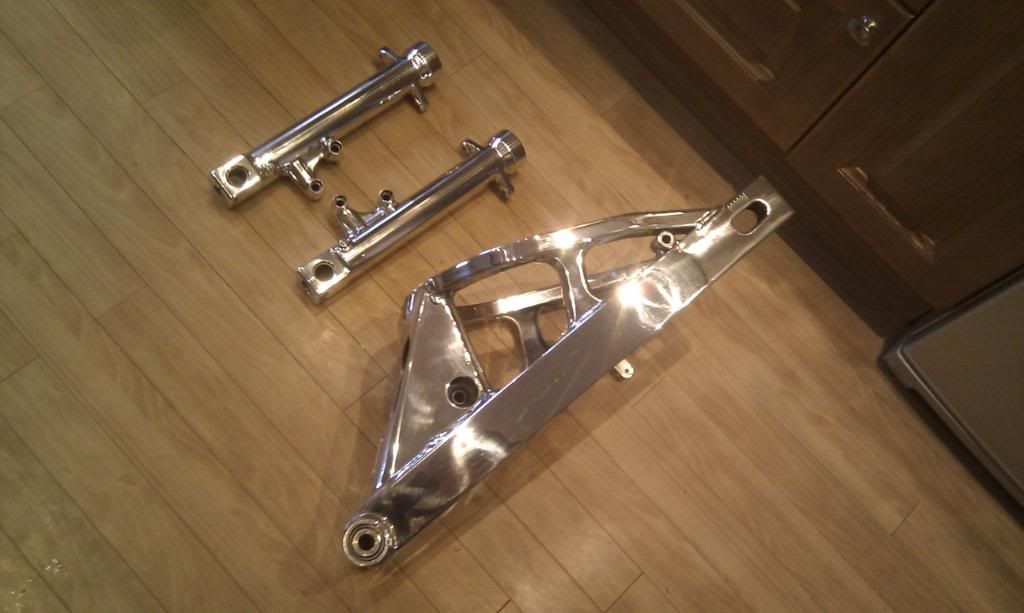
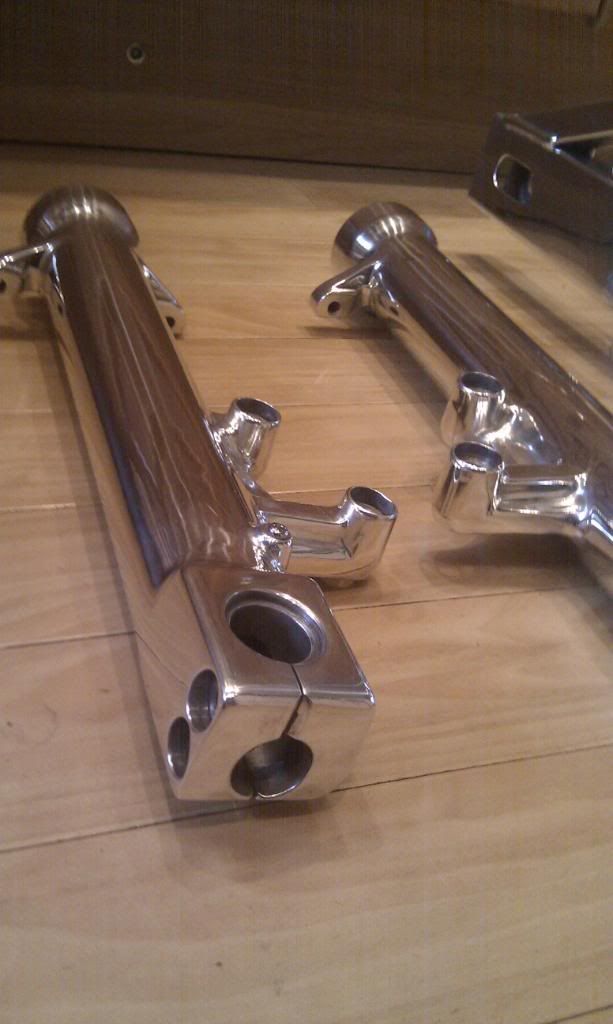
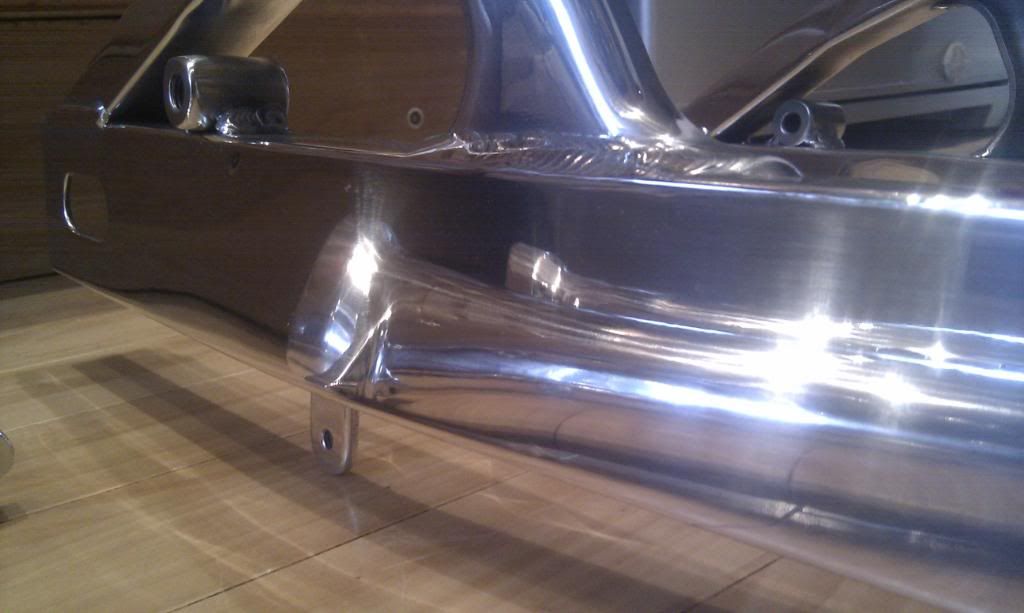
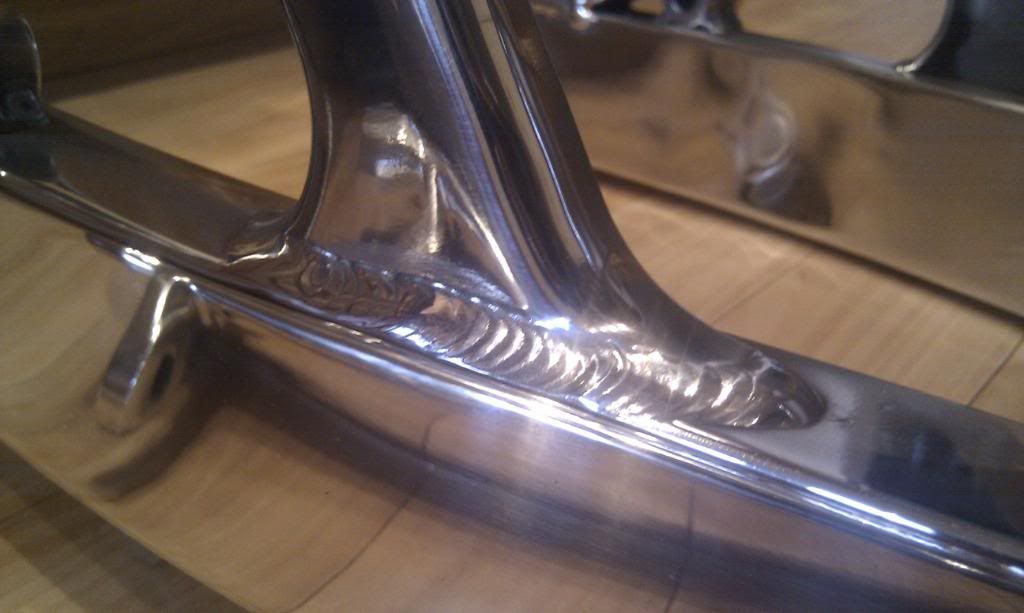
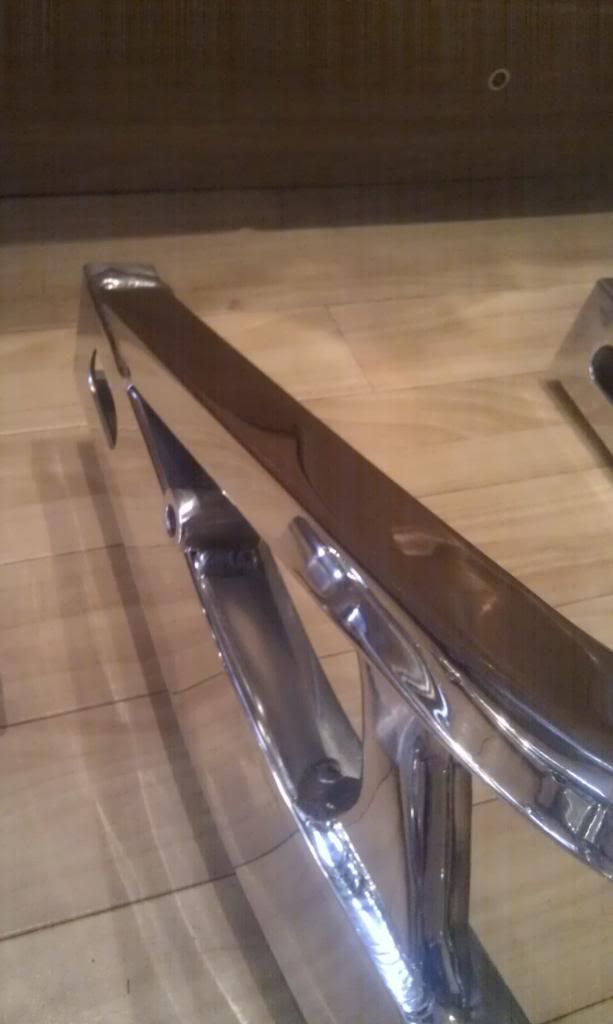
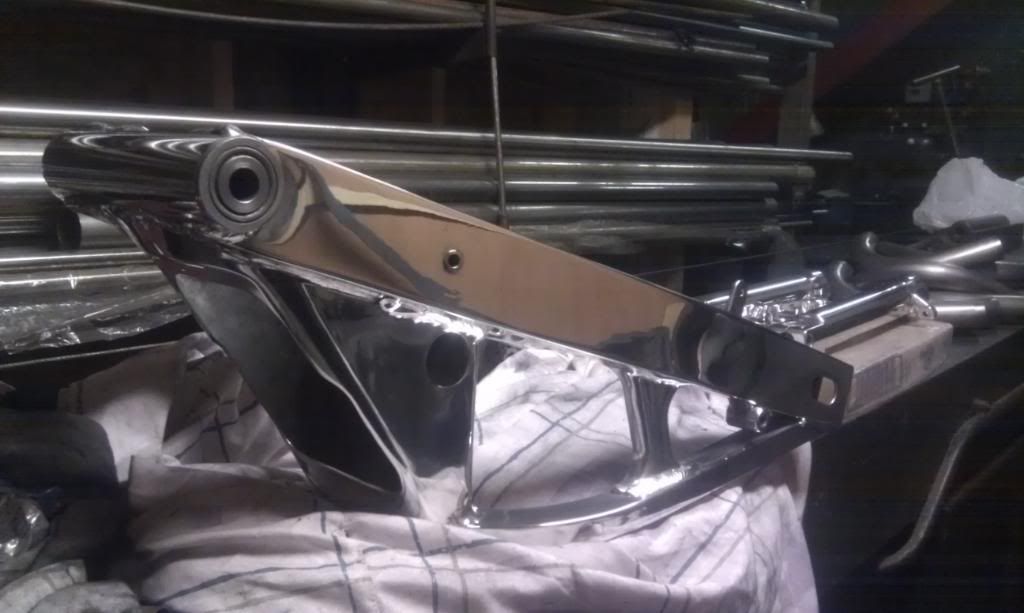
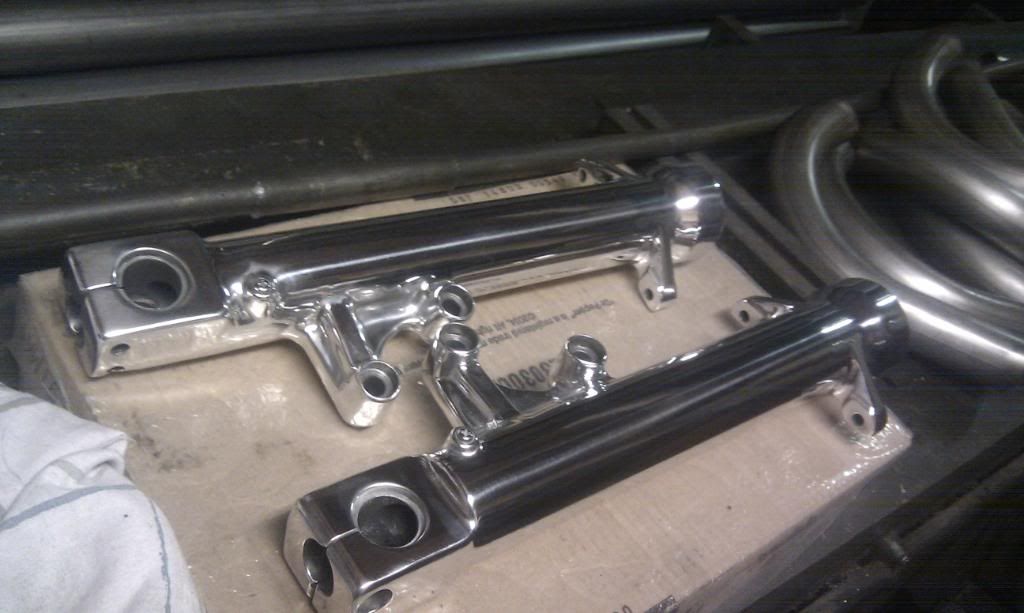
Then on the way back found the nations biggest car park aka the M25 I swung into Gibson’s/bling polishing to pick up my swing arm and fork lowers from Clive Hurley who well I’ll let the pictures speak for them selves. Again super quick turn around and floorless work. Can not recommend him enough.
Image
Image
Image
Image
Image
Image
Image
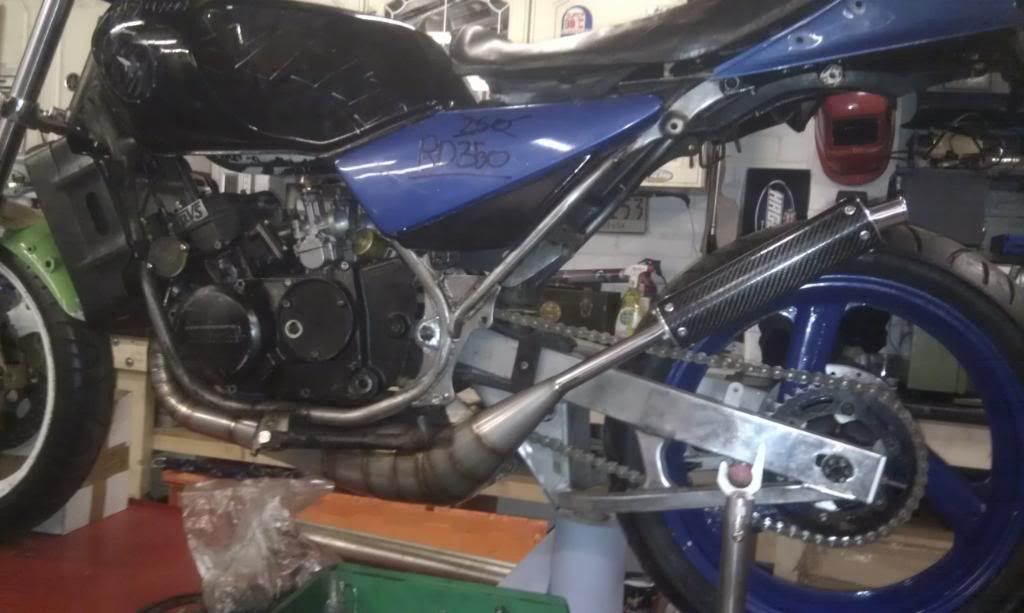
RD350 YPVS Hybrid. 3MA rear end, Kr1s front end
Seanrd
Newbie
Posts: 13
Joined: Tue Apr 03, 2012 6:39 pm
Location: Hitchin

Post by Seanrd »

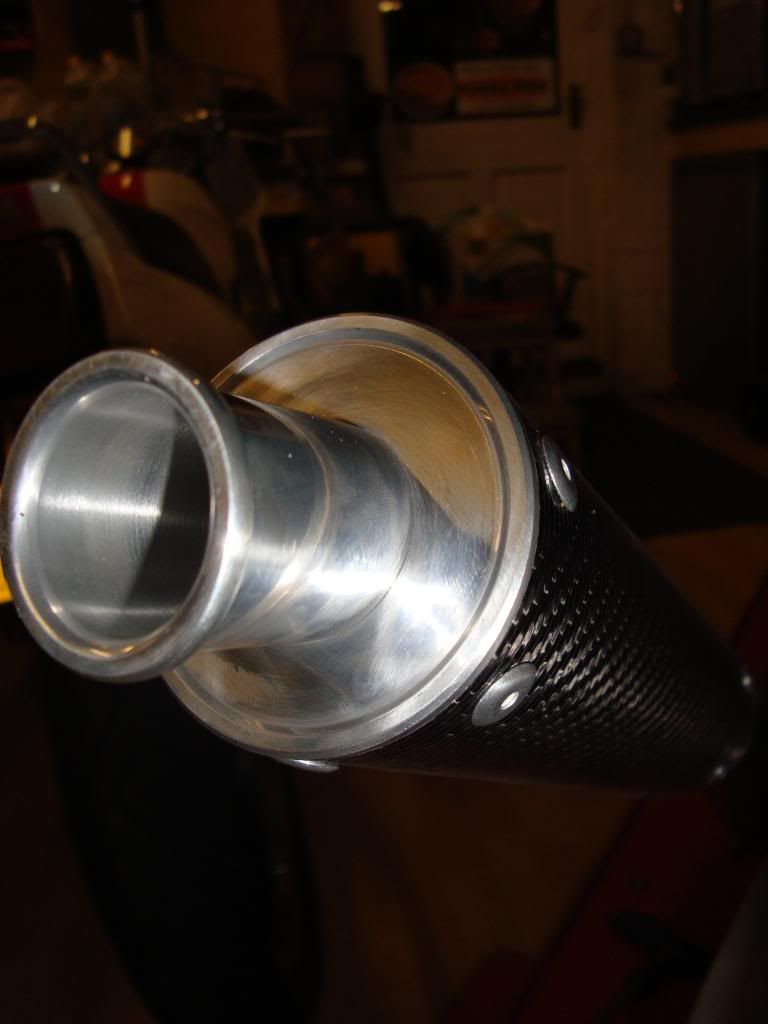
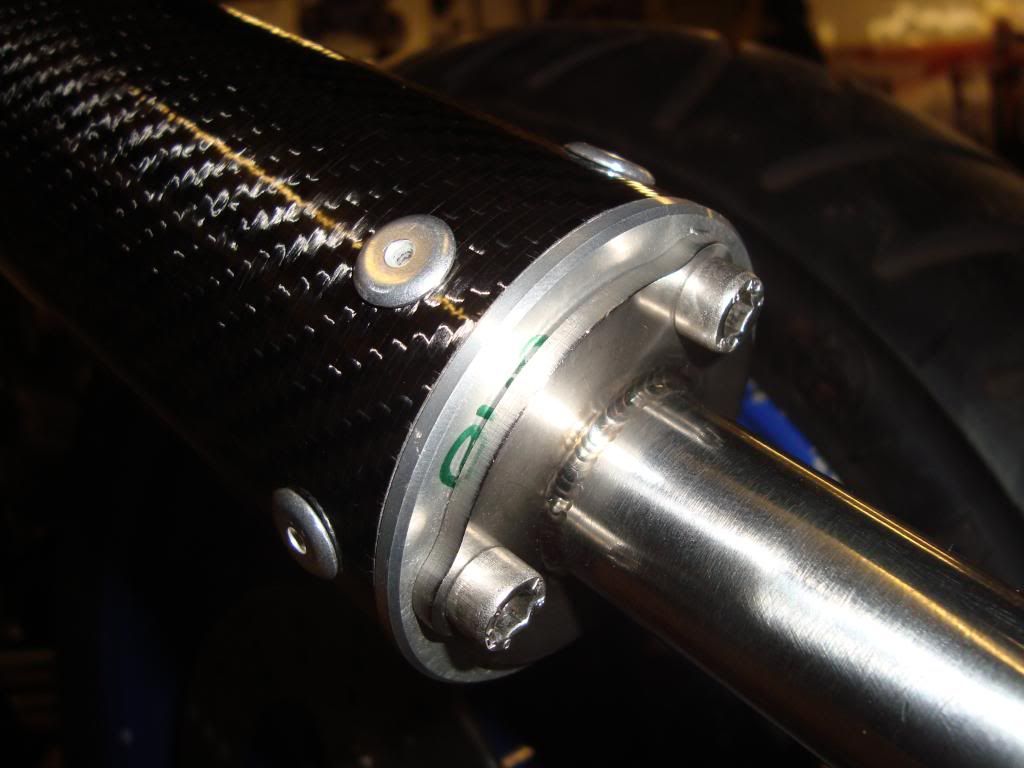
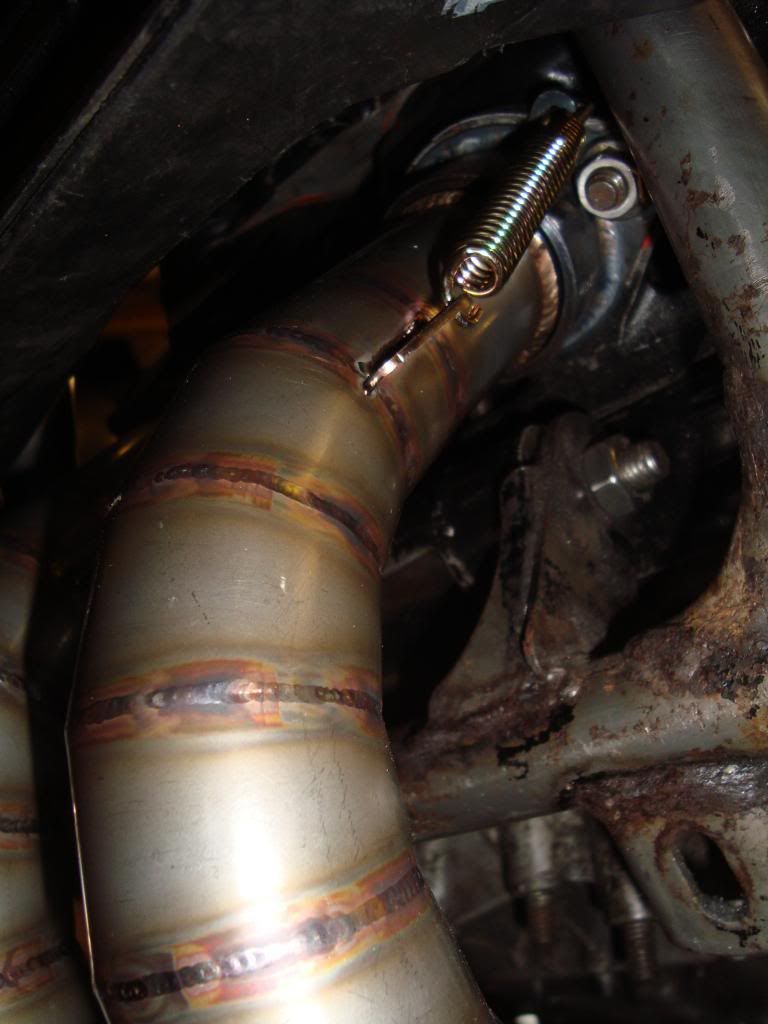
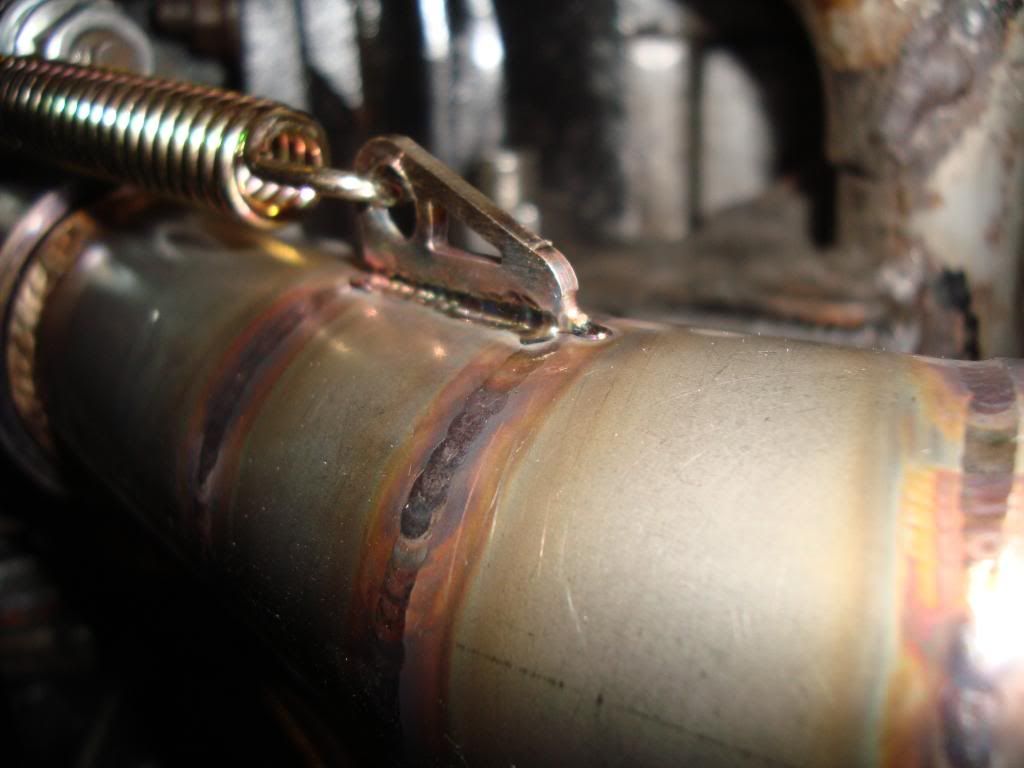
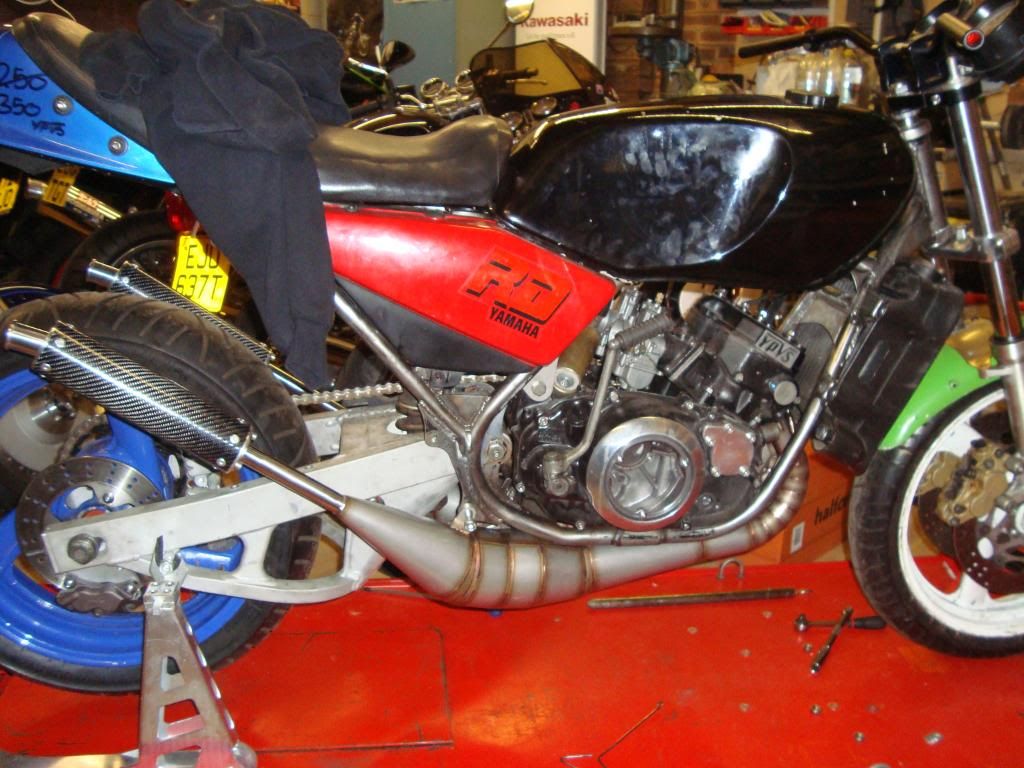
Before i forget, my pride and joys. Mark Dent pipes
Pipes pipes pipes

Image
Image
Image
Image
Image :oops:
RD350 YPVS Hybrid. 3MA rear end, Kr1s front end
User avatar
Garry
Premix Junkie
Posts: 1436
Joined: Tue Jul 25, 2006 8:01 pm
Location: E.Midlands

Post by Garry »

Looking forwards to seeing it finished

I love LC's with modern running gear - don't like standard

I think what is so good about the LC is you can see everything even
when its finished

Maybe not the fastest 2 stroke but the coolest 8)

There are a lot of KR projects on here that look nice when in the build
stage - but i'm afraid once you bolt the plastics back on no-one will
notice or see your hard work.
Smokings Good For You
Luders
Avgas Sniffer
Posts: 3926
Joined: Fri Jun 18, 2010 11:29 am
Location: Oxfordshire

Post by Luders »

Welcome to the forum Sean and thanks for the pictures of your project (we all like pictures :) )

I'm well impressed with the standard of your build, but also the fact that you're only 20 makes it even more impressive.

We have a few LC special members here, check out Headcoats Marmite 2 project, or even find some pictures of Marmite 1.

Looking forward to seeing regular updates.

Good luck, Ben
User avatar
Top-shaggy
Premix Junkie
Posts: 1966
Joined: Mon Oct 31, 2011 11:09 pm
Location: Derbyshire

Post by Top-shaggy »

Welcome Sean,
yeah great thread, really enjoyed reading that. Great pics. (enjoyed checking out the contents of your garage too, lol - Have you got enough Magners and Fosters? )

keep it coming =D> :D
If it takes more than 2strokes then your just playing at it..
375
Premix Junkie
Posts: 1305
Joined: Fri Apr 18, 2008 9:41 pm
Location: Essex. Depeche Mode, Town

Post by 375 »

Hello Sean
You come over to the green side now, about time you saw sense,
Clive did my swinger on my lc/rgv. Your dad still got his x7 8)
headcoats
Avgas Sniffer
Posts: 2120
Joined: Sat Jun 09, 2007 10:10 am
Location: Pig on the wall country

Post by headcoats »

Welcome Seany :mrgreen:
Don't forget i have more Kawasaki parts on my LC than you :lol:
Can it yer old boiler
teerex
Oil Injector
Posts: 889
Joined: Wed Jan 18, 2012 7:25 pm
Location: East Yorkshire

Post by teerex »

I love RD's me! :)
It's nice to be important, but more important to be nice.
User avatar
pablo
Premix Junkie
Posts: 1546
Joined: Fri Nov 14, 2008 9:37 pm
Location: Co Durham

Post by pablo »

Welcome to the forum sean. Great thread you are obviously a very talented engineer, but I think you need a van.
"Turned out nice again"
Seanrd
Newbie
Posts: 13
Joined: Tue Apr 03, 2012 6:39 pm
Location: Hitchin

Post by Seanrd »

Cheers for the warm welcome guys :wink:

Pablo, i've just bought a Golf so a little bigger than the Fiesta haha

Ah yes the X7, yep still got it and he's for ever adding to it
Image
Image
RD350 YPVS Hybrid. 3MA rear end, Kr1s front end
Seanrd
Newbie
Posts: 13
Joined: Tue Apr 03, 2012 6:39 pm
Location: Hitchin

Post by Seanrd »

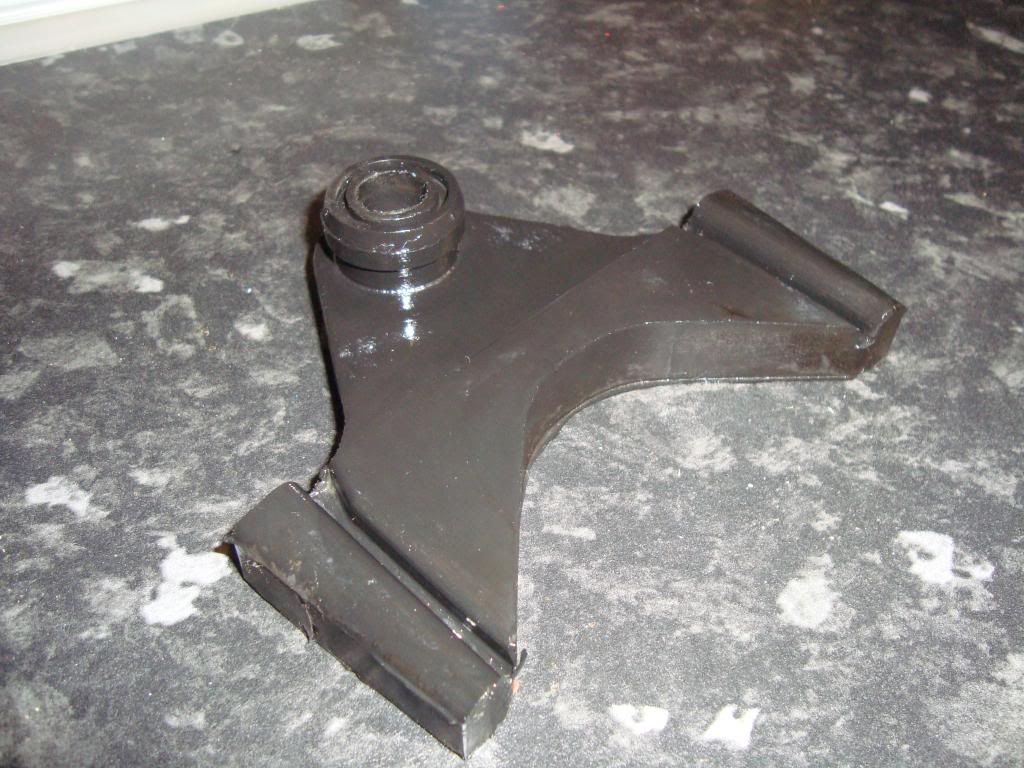
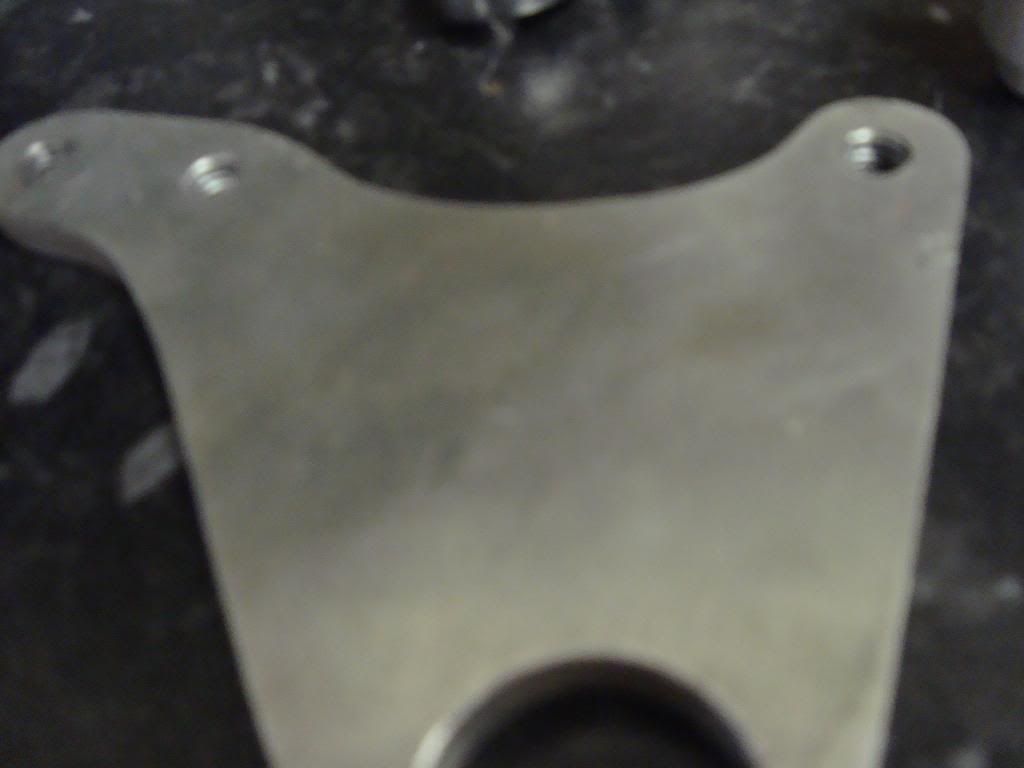
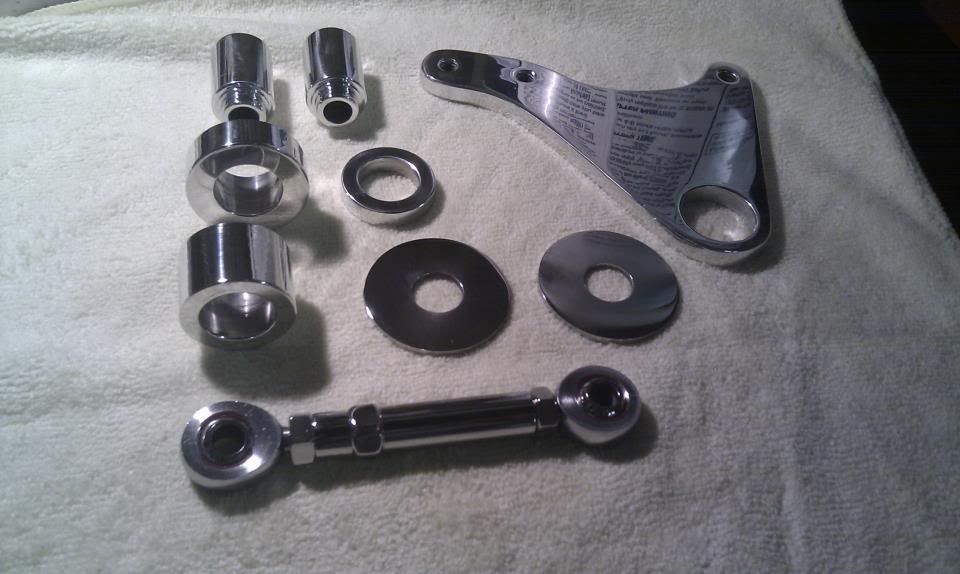
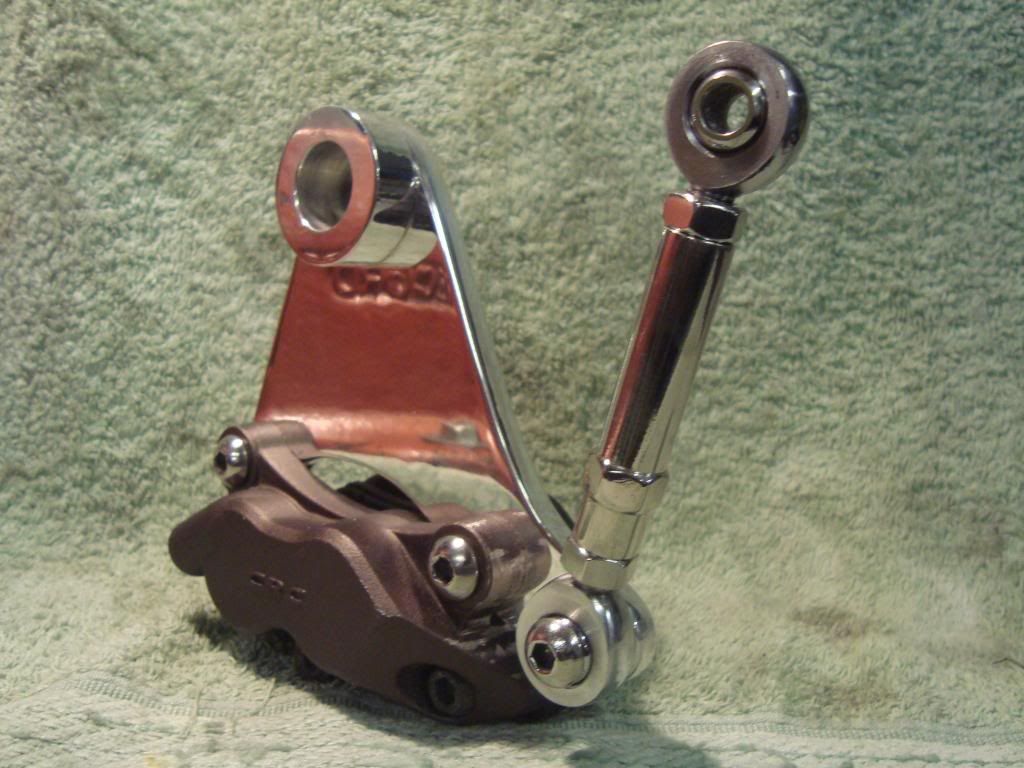
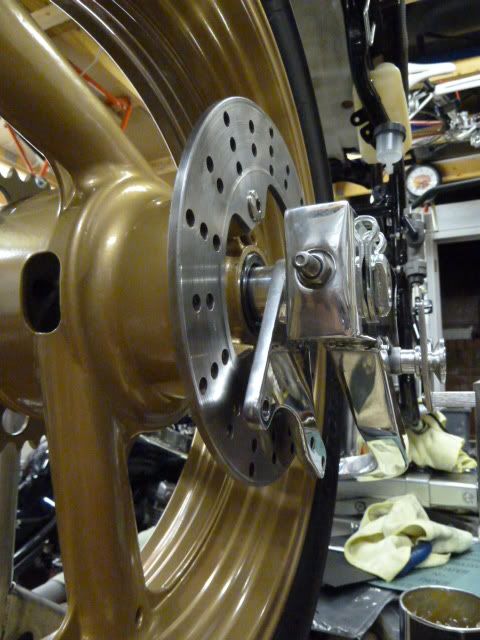
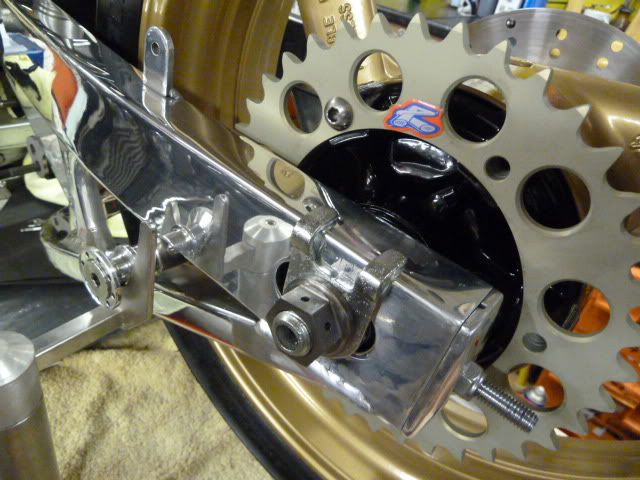
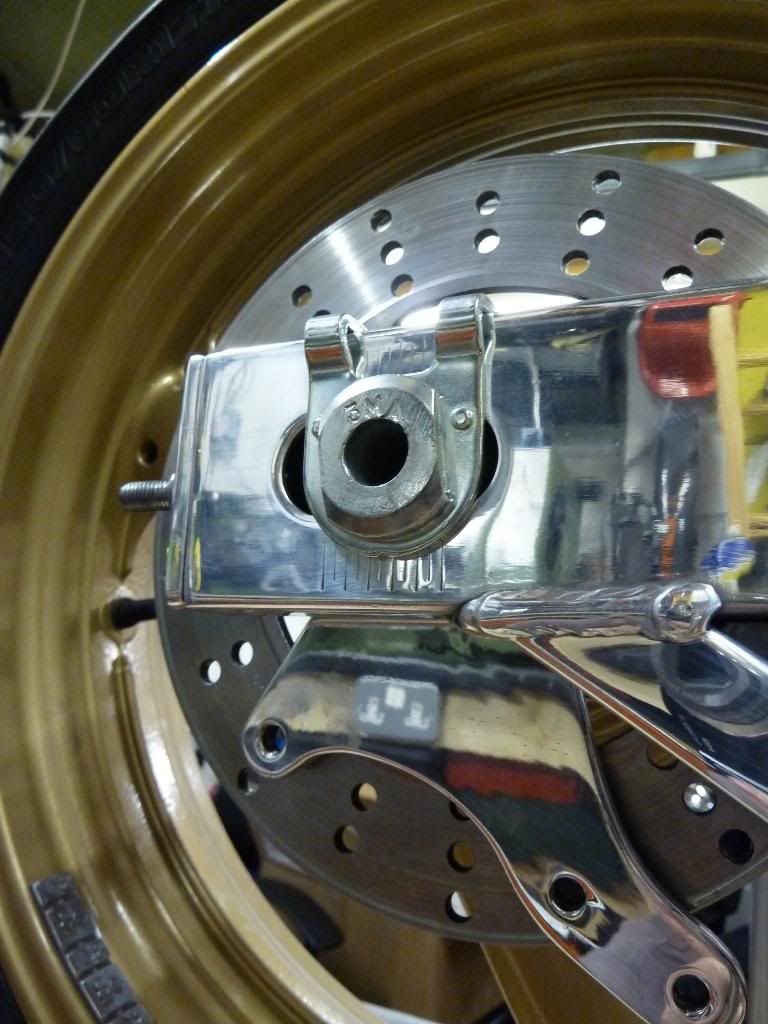
Its update time again. Got my new polishing motor mounted so finished off a few little bits ready to build up the rolling chassis. First up was the rear brake hanger. Started off like this.

Image

Image

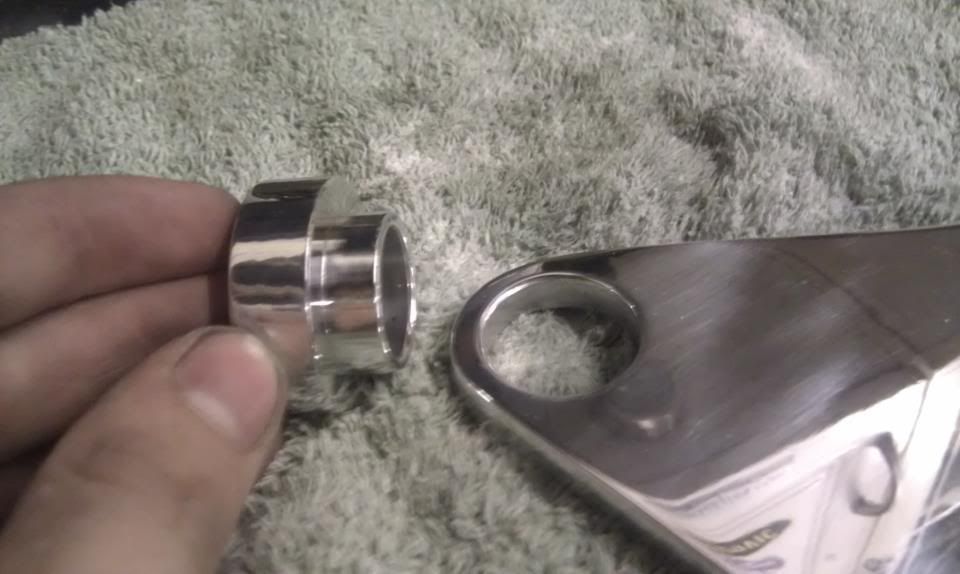
Then all polished up with the spacer pressed in, heated the carrier and froze the spacer then pressed together should make fitting it a lot less fiddly.
Image
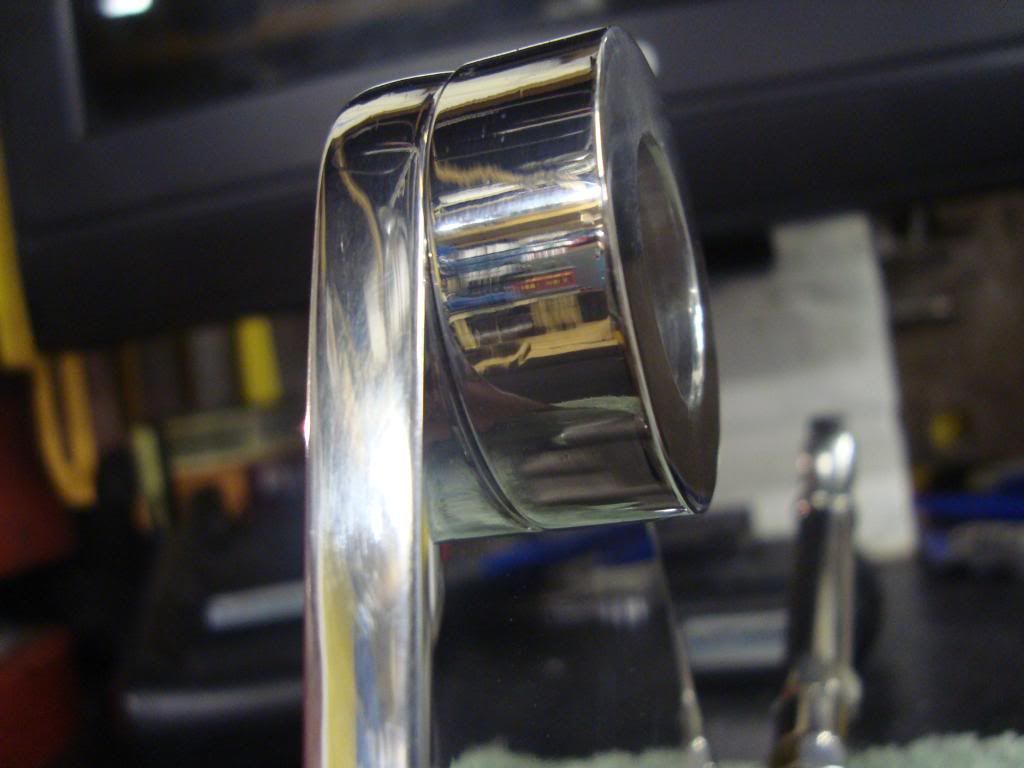
Detail on the spacer
Image
Image

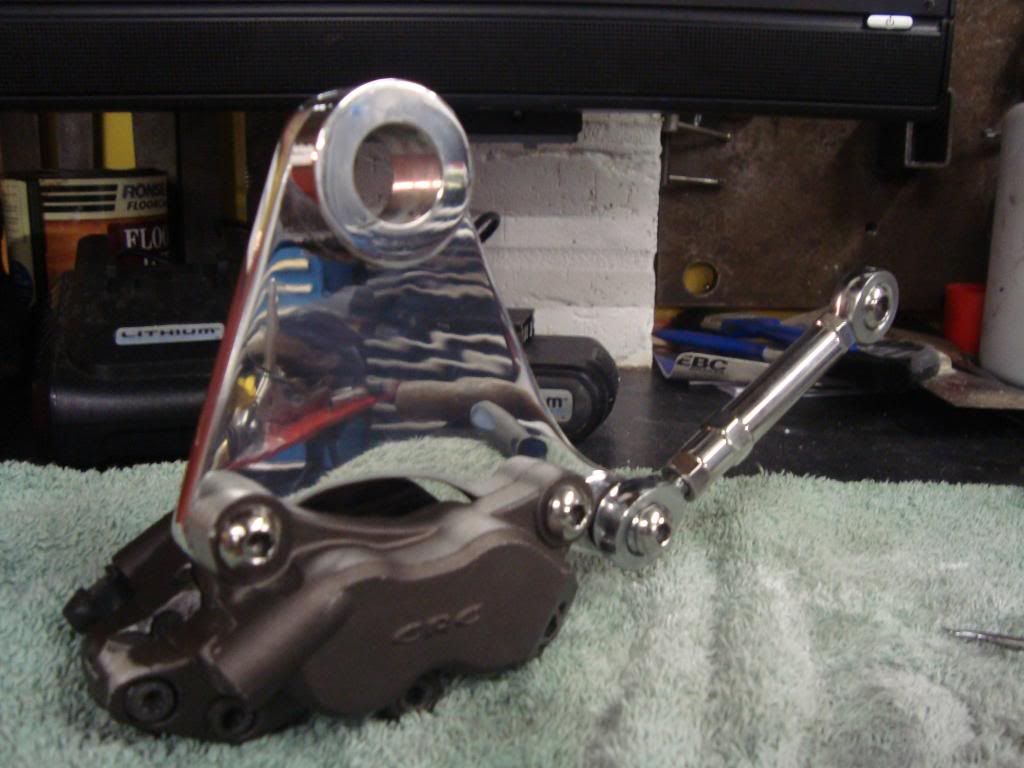
Turned up a torx arm from some stainless hex and a lh and rh threaded rose joint
Image
Image
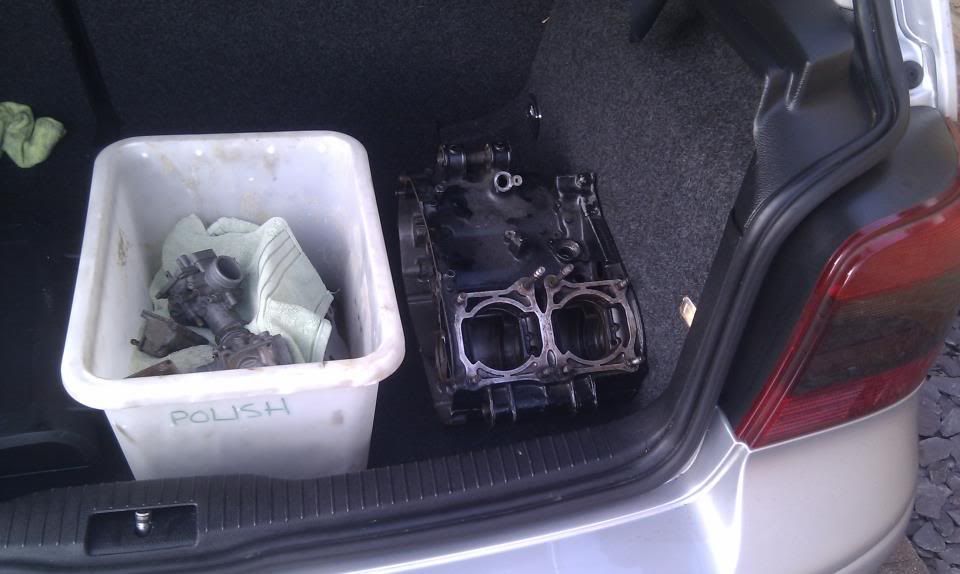
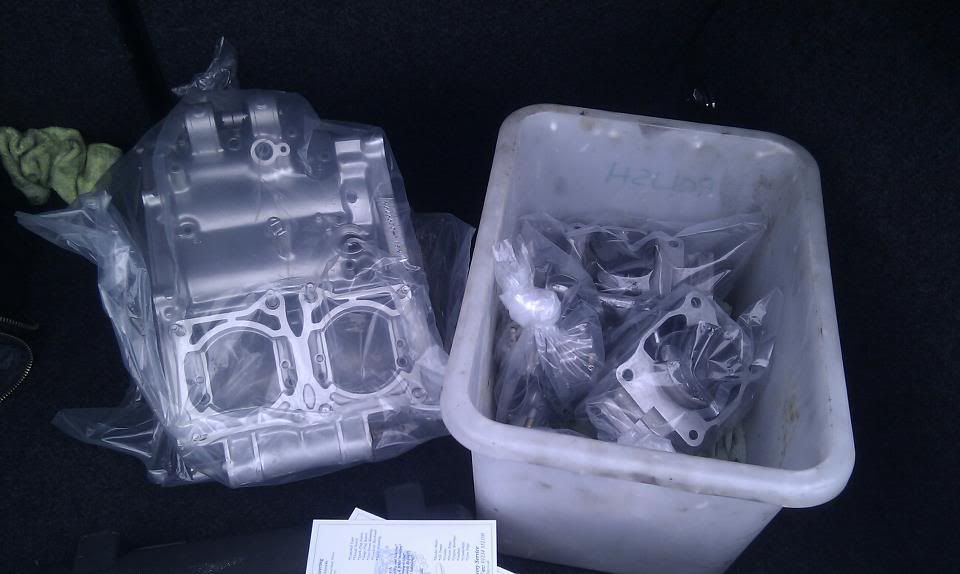
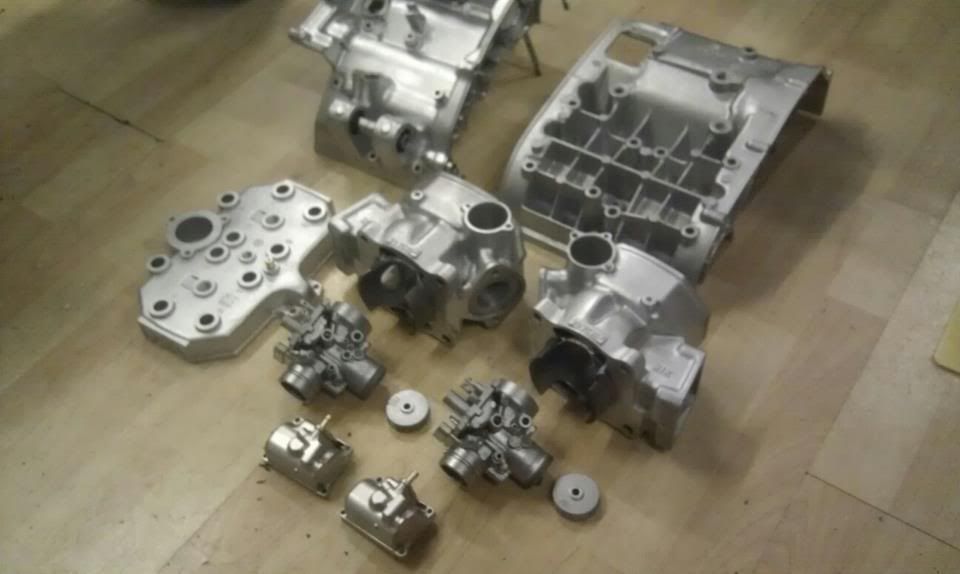
Engine went off to the vapour blasters
Image
Forward 48 hours
Image
Image

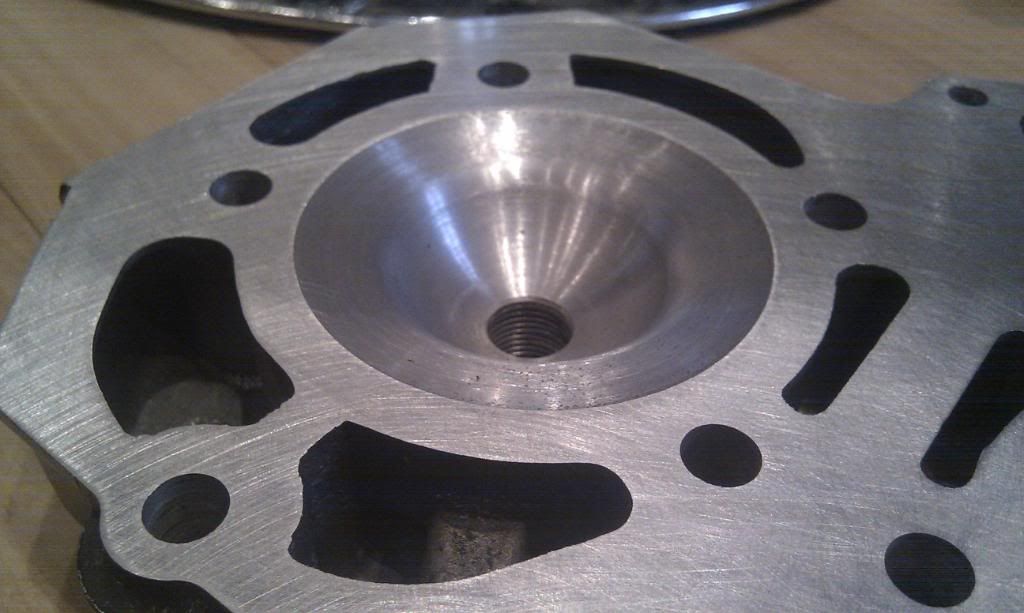
Started the work on the head
Image

That’s all for now :D
RD350 YPVS Hybrid. 3MA rear end, Kr1s front end
User avatar
JanBros
Avgas Sniffer
Posts: 3306
Joined: Wed Jul 26, 2006 11:50 pm
Location: the land of Francorchamps

Post by JanBros »

Seanrd wrote: Detail on the spacer
Image
I made something similar, a spacer pressed into a plate, and the plate had about the same sizes as yours, and it cracked at it's thinnest point (north-west on your picture).

just make sure it's a very light press fit :wink:
My ultimate goal is to die young as late as possible !
Seanrd
Newbie
Posts: 13
Joined: Tue Apr 03, 2012 6:39 pm
Location: Hitchin

Post by Seanrd »

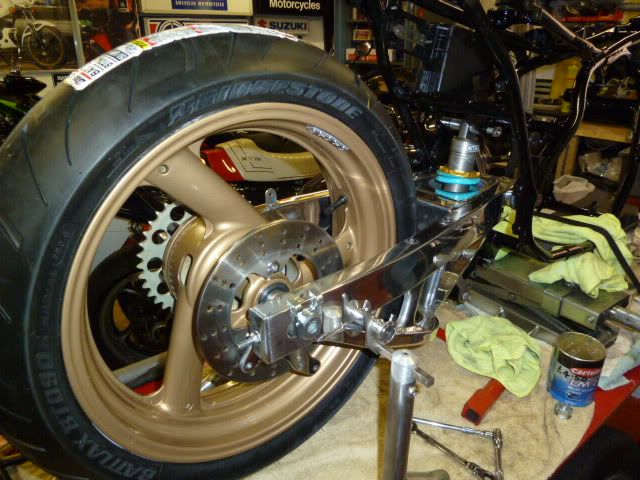
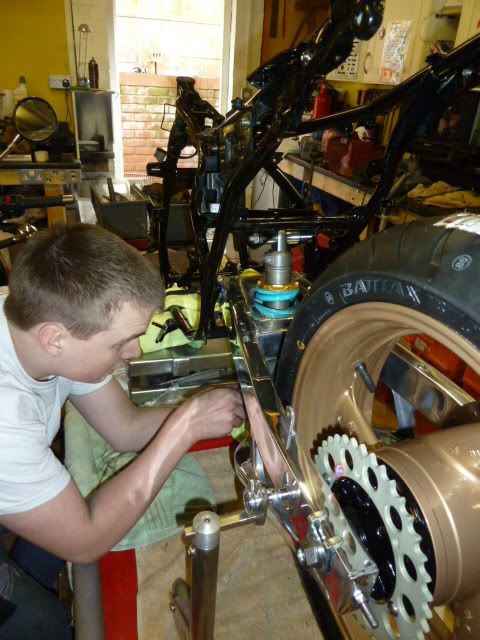
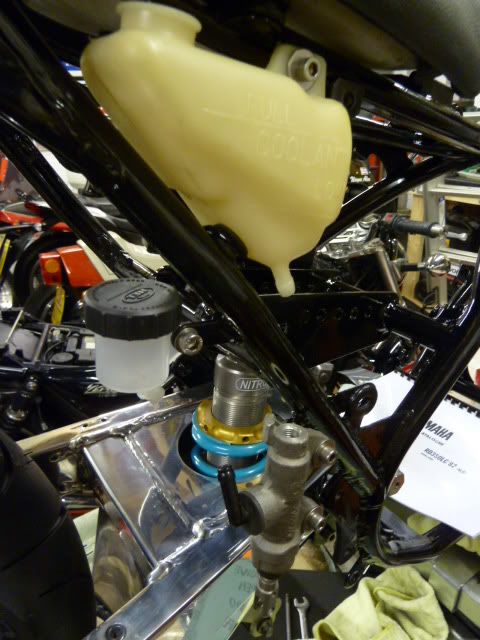
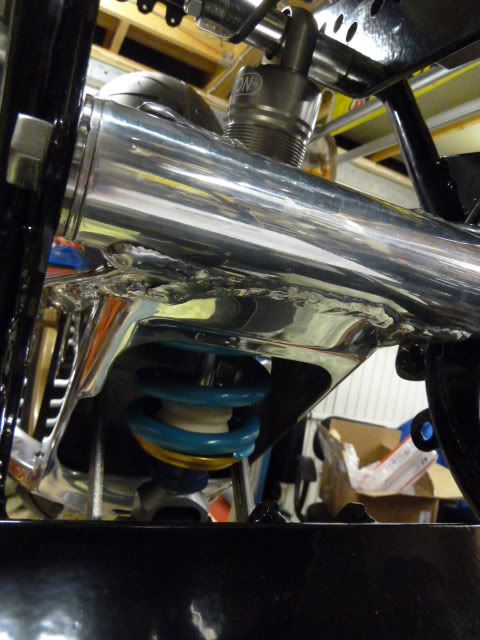
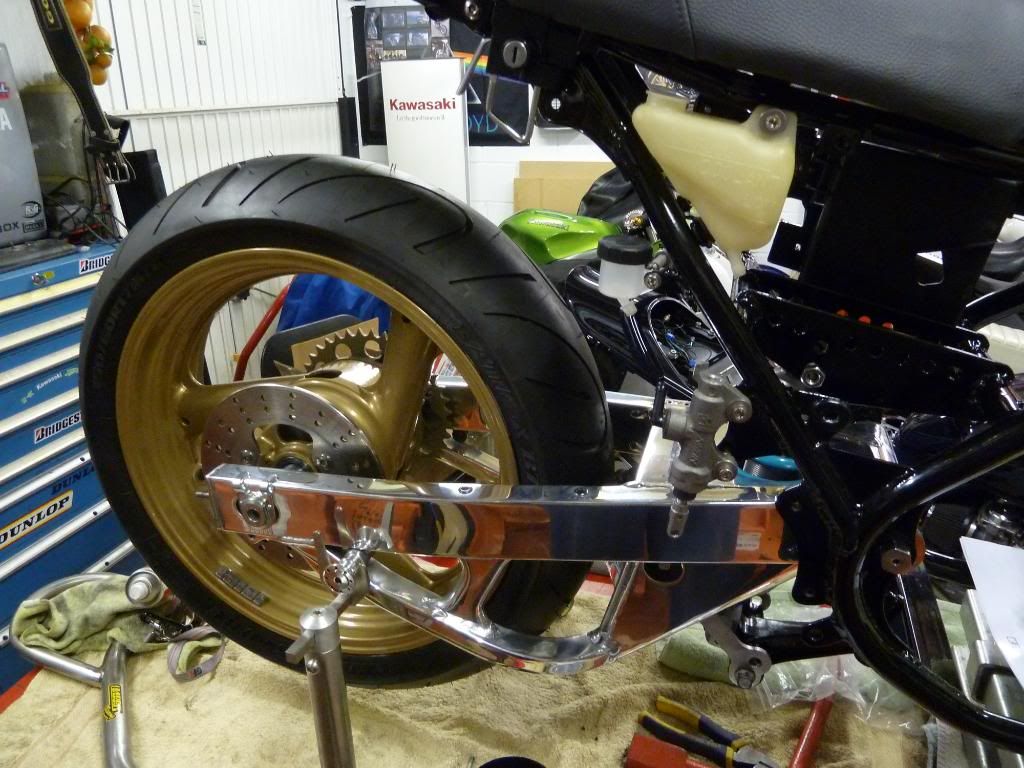
Time for anotheupdate. She’s rollllllling!!!! Well on one wheel at least. Still waiting for A.M Phil Potts to get my fork stantions back to me. Picked everything up from the powder coaters late last night. Got up early this morning to put the tyres on the wheels and get them balanced up then cracked on.
Image

Swing arm and linkages all in, just waiting for my probolt order to come through so please excuse the mishmash of none fitting bolts.
Image
Image
Image
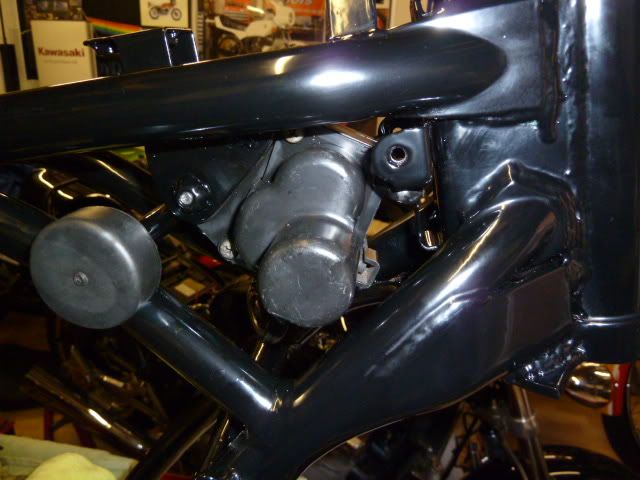
YPVS servo all tucked away
Image
Image
Image
Image
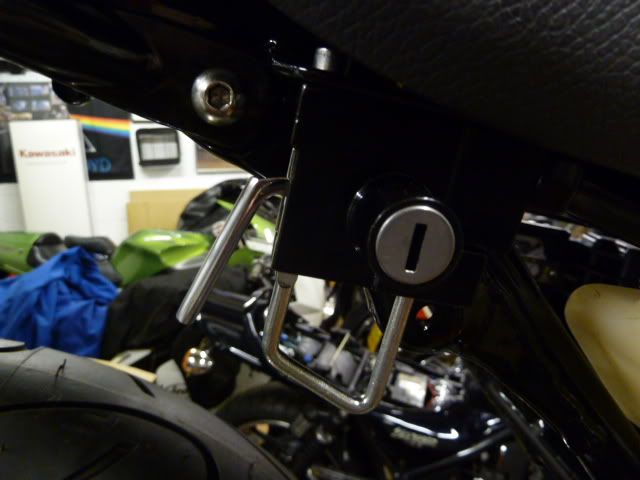
Rebuilt seat catches
Image
Image
Image
Image
Image
That’s it for now 
RD350 YPVS Hybrid. 3MA rear end, Kr1s front end
maccas
Oil Injector
Posts: 872
Joined: Mon Sep 07, 2009 8:33 pm
Location: east yorkshire

Post by maccas »

Looking good!

Dan
headcoats
Avgas Sniffer
Posts: 2120
Joined: Sat Jun 09, 2007 10:10 am
Location: Pig on the wall country

Post by headcoats »

Gold wheels Yum Yum 8)
Can it yer old boiler
Post Reply