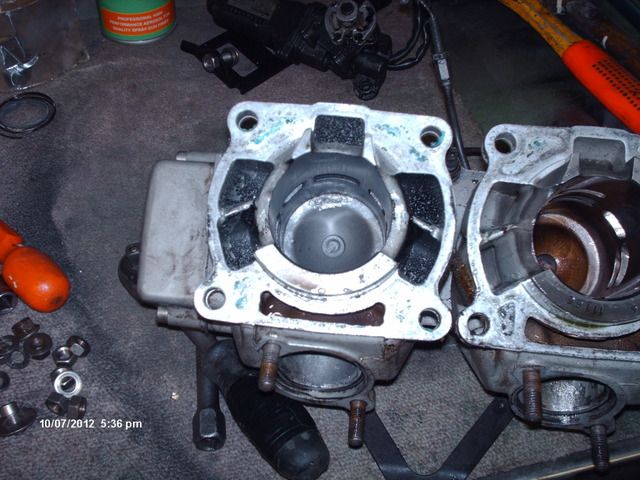
Page 7 of 8

Posted: Thu May 03, 2012 11:54 pm
by JanBros
fred wrote:i didnt want to remove much but add it to lower the crankase volume , to get a tad more pressure
forget about small cranckase volumes and high cranckcase pressures, it's very very VERY old school :wink:

Frits Overmars once sujested you could probably run a 2-stroke with an open cranckcase (no reeds before the carb, you just need them for starting)if you have a good exhaust to do the work , and some bloke in France I believe build it and it runs !

Posted: Fri May 04, 2012 1:16 am
by fred
here i can ,yes definatly
Image
blooming eck now i need to spend some money on some sealer ,i was going to use heldite but was told not to

Posted: Wed May 23, 2012 1:20 am
by fred
new fibreglass came today ,all sound n good ,crancases on the bench and am matching n matching ,cranks done but ime skint so 100 a week f next 3 weeks ,hope everyones well n good ,it is going to be a good summer

Posted: Wed Jun 27, 2012 10:13 pm
by fred
roll on friday ile be paid up :D

Posted: Tue Jul 10, 2012 8:36 pm
by fred
had some good stuff in the post today
Image
couple more evenings decorating then ime out in shed again :)

Posted: Wed Jul 25, 2012 1:03 am
by fred
one step closer
Image
august bank holliday is a deadline now

rebuild with rebuilt crank

Posted: Wed Aug 29, 2012 8:25 pm
by fred
have some time for myself so on with the build
Image
blasted & alocromed
Image
Image
Image
Image
going to print off some base gaskets now to run .9mm squish ,need to take clutch out as i forgot 1 circlip under the basket i think,no probs tho

Posted: Wed Aug 29, 2012 9:25 pm
by fred
got a spot on scaleing months ago so its easy to do ,just wish i could do a outline tho to save on ink,ive changed it now
Image

Posted: Sun Sep 02, 2012 7:59 pm
by fred
first run after the new crank, all good but need to sort a weep on the waterpipe o ring and a drip on the gearbox case by the kickstart so ile do both together tommoro ,ime :D tho
http://youtu.be/EfTKTt7h3QI
can start fitting my new fairing tommoro as well n start prepping the tank for paint

Posted: Tue Sep 04, 2012 6:46 pm
by fred
Image
Image
Image
Image
all fibreglass mounted ,forgot how brittle it is, stick to small drills and i used a rotory file and files and a small slitting disk , the plastick fastners for the belly pan worked a treat ,i riveted some 3mm plastic where the dzus fittings go and tapped then to m6 ,just the tank to fill,prime n paint then mot ,even got the new ss goodrich lines on today and bad earthe front parking light, time for a bud or 2 :D

Posted: Wed Sep 05, 2012 7:41 am
by Garry
looking good 8)

wooops

Posted: Sun Oct 07, 2012 6:18 pm
by fred
think ile run with the 157.5 jets next time and do as im`e told :oops: ,bores look ok and head and ive got a spare piston
Image
Image
did this on a 3 mile straight and was having a right good time ,bit embarresed that the 15 odd four strokes ide overtook came past waving

Posted: Sun Oct 07, 2012 7:18 pm
by 500bernie
Bloody hell Fred :shock:
When did that happen?

Posted: Sun Oct 07, 2012 8:14 pm
by fred
today on a spin to me bruvs ,on a long straight ,not sure if it was sucking air that side base gasket had a slight weep,will have a gander at the bore tommoro ,quick look and the nicasil seems good ,thinking back ,i should of done that choke test at full chat to see if it was lean
Image
ive decided to rebuild it with .7 base gasket to give .9 to 1mm squish(and not make it up in layers) an test on same bit of road and take dave32`s advice ,then go from there

Posted: Mon Oct 08, 2012 11:57 pm
by dave32
:cry:
oh dear :-({|=
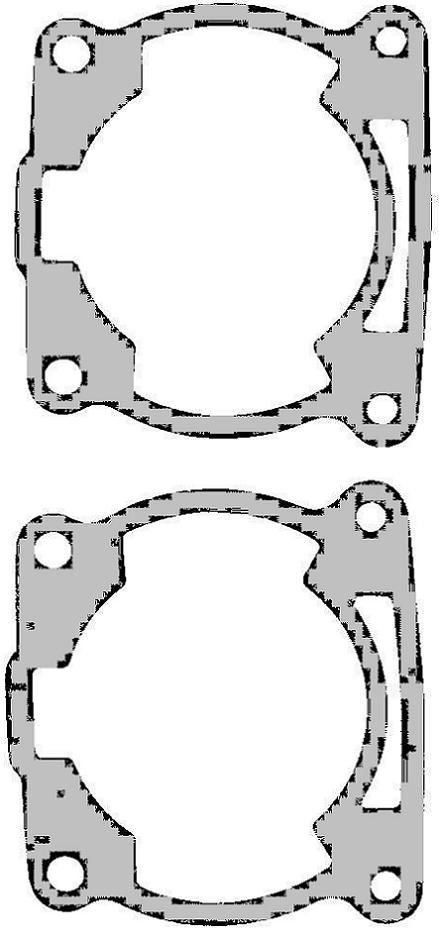
Hopefully its just the piston,but i think having ground the hump out of the exhaust duct could have had some bearing on why that cylinder went 1st.
it probably needs different jetting for that cylinder as it wont run the same as an S straight exhaust duct.
I notice in your other posts you were changing the main and needle and going from 1 extreme to another (leanest to richest) on the needle setting,this will really confuse things for you.
Start with the main,go big and work down til it runs fairly well,double check the plugs to confirm it safe.
Then set the needle position,
start rich work down,again double check the plugs after accelerating through the gears.
Then when your happy its ok,double check the main,maybe go bigger just to confirm its safe,sometimes after getting the needle right you will find the main needs adjusting.
The choke check is what i use to confirm the needle is rich enough,i use plug reading and engine performance to set the main jet.
Keep it simple and work through it methodically,it takes time but it works.
Dont worry about the 1 piston,ive got a shelf load of pistons that have been sacrificed to the gods of speed :D
learn from the mistakes,in time you will be able to tell how anothers engine is running just by listening to them ride by.
You will find using a high quality oil will help prevent seizures,
silkolene pro 2 or motul 800 are very good ,some of the pump specific oils aren up to the demands of a tuned engine or high load for a long time (like a 3mile straight :D ).
HTH bud
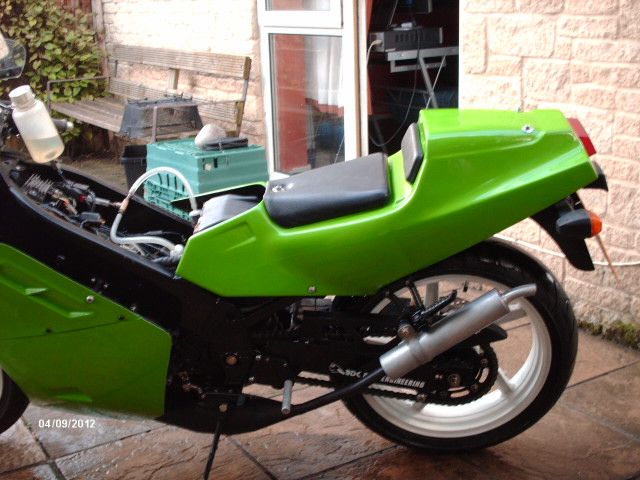
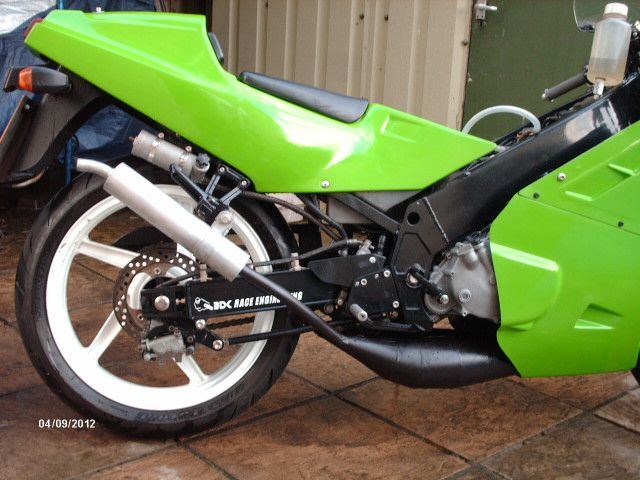
Keep us up to date on the testing,and ditch that home made airfilter [-X
ATB
dave