Page 36 of 44
Re: At Last......Putting it back together
Posted: Tue Sep 16, 2014 11:24 am
by James P
500bernie wrote:...and "Yes" that is a duster on my tail unit

Polishing 'til the end

. You've done a good job with that bike Bernie.
Regards,
James
Re: At Last......Putting it back together
Posted: Tue Sep 16, 2014 1:40 pm
by 500bernie
Hi James,
To be honest it got a quick dust down with Bens polishing cloth. It did not really need any more than that.
All the bikes on the stand looked fantastic, and all got a lot of attention from all the visitors, some who had never seen any of them, others reminiscing about what they or their friends had rode it the past.
It was fun
Well done to Ben for arranging it (and for the rosette for his bike)

Thanks to everyone who turned up to show or support =D>
All in all, a cracking weekend, talking bikes (Peanuts, Bismarck and other things) meeting other KR owners and friends

=D>
Re: At Last......Putting it back together
Posted: Sat Sep 20, 2014 2:28 pm
by 500bernie
Just when I thought everything was done.....
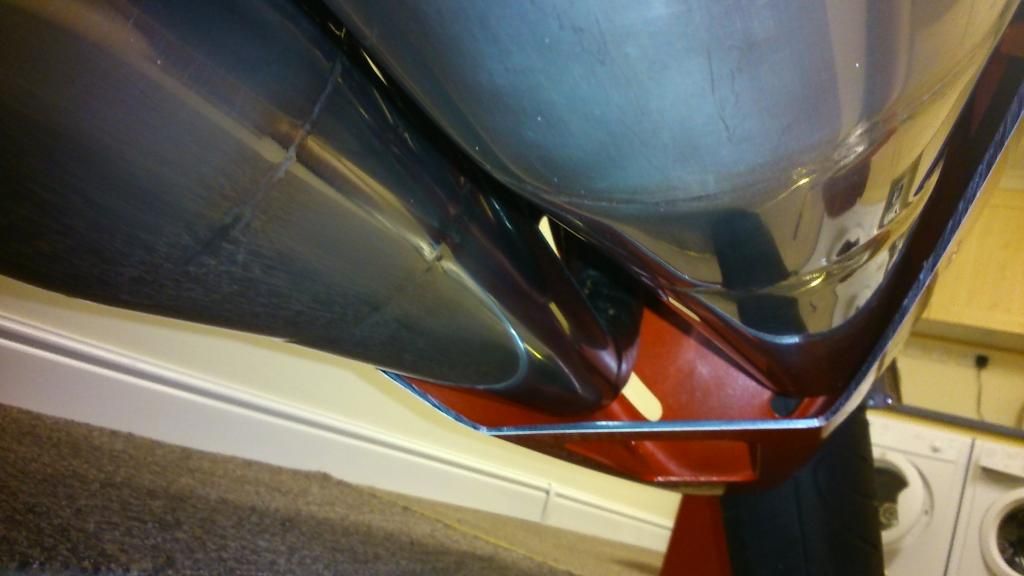
KR1Paul mentioned at Japfest that it was a struggle to fit the bellypan on with Lomas pipes fitted, I had a problem before the show and had put it down to fitting NOS brackets. But when I looked closer the pipes were hard up against the bellypan and would have wrecked it and the paintwork if I had ran the bike.
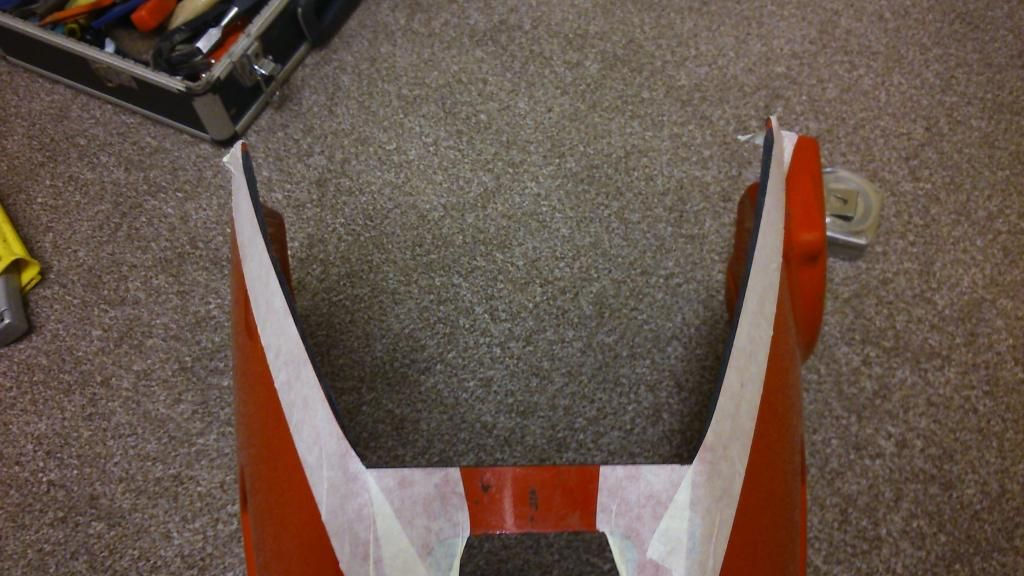
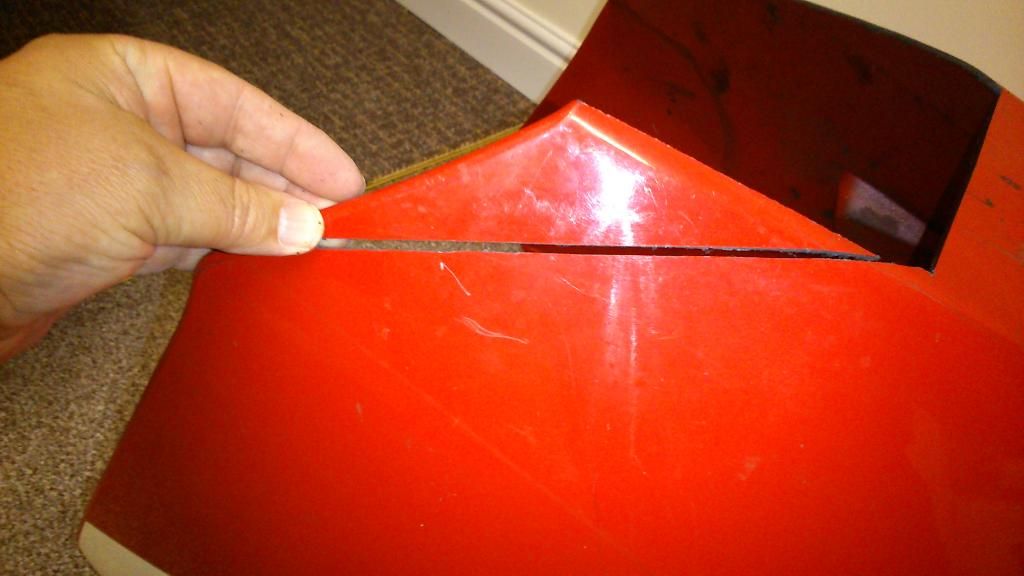
Lucky I had a spare bellypan to play with, I looked to see where it was fouling the pipes and cut away the offending plastic, then tried it to see if it fitted better......after a few attempts I managed to get about 10mm clearance.
The practice one.....
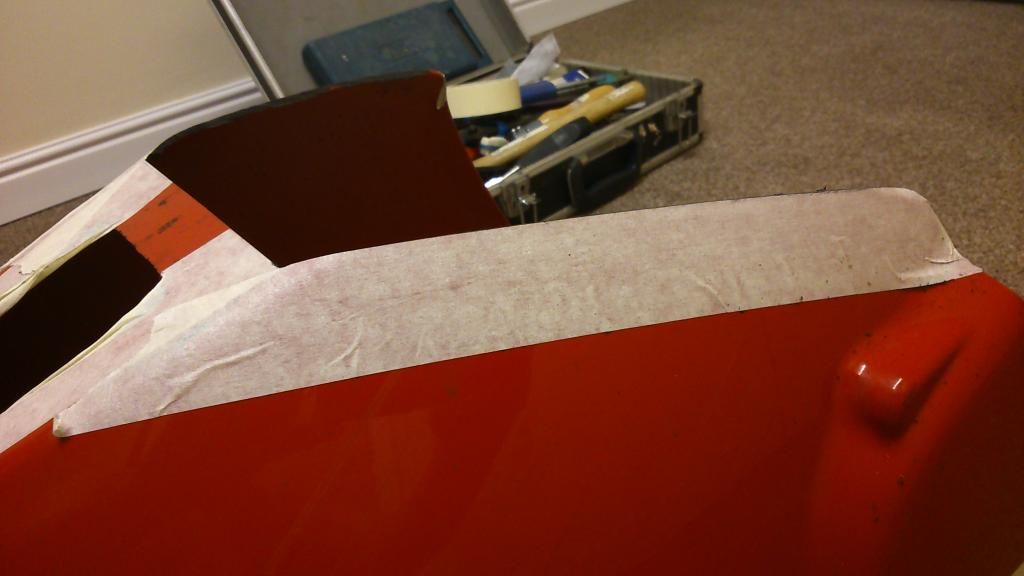
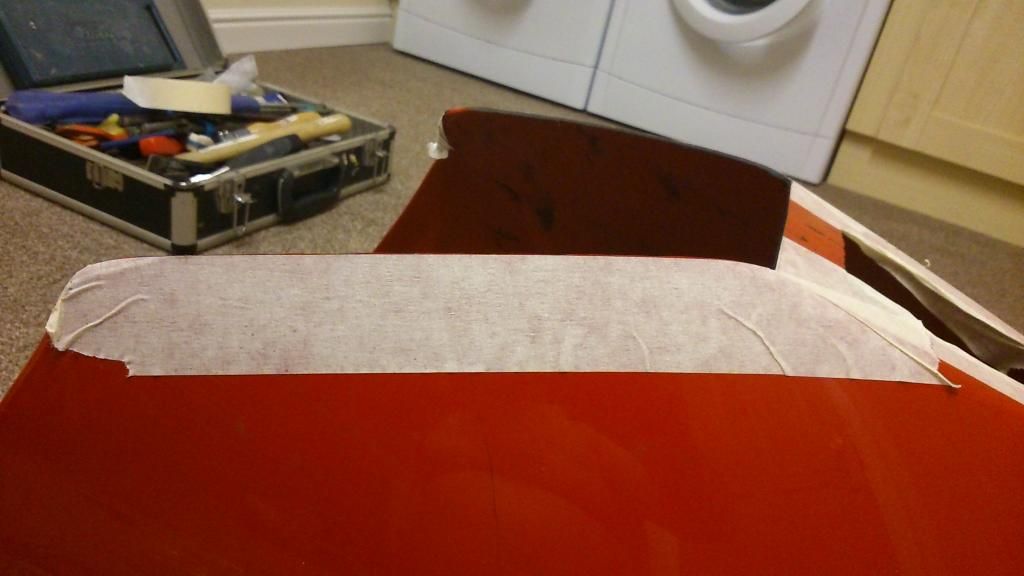
The finished one...
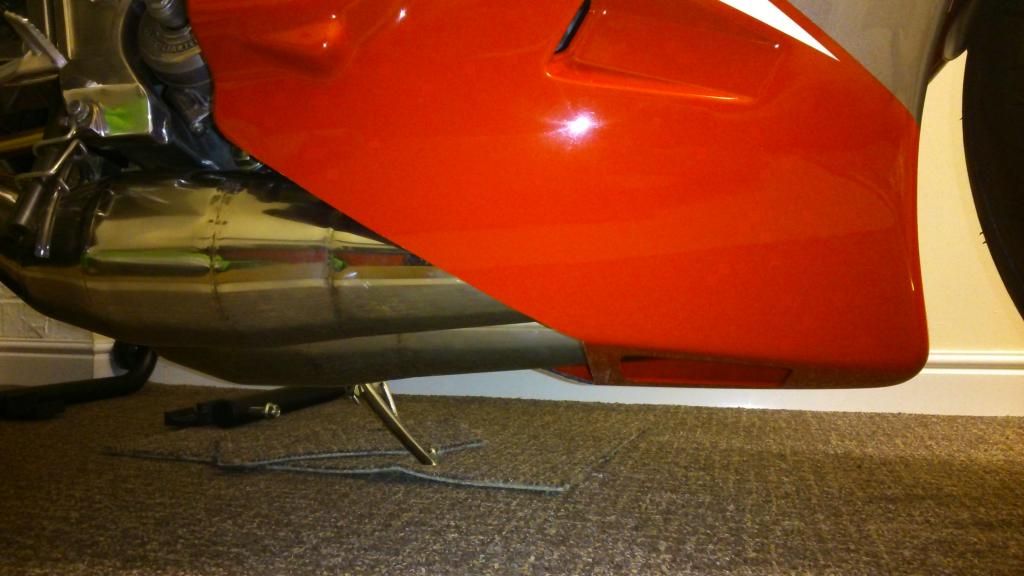
I left 20mm of the central support in place when I cut out the centre, this keeps the sides rigid and they don't need any more support.
Just need to take the bellypan back to Steve the painter for him to airbrush the edges where I cut, then I need to fit some heat reflecting sheet on the inner surfaces. I think I will try a sheet of the Zircaflex, if is good enough for McLaren and Lamborghini it is good enough for me
I now have a spare modified bellypan to suit Lomas pipes

Thanks for mentioning it Paul, otherwise I would not have noticed
Cheers,
Bernie

Re: At Last......Putting it back together
Posted: Sat Sep 20, 2014 2:40 pm
by Luders
They aren't very clearance friendly are they.
Re: At Last......Putting it back together
Posted: Sat Sep 20, 2014 2:46 pm
by 500bernie
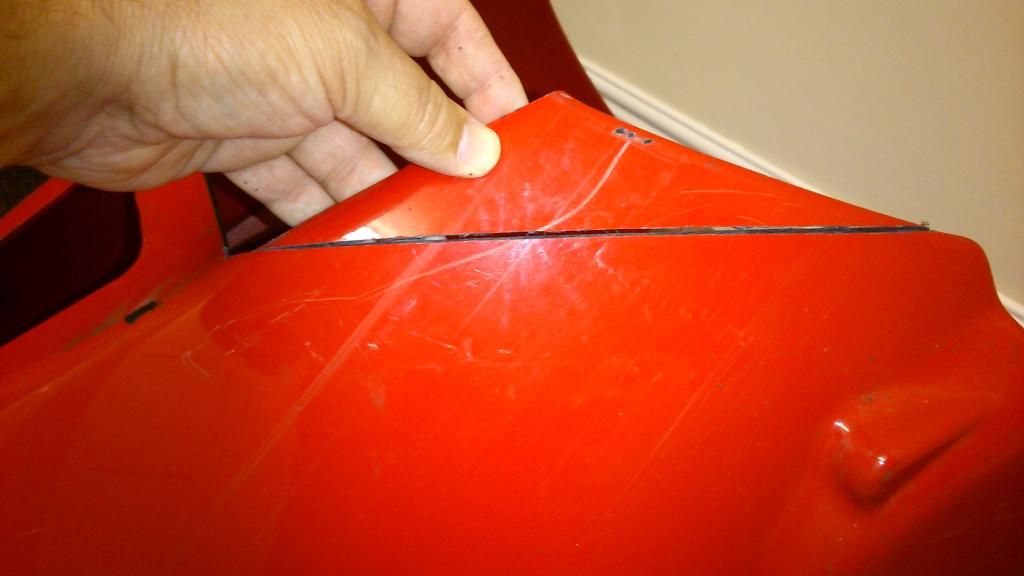
Not at all, I had to take quite a bit of plastic out from the bottom...
And a small bit off the sides as they come around the pipes...
But done now, so all I need to think about now is polishing, and what the KR owners stand at Stafford will look like next year

Re: At Last......Putting it back together
Posted: Sun Sep 21, 2014 4:17 pm
by KR1PAUL
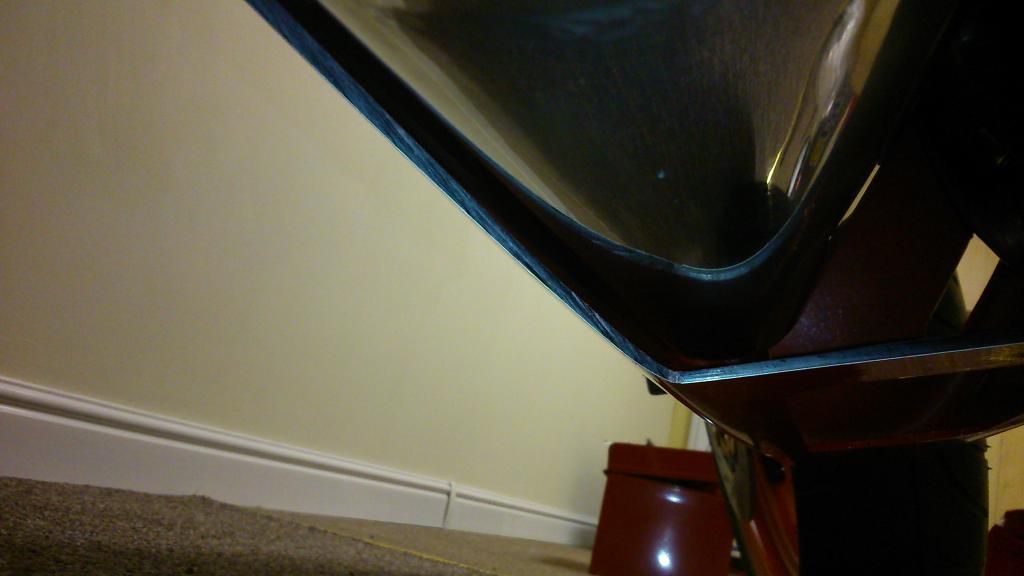
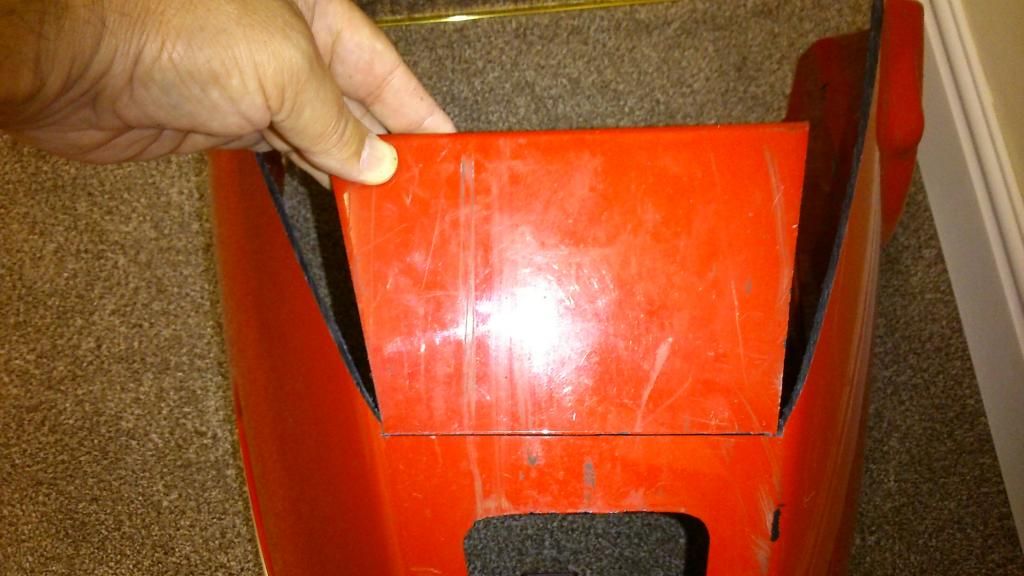
ive left the sides on and only took a little out of the bottom and put a bracket across
I dident want to cut any out really because the lower panel is brand new but needs must

black cut out
red bracket
Re: At Last......Putting it back together
Posted: Sun Sep 21, 2014 7:39 pm
by 500bernie
Hi Paul
Nice photo
Your pipes must sit closer together under the engine (with you not having the bottom exhaust bracket on the KR1).
The sides of the bellypan were hard up against the pipes, which was why I took the corners off.
I am pleased with the result on mine and yours looks perfect.
Re: At Last......Putting it back together
Posted: Mon Sep 22, 2014 7:08 pm
by maccas
I can't even get the belleypan on my bike at all with the lomas pipes. People always ask if i have the bellypan for it when i take it for a spin.

Dan
Re: At Last......Putting it back together
Posted: Mon Sep 22, 2014 7:25 pm
by KR1PAUL
With the bottom cut fully out you can pull it wider at the bottom and old it with a brace.
My pipes are sat level on the flange on barrels so there sat right i think but as you say bernie i dident have the brackets like the kr1s so i made some and used a rubber mount to stop vibration
you made a better job of cutting out m8 i used grinder
Re: At Last......Putting it back together
Posted: Mon Sep 22, 2014 8:52 pm
by 500bernie
Hi Paul,
I used a large fine toothed hacksaw blade
But I did take my time
Re: At Last......Putting it back together
Posted: Tue Sep 23, 2014 7:13 am
by KR-1R
uncouth me thinks that is why one should not marry first cousins
if you had made one simple cut to the centre and just put a wedge in to open it
then the procedure is completely reversible? ... or just ball-peen the JL into shape
but what do I know about labiaplasty
Re: At Last......Putting it back together
Posted: Tue Sep 23, 2014 9:29 am
by 500bernie
KR-1R wrote:uncouth me thinks that is why one should not marry first cousins
if you had made one simple cut to the centre and just put a wedge in to open it
then the procedure is completely reversible? ... or just ball-peen the JL into shape
but what do I know about labiaplasty
Hi Danny,
That would be some serious hammer work required, I suppose I could have gone for the planished finish
(Labiaplasty sounds very rude
)
I did consider spreading it, but I kept thinking I could flex it too much and pop the paint off, so I reverted to a bit of butchery (but I do have another red bellypan).
Cheers,
Bernie
Re: At Last......Putting it back together
Posted: Tue Sep 23, 2014 10:50 am
by Luders
It is a shame the Lomas pipes are such a poor fit, but it's too late now.
Re: At Last......Putting it back together
Posted: Tue Sep 23, 2014 2:05 pm
by 500bernie
It's not a problem, most people would never notice and the pipes look great
Re: At Last......Putting it back together
Posted: Sun Sep 28, 2014 5:56 pm
by 500bernie


