Page 18 of 44
Re: At Last......Putting it back together
Posted: Sat Feb 01, 2014 9:05 pm
by 500bernie
Back again

I thought I would have a go at sorting some damage on the casing of my idiot lights, I think the damage was caused by badly routed cables....
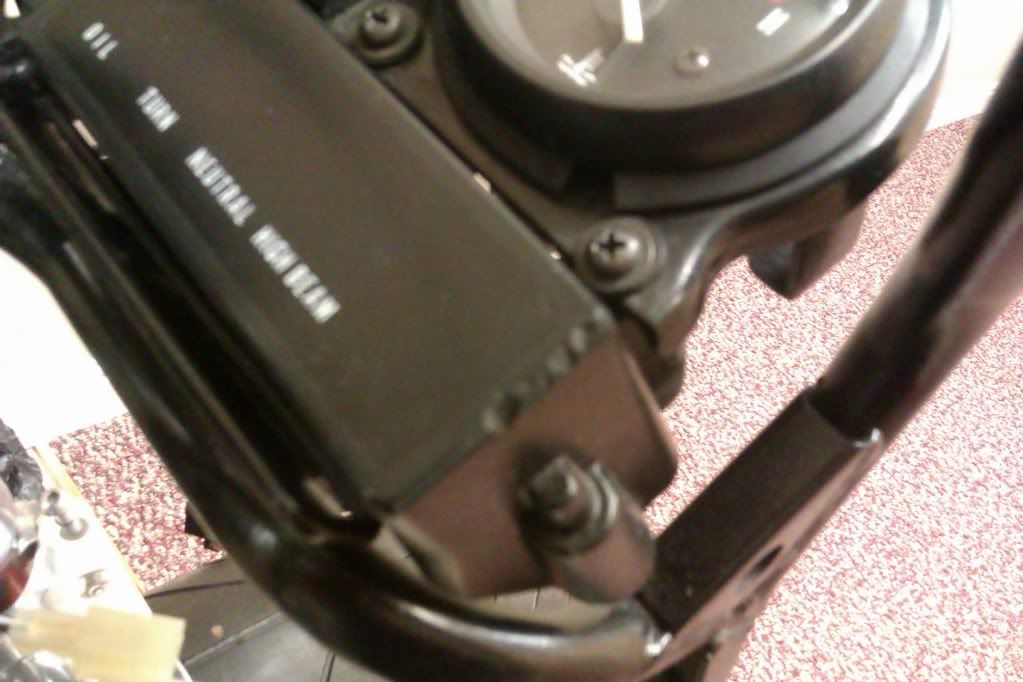
I have tried to rub down the area with 240 grit then 800 grit, not finished yet, but it seems to be an improvement.

Re: At Last......Putting it back together
Posted: Sun Feb 02, 2014 1:25 am
by boggy
Funny you should show that Bernie,mines suffered almost the same.Seems like the mice travel far and wide!
Re: At Last......Putting it back together
Posted: Sun Feb 02, 2014 1:36 am
by 500bernie
I think I can get the last couple of small marks out, if not they will be getting filled with black milliput.
More photos when I get it finished.
Cheers,
Bernie
Re: At Last......Putting it back together
Posted: Sun Feb 02, 2014 1:59 am
by boggy
Re: At Last......Putting it back together
Posted: Sun Feb 02, 2014 9:43 am
by 500bernie
Hi Rich,
Bushmills for me
Re: At Last......Putting it back together
Posted: Tue Feb 04, 2014 1:10 am
by 500bernie
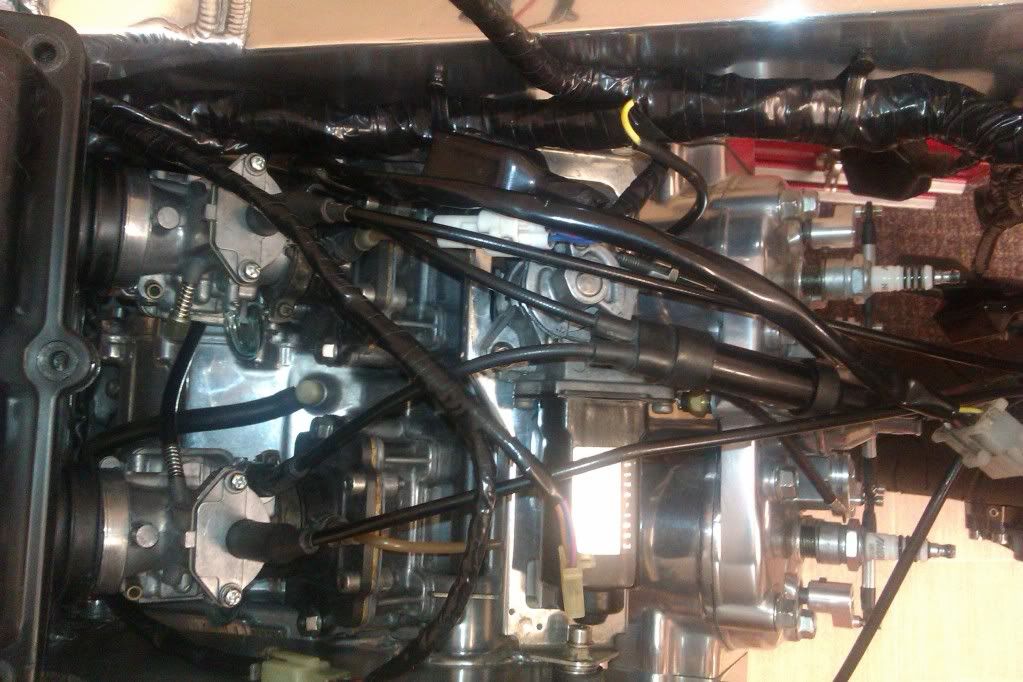
I found the instructions for the routing of the harness and cables, so I have been messing around, moving everything about.
Great fun
Re: At Last......Putting it back together
Posted: Tue Feb 04, 2014 8:43 am
by Top-shaggy
500bernie wrote:I found the instructions for the routing of the harness and cables, so I have been messing around, moving everything about.
Great fun
Hopefully not after a bottle of Bushmills..
Then again I do some of my best work when I'm on the sauce.. Looking at yours you may just be the same =D> =D> =D>
Re: At Last......Putting it back together
Posted: Tue Feb 04, 2014 9:39 am
by 500bernie
Hi Shaun,
I am afraid it was Bushmills fuelled maddness, I followed the drawings in the manual, then noticed the instructions for what went over/under each other.
So ended up doing most of it at least twice

Re: At Last......Putting it back together
Posted: Wed Feb 05, 2014 1:09 am
by Top-shaggy
500bernie wrote:Hi Shaun,
I am afraid it was Bushmills fuelled maddness, I followed the drawings in the manual, then noticed the instructions for what went over/under each other.
So ended up doing most of it at least twice
I wager, it still looks Greeeeat ! =D>
Re: At Last......Putting it back together
Posted: Wed Feb 05, 2014 1:25 am
by 500bernie
Getting there....
Just adjusted the carbs/throttle cable/oil pump
Re: At Last......Putting it back together
Posted: Wed Feb 05, 2014 7:48 pm
by Binetta Steve
Bernie it feels like you are getting close to a start, even without bodywork. I cant wait to see the footage on Youtube along with others off the forum
Re: At Last......Putting it back together
Posted: Wed Feb 05, 2014 8:17 pm
by Luders
Yeah looks good Bernie, keep at it
Re: At Last......Putting it back together
Posted: Thu Feb 06, 2014 12:18 am
by 500bernie
Hairdrier did the trick
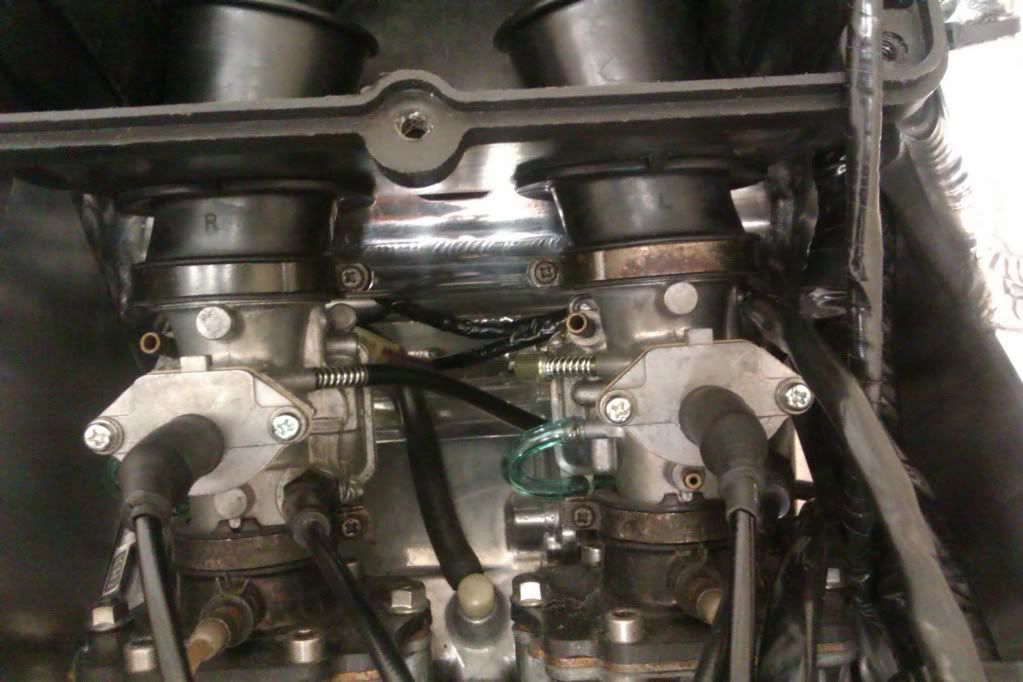
But I think I will be changing those clamps.
Re: At Last......Putting it back together
Posted: Thu Feb 06, 2014 12:24 am
by boggy
Time to break out the solvol again!! =D> =D> =D>
Re: At Last......Putting it back together
Posted: Thu Feb 06, 2014 1:20 am
by 500bernie
boggy wrote:Time to break out the solvol again!! =D> =D> =D>
I think I will have a look for some stainless steel clamps
