Page 2 of 5
Re: KR-1s restoration... getting started.
Posted: Sun Jan 19, 2014 8:28 pm
by fred
are you makin yersen a paddock stand an all
Re: KR-1s restoration... getting started.
Posted: Sun Jan 19, 2014 8:33 pm
by TheDarkAvenger
philfingers wrote:Darkavenger, that came out really nice!
Looking at the ebay listing pics I hope what you paid and the work have resulted in a nice bargain for you !
Cheers. It wasn't cheap but then again dont know what it's worth as planning to keep and pass to my lad so present value not too important. I give 1800 for it.
Re: KR-1s restoration... getting started.
Posted: Sun Jan 19, 2014 11:32 pm
by philfingers
Darkavenger- That's a sensible price if it's as nice as it looks Avenger. Nice to know that paint came off ok and you didn't have to strip it down to have it repainted!
Carlsberg- some nice work there, cracks in the usual places! Looks largely stock and just dirty. Out of interest what do you intend to do with the footrest hangers? just leave them bare? My left one has been welded and I have a spare but once i'd blasted it I realised it was really pitted. The rest are powder coated on mine so was going to do the same anyway
Re: KR-1s restoration... getting started.
Posted: Mon Jan 20, 2014 1:28 am
by dmac
Cracks on piston look nasty, Looks like you caught it just in time.
Nice job on the plastic repairs, have to do a similar job myself - good to get ideas and techniques!
Re: KR-1s restoration... getting started.
Posted: Mon Jan 20, 2014 11:37 am
by Kneewall49
Can you explain your plastic repair technique in some detail, and what materials you used, temperatures etc?
Thanks
Re: KR-1s restoration... getting started.
Posted: Mon Jan 20, 2014 11:57 pm
by carlsburg
Here are some details on the plastic welding repairs I have done.
firstly, find a suitable crack.

Prepare the area with a grinding wheel, try and get it back to the good plastic.
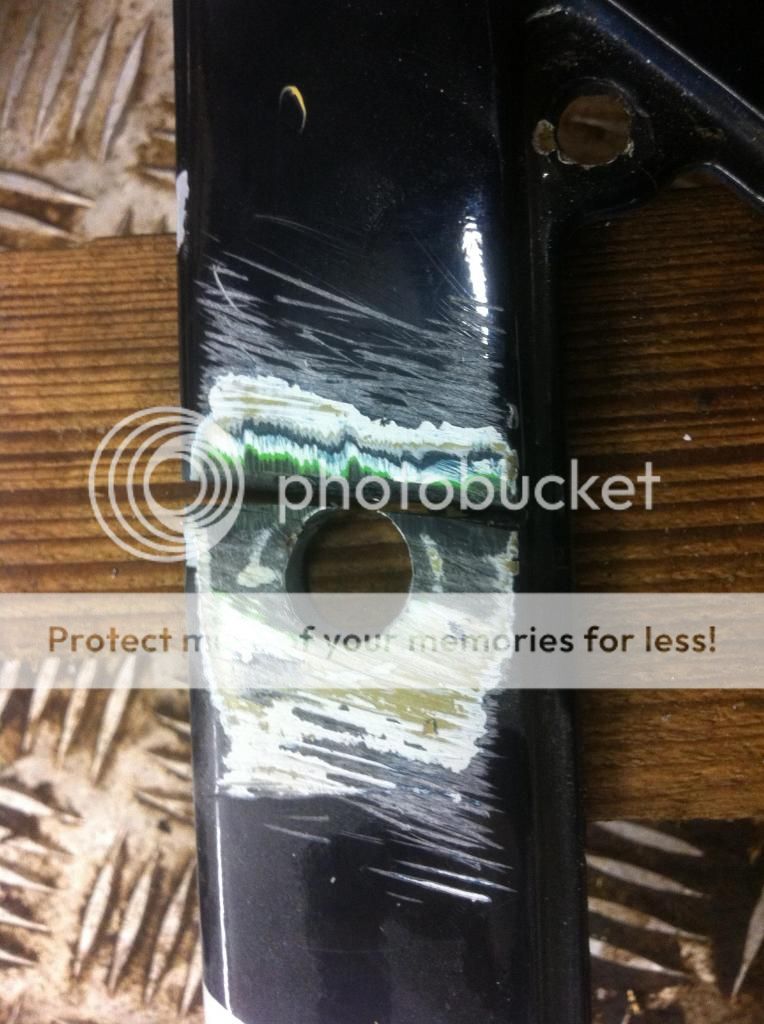
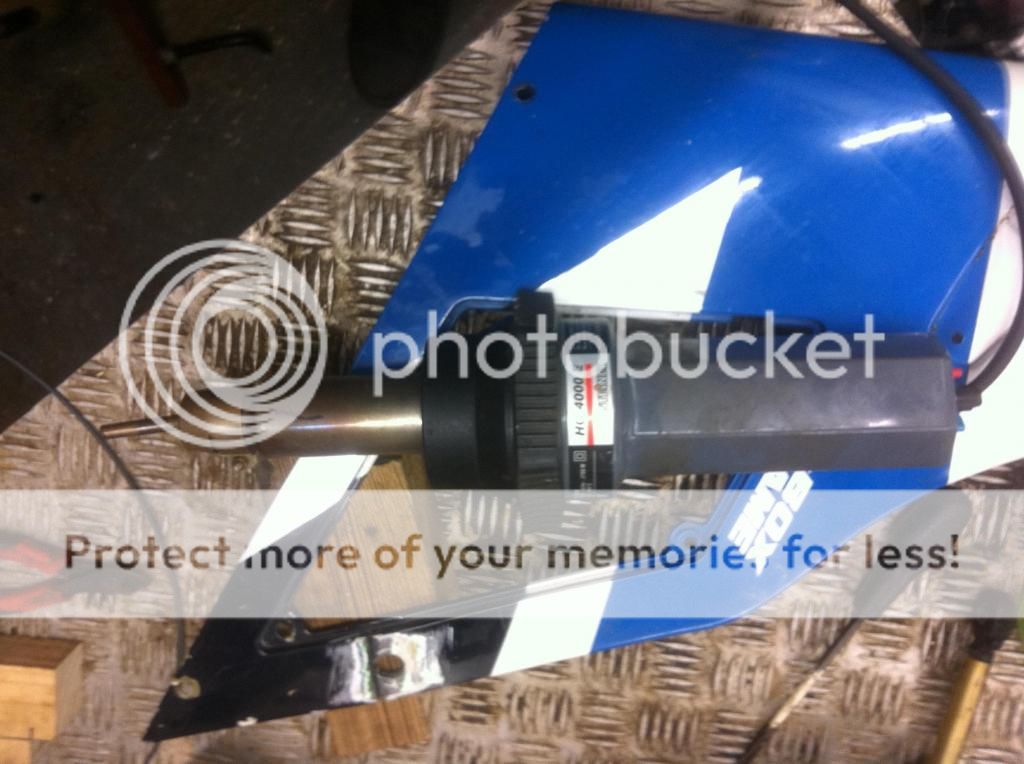
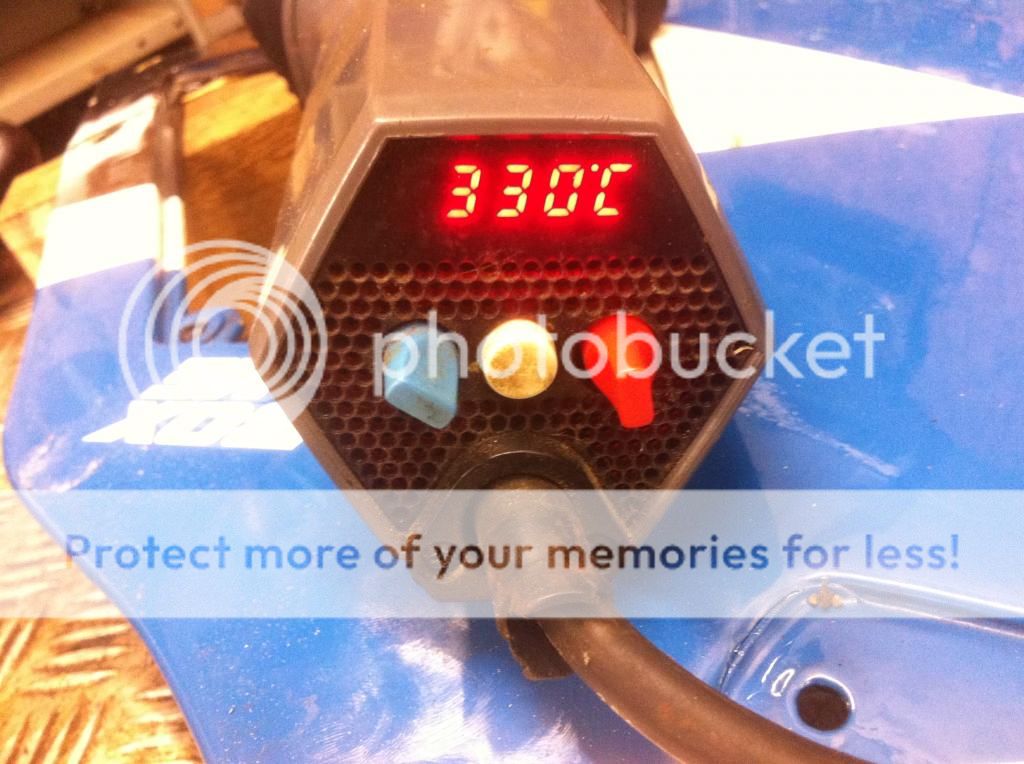
I have a plastic welding gun, you can use a hot air gun as long as it has a good stable heat controller, you need to set it to 330 deg C if it is cold in the shed, or 320 deg C if you are in warmer climates.
The filler rod is ABS plastic, it is important that you only use ABS as any other plastic won't work.
Place the filler rod at 90 degrees to the work piece, and using the hot air from the gun move between the work and the rod in a swinging motion until the rod and work start to melt, (they will become tacky) at this point apply light pressure to the rod, this will then start to move towards the gun, continue all the way across the gap. you can build up as many beads as necessary.

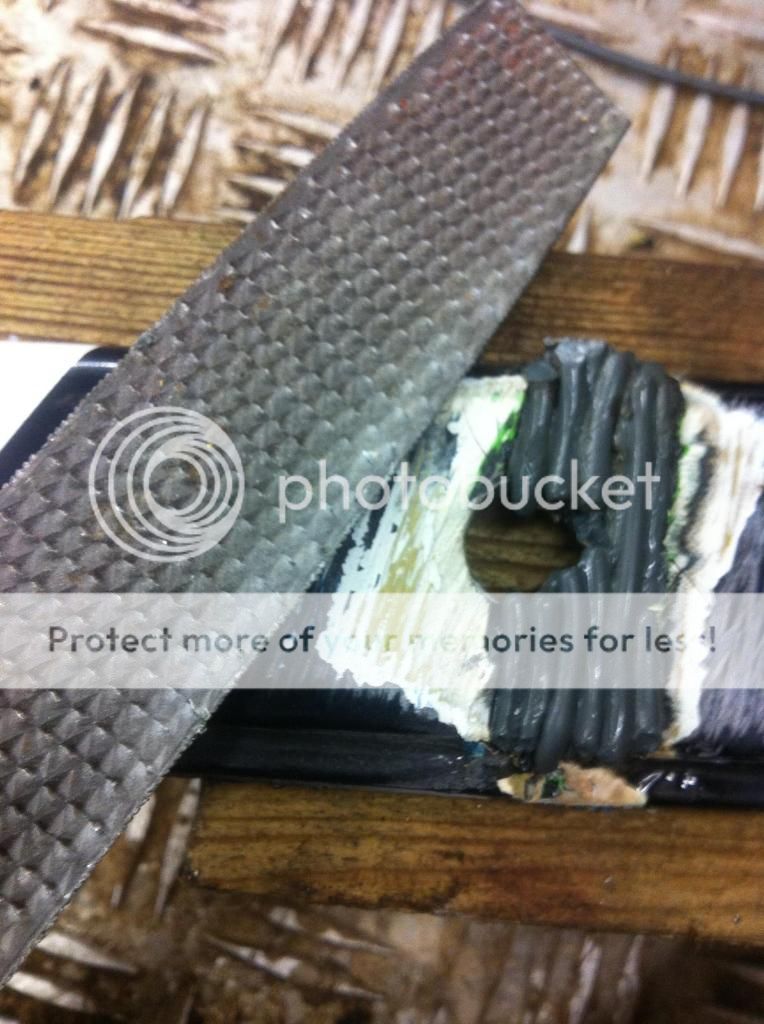
when you have enough filler rod in the gap. let it cool for a while and then use a rasp or coarse file to level the area, followed by a normal file for the detail.


hope this has been some help.......
The frame is out for powder coating along with the swinging arm and linkage. i'm having the wheels shot blasted before painting.
I am going to vapour blast the whole engine in one go as I think this will be the safest way to minimise the risk of getting glass beads in the engine. I just need to plug all the holes up....
Re: KR-1s restoration... getting started.
Posted: Tue Jan 21, 2014 11:54 am
by Luders
Nice tutorial on the plastic welding.
Have you ever had anything vapour blasted before? The media gets everywhere and for this reason, I advise you completely strip the engine of everything, seals, bearings, water pump, the lot, then send the cases bolted back together as one unit to keep the mating surfaces protected.

Re: KR-1s restoration... getting started.
Posted: Tue Jan 21, 2014 12:27 pm
by 500bernie
Re: KR-1s restoration... getting started.
Posted: Tue Jan 21, 2014 1:03 pm
by jarno
Re: KR-1s restoration... getting started.
Posted: Tue Jan 21, 2014 4:03 pm
by 500bernie
Sorry Jarno............but NO
Re: KR-1s restoration... getting started.
Posted: Tue Jan 21, 2014 5:22 pm
by jarno
Re: KR-1s restoration... getting started.
Posted: Tue Jan 21, 2014 5:37 pm
by carlsburg
Thanks for the advice, but as I have my own Vapour blaster I won't be sending them anywhere, I agree that the beads get everywhere but if the engine is sealed it is no different than pressure washing it. It is far safer than stripping it. As blasting individual parts introduces beads into the crankcases and bearings with dire consequences unless they are spotless when reassembled.
I will put some photos up when I have done it.
I have just picked up the frame from the powder coating, It looks great. I will get the chassis on the lifter and make a start refitting the bearings.
I better sort out the plating of the nuts, bolts, brackets, etc......
Re: KR-1s restoration... getting started.
Posted: Tue Jan 21, 2014 5:59 pm
by Luders
Nice one, we'll all look forward to the photos
Re: KR-1s restoration... getting started.
Posted: Tue Jan 21, 2014 7:00 pm
by 500bernie
I would like to see the video of a full motor being blasted, that would be a first

Re: KR-1s restoration... getting started.
Posted: Wed Jan 22, 2014 12:06 am
by boggy
Bernie,
You and that solvol is worse than me with jack daniels

Rich.

