fairing repair plastic welding attempt

Show us that box of bits in your shed!
Post Reply
john-b
Oil Injector
Posts: 605
Joined: Tue Aug 08, 2006 7:07 pm
Location: Cheshire

fairing repair plastic welding attempt

Post by john-b »

I think i should of put this in bodywork actually? if so could you move it please Ali.
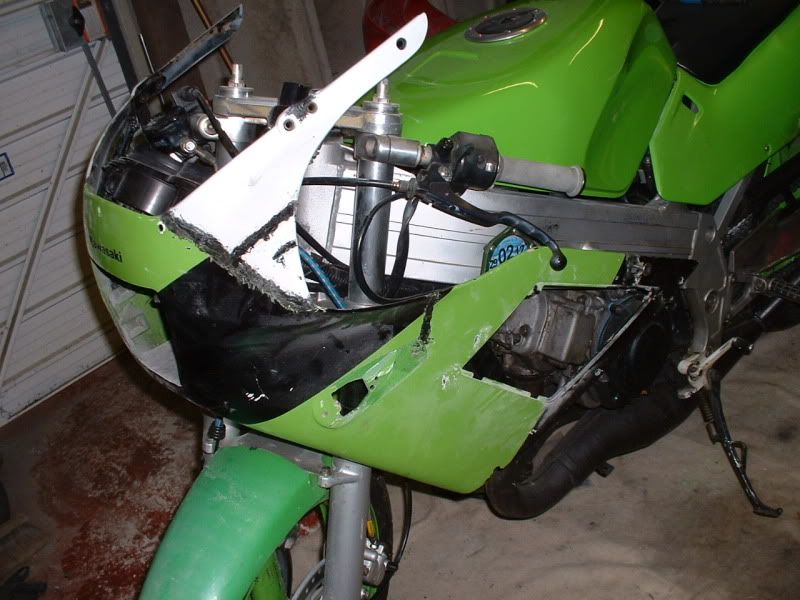
Ok so i asked about plastic welding on here got some good advise on how to go about it, what to look for and how to see if it had taken etc. Then browsed the forum to see how everyone else had done and looked on youtube and went for it because i had nothing to lose, the fairing was scrap anyway. It had been repaired everywhere very badly and the only other genuine one i had was just a cut off top piece.

I used a soldering iron which i made my own tip for because the standard one was too thin using micro bore copper heating pipe. I tried making one out of tin first but it wouldnt conduct the heat well enough.
Image

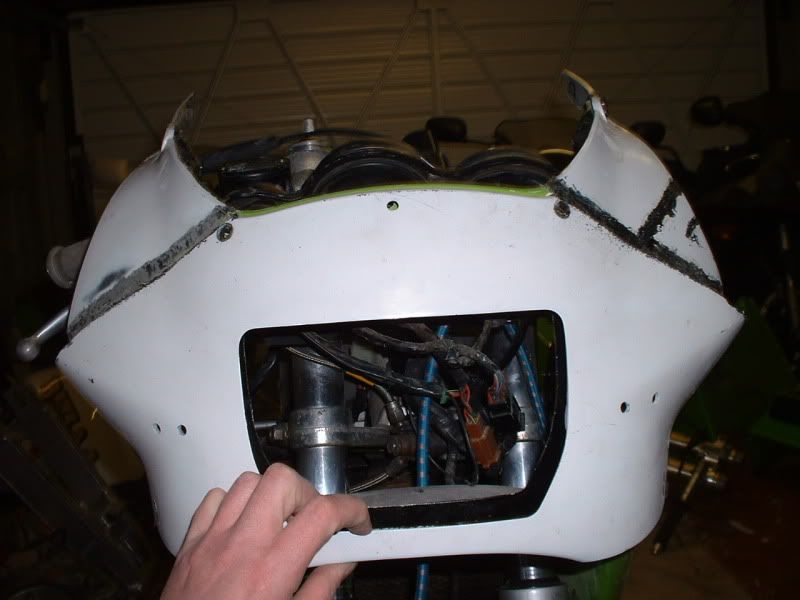
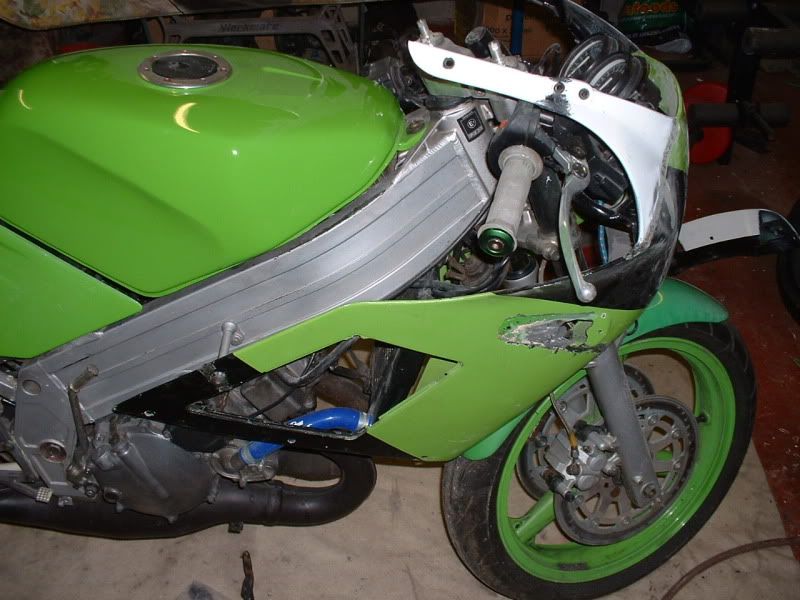
So lets go for it the fairing was scrap really broken top ears and side mounts and cracked filler everywhere where it had been reinforced with fibre glass over bits of steel.
Image

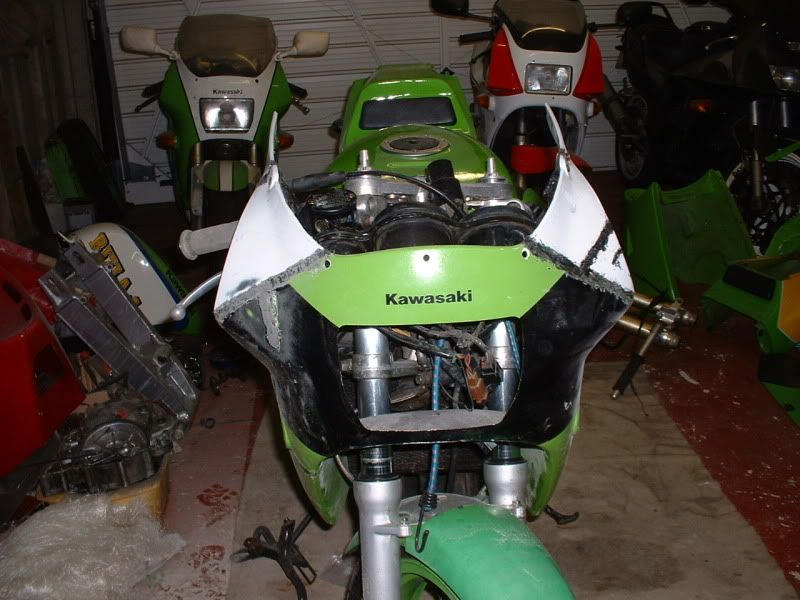
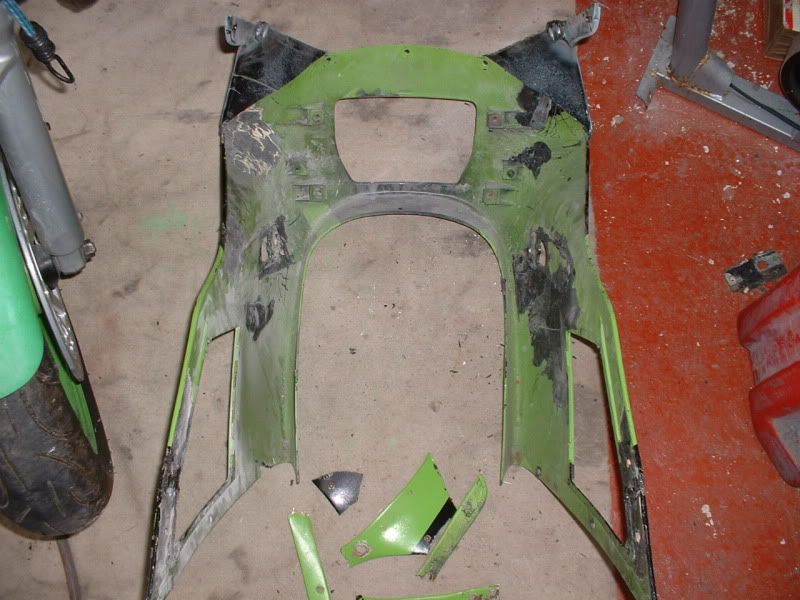
Looks ok but actually thats not it this is what i cut the bits off to put onto here. I masked it with 3mm tape then cut one each side of the masking so it would be too big then bolted it on with the screen so that and the bike formed the jig and trimmed it till it lined up right. Technique wise i used the soldering iron to form a melted V about the same depth or thickness of the rod so it was stuck and then filled the V in with the 3mm rod and smoothed it over till it all became one.

Image

This is what i cut off to start off with
Image
Image
Image
Image
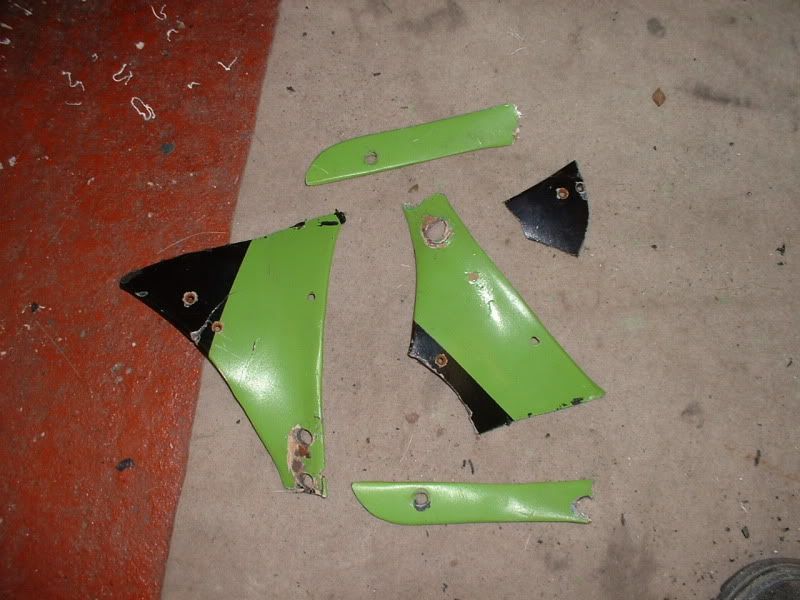
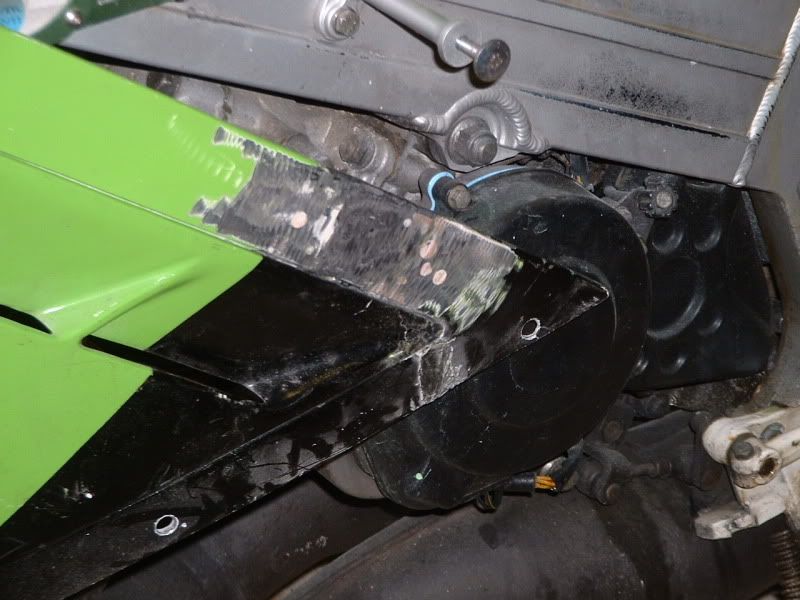
i remade the sides in the end because i couldnt get them right. I ground it down and reinforced the rear with plastic then filled the hole up on the outside using some more plastic and rods a bit like a spot weld where you drill through one layer and then weld it to the top one if that makes any sense?

Image
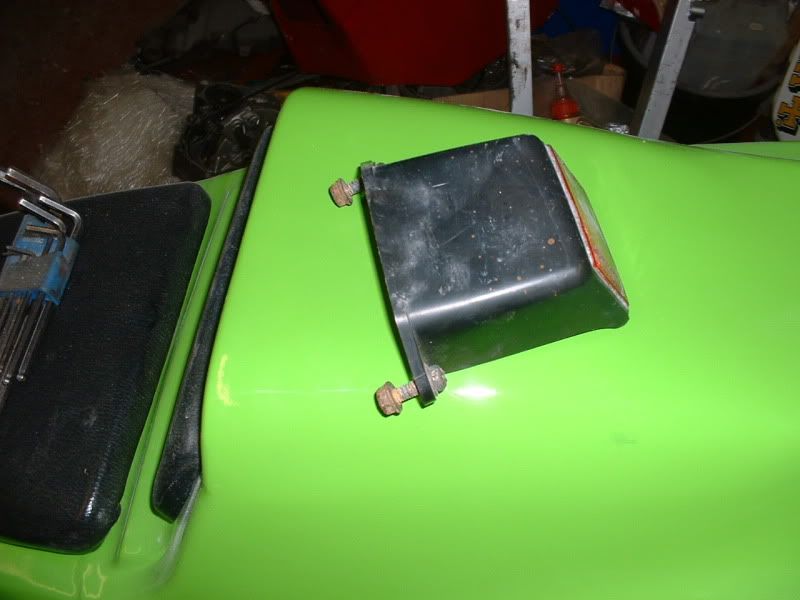
I cut up and used the plastic from a knackered one of these for the sides.
Image
Last edited by john-b on Fri Jan 27, 2012 1:03 am, edited 2 times in total.
I wish i knew something about KR's so i was like knowledgeable about them and everything like what you lot are ;-) :-) :-)
User avatar
smithyrc30
Heavy Smoker
Posts: 287
Joined: Thu Oct 26, 2006 11:49 am
Location: Torquay, Victoria, Australia

Post by smithyrc30 »

Looks like a good start to me.

I think your heating tip may be a bit wider that optimum, leaving you with a lot of cleaning up after you have welded it up.

Personally, I would have made sure that the paint was cleaned off so that there was a definite gap between the weld and the edge of the paint, about 5mm is what I go for. If you weld up to the edge of the paint there is a danger of getting it mixed and then the weld will fail.

I use an 80watt (10mm wide tip)or 40watt (6mm wide tip) Weller iron (mainly because I leant my proper kit to someone and I have not got it back.... Note to self get it back.....)


The only disadvantage of the soldering irons over the proper kit is the temperature can only be varied by changing the size of the tip width (narrower or smaller is hotter) The 10mm tip runs out at about 400C tip temperature so you need to be careful not to burn the plastic.

One other point, on long joints like you have, I start from both ends, do about 60mm and then swap over, otherwise the heated plastic has expanded all the way along the joint and puts some stress into it, then it breaks.....

Normally just after you have painted it and are refitting it to the bike...... :shock:
john-b
Oil Injector
Posts: 605
Joined: Tue Aug 08, 2006 7:07 pm
Location: Cheshire

Post by john-b »

:shock: im hoping the joints will be ok i did and inch at each end then the middle then filled in the gaps from the middle out at bit at a time at each side in case it warped. Its terrifing shaking it about to see if it makes cracking noises after you did it especially when it does but its not the bit you did its another crap repair thats let go.

Your right about the tip by the way its only a 30 watt iron too so it takes ages but i thought it saved wrecking anything till i worked out what im doing. Im going to have to cheat and use a dremel or something to get it close and then finish it by hand. i really dont want any body filler in it if i can help it.
I wish i knew something about KR's so i was like knowledgeable about them and everything like what you lot are ;-) :-) :-)
User avatar
500bernie
Avgas Sniffer
Posts: 3396
Joined: Mon Aug 02, 2010 10:22 am
Location: Teesside

Post by 500bernie »

Hi John,

I have a few body kits that all need some degree of tlc.

I will be investing in a maplin professional iron which has a temp control to avoid burning the plastic.

I will post some photos when I get started.

Cheers,
Bernie :D
Firecracker Red and Grey C3 300
User avatar
Tambo
Heavy Smoker
Posts: 441
Joined: Tue Sep 12, 2006 9:10 pm
Location: Scottish Borders

Post by Tambo »

=D> =D> =D>

That's looking good. A lot of work, but worth it considering how rare the plastics are !
Kr1s c3, vfr750fg, Dnepr MT11, Pegaso 650
Post Reply